iOptron CEM25P
This document describes the replacement of a pair of DEC axle bearings, for the iOptron CEM25P mount. It certainly does not exhaust the topic, although I tried to include, in this description the most important information, that I was able to gather during my struggles, that I encountered during the replacement process of bearings.
Description of the problem: during rotation, bearings liked to “brake” the entire DEC axis.
After disassembling the axles and removing both bearings, turning them in hands, there was a slight resistance locally. These were poor quality products or damaged during assembly. Clearly, they had to be replaced with new, appropriate quality products. The method of disassembling the old and assembling new bearings is described below. Be aware that you can lost your warranty if you have.
ATTENTION! The following steps require some practice, if you do not confident to do it, will be better with assembly to trust someone, who is skilled enough and will not be more difficult for him to perform all the activities described below. Certainly, this description is not error-free, so be aware of it. I do not take any responsibility for any damages caused with use of this document.
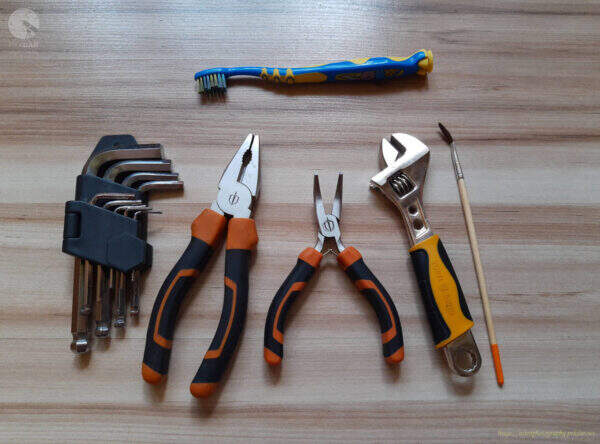
Necessary tools and some chemicals
Multipurpose lithium grease I use.

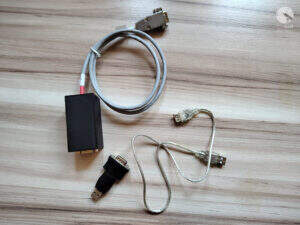
A set of auxiliary tools:
- Allen key set,
- a small toothbrush,
- pliers,
- small angled pliers,
- small wrench,
- a small art brush,
- metal hammer
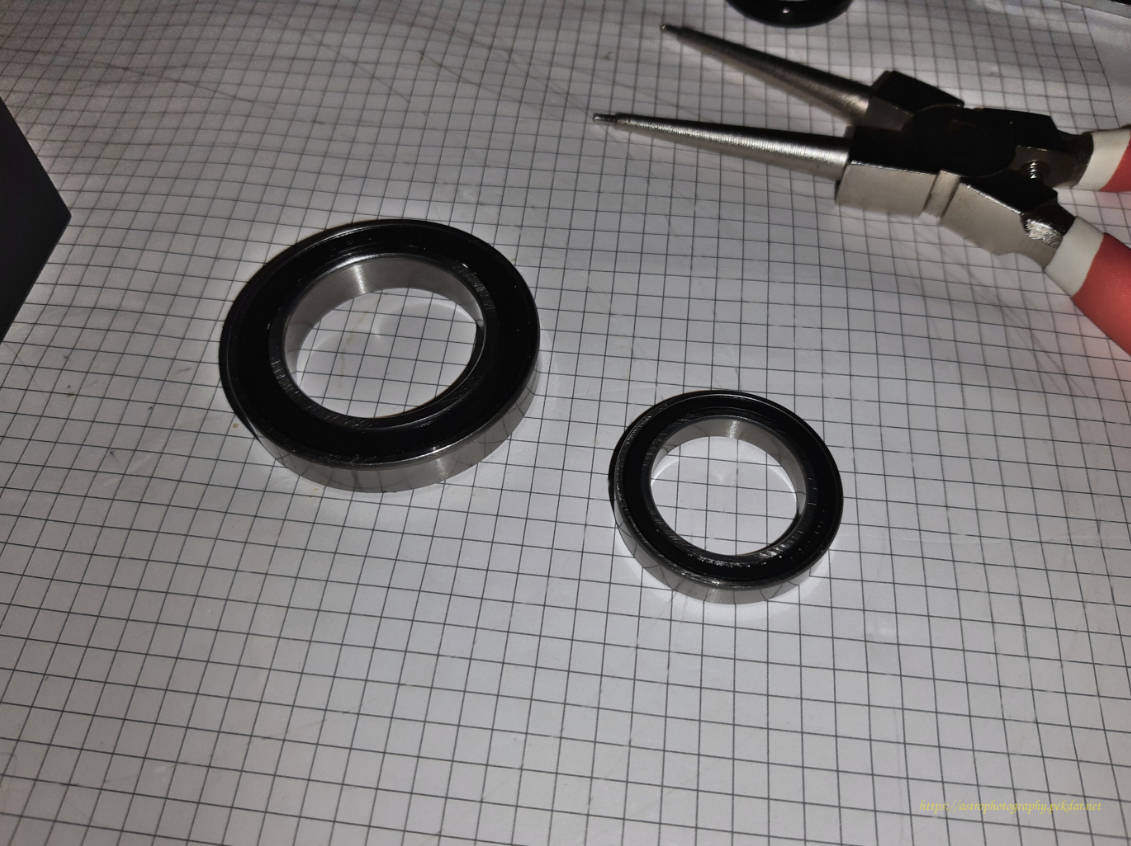
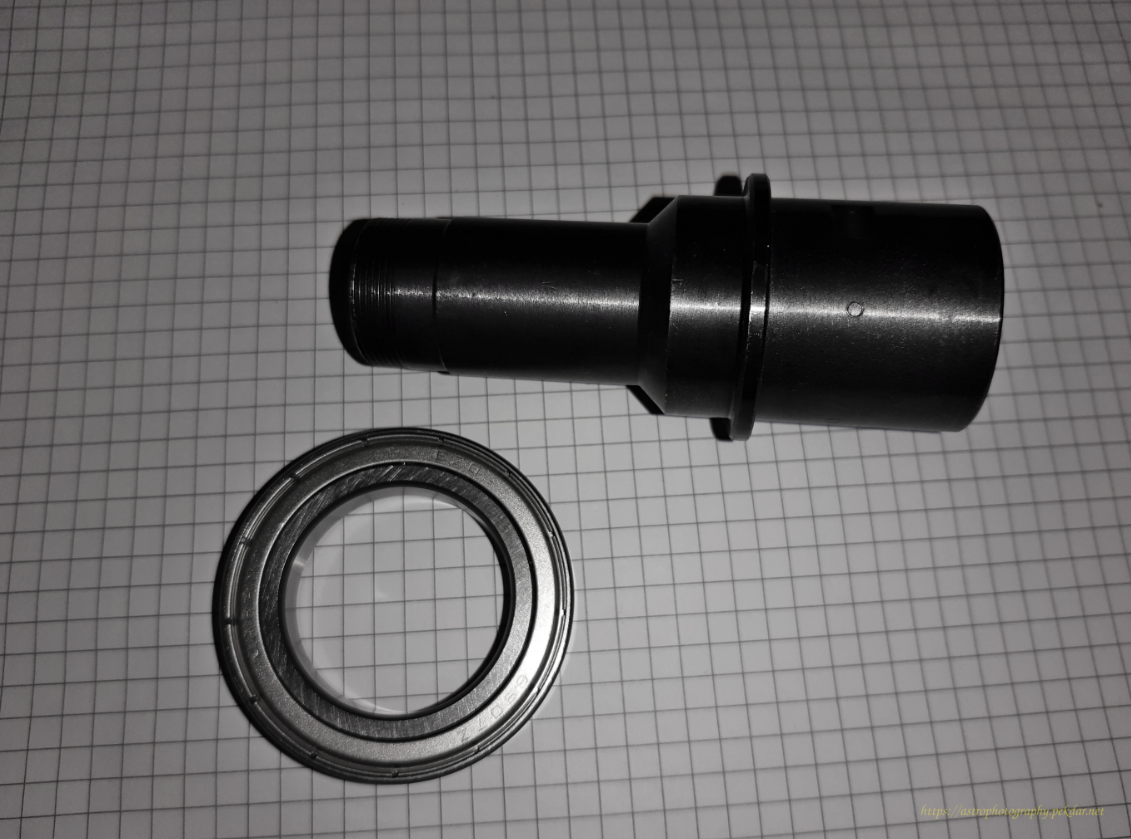
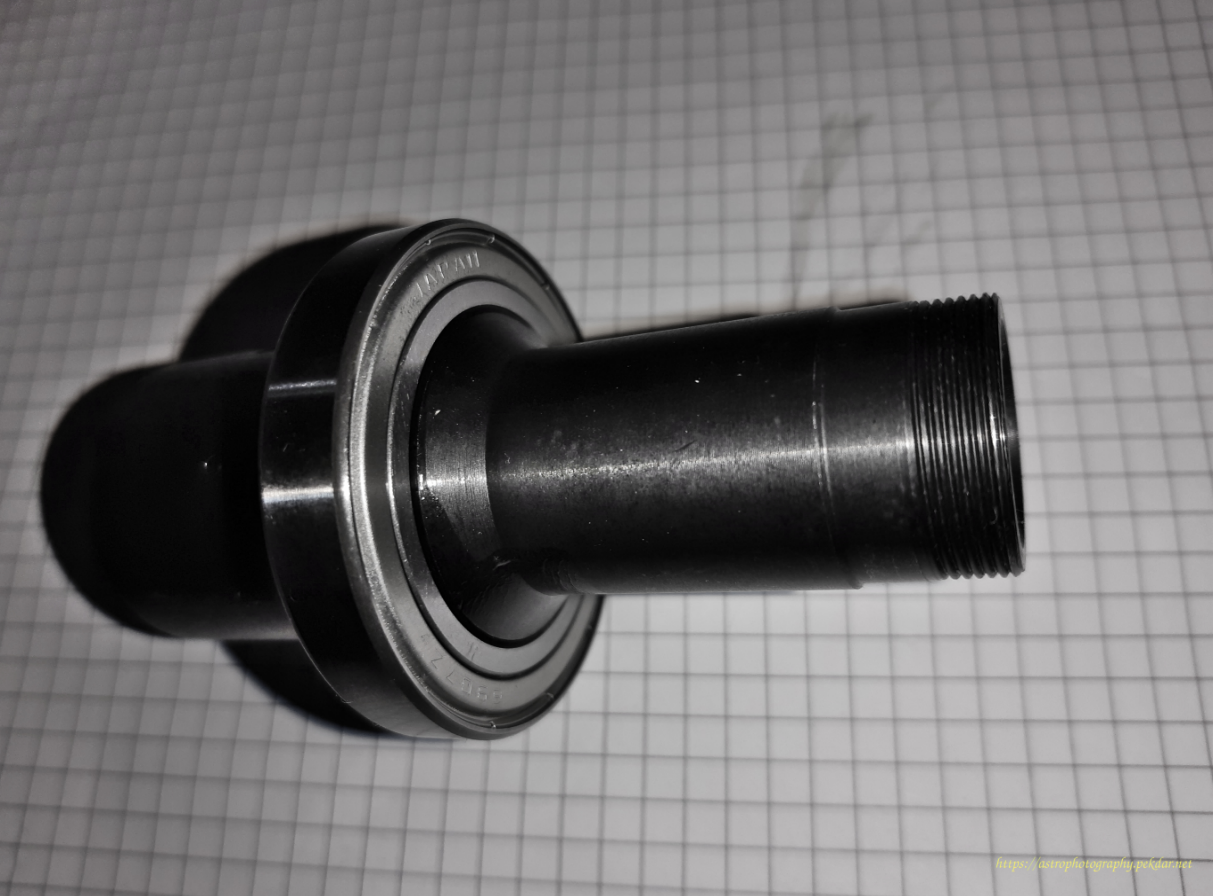
New bearings, model: 6907 ZZ EZO, 1 pcs per axis and 6805 ZZ EZO, 1 pcs per axis. The photo below shows the new bearings.

model: 6907 ZZ EZO, 6805 ZZ EZO
Disassembly the components of the DEC axis
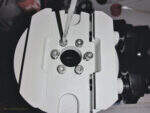
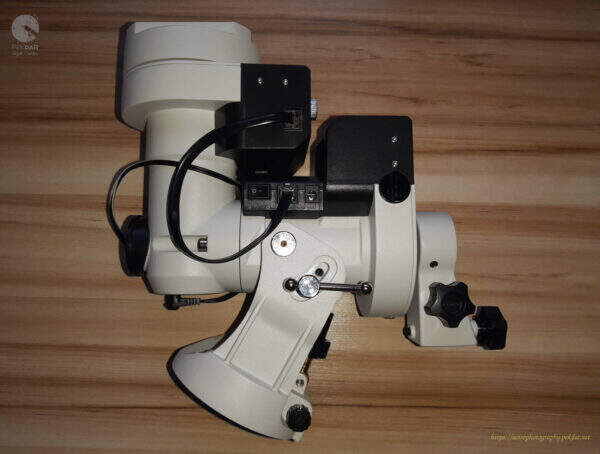
Take a picture of the assembled mount, just before taking any action, so that after disassembling it into parts, you will know what state you should return to.
Remove both caps of the polar finder.

Manually unscrew the eyepiece of the polar finder.

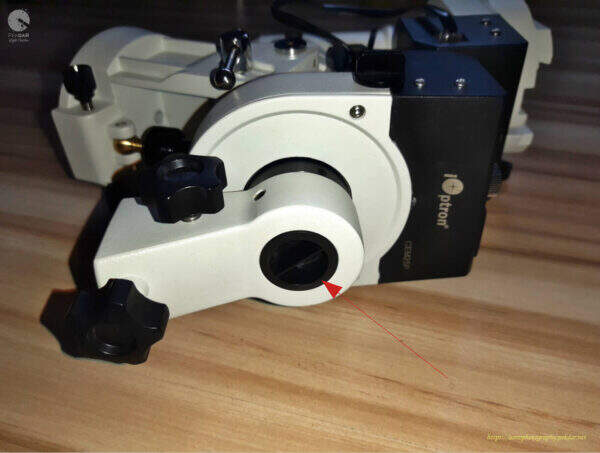
Remove the DEC body cap using the small angled pliers.
Unscrew the polar finder illuminator using the small angled pliers. Remember to not squeeze much the illuminator housing. Be gentle.
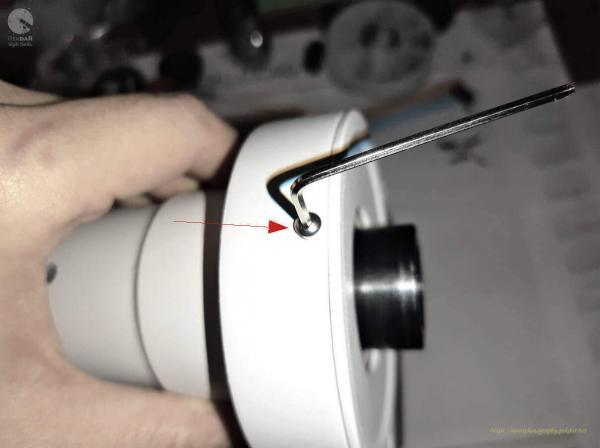
Remove the two outer bolts connecting the DEC body to the RA axle body, using the right size allen key.

Remove the top inner screw using the right size allen key.

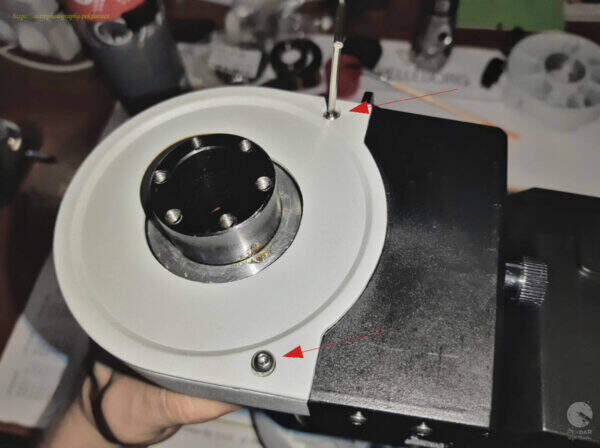
Remove the inner bottom bolt, that connects the two bodies using the right size allen key.
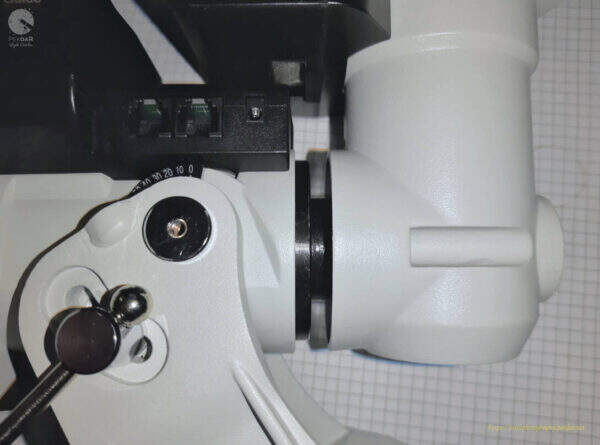
With one hand, grab the DEC body and the other hand, on the RA axle body. Moving from side to side with the DEC body, pull off slowly, until all is removed from the RA sleeve.

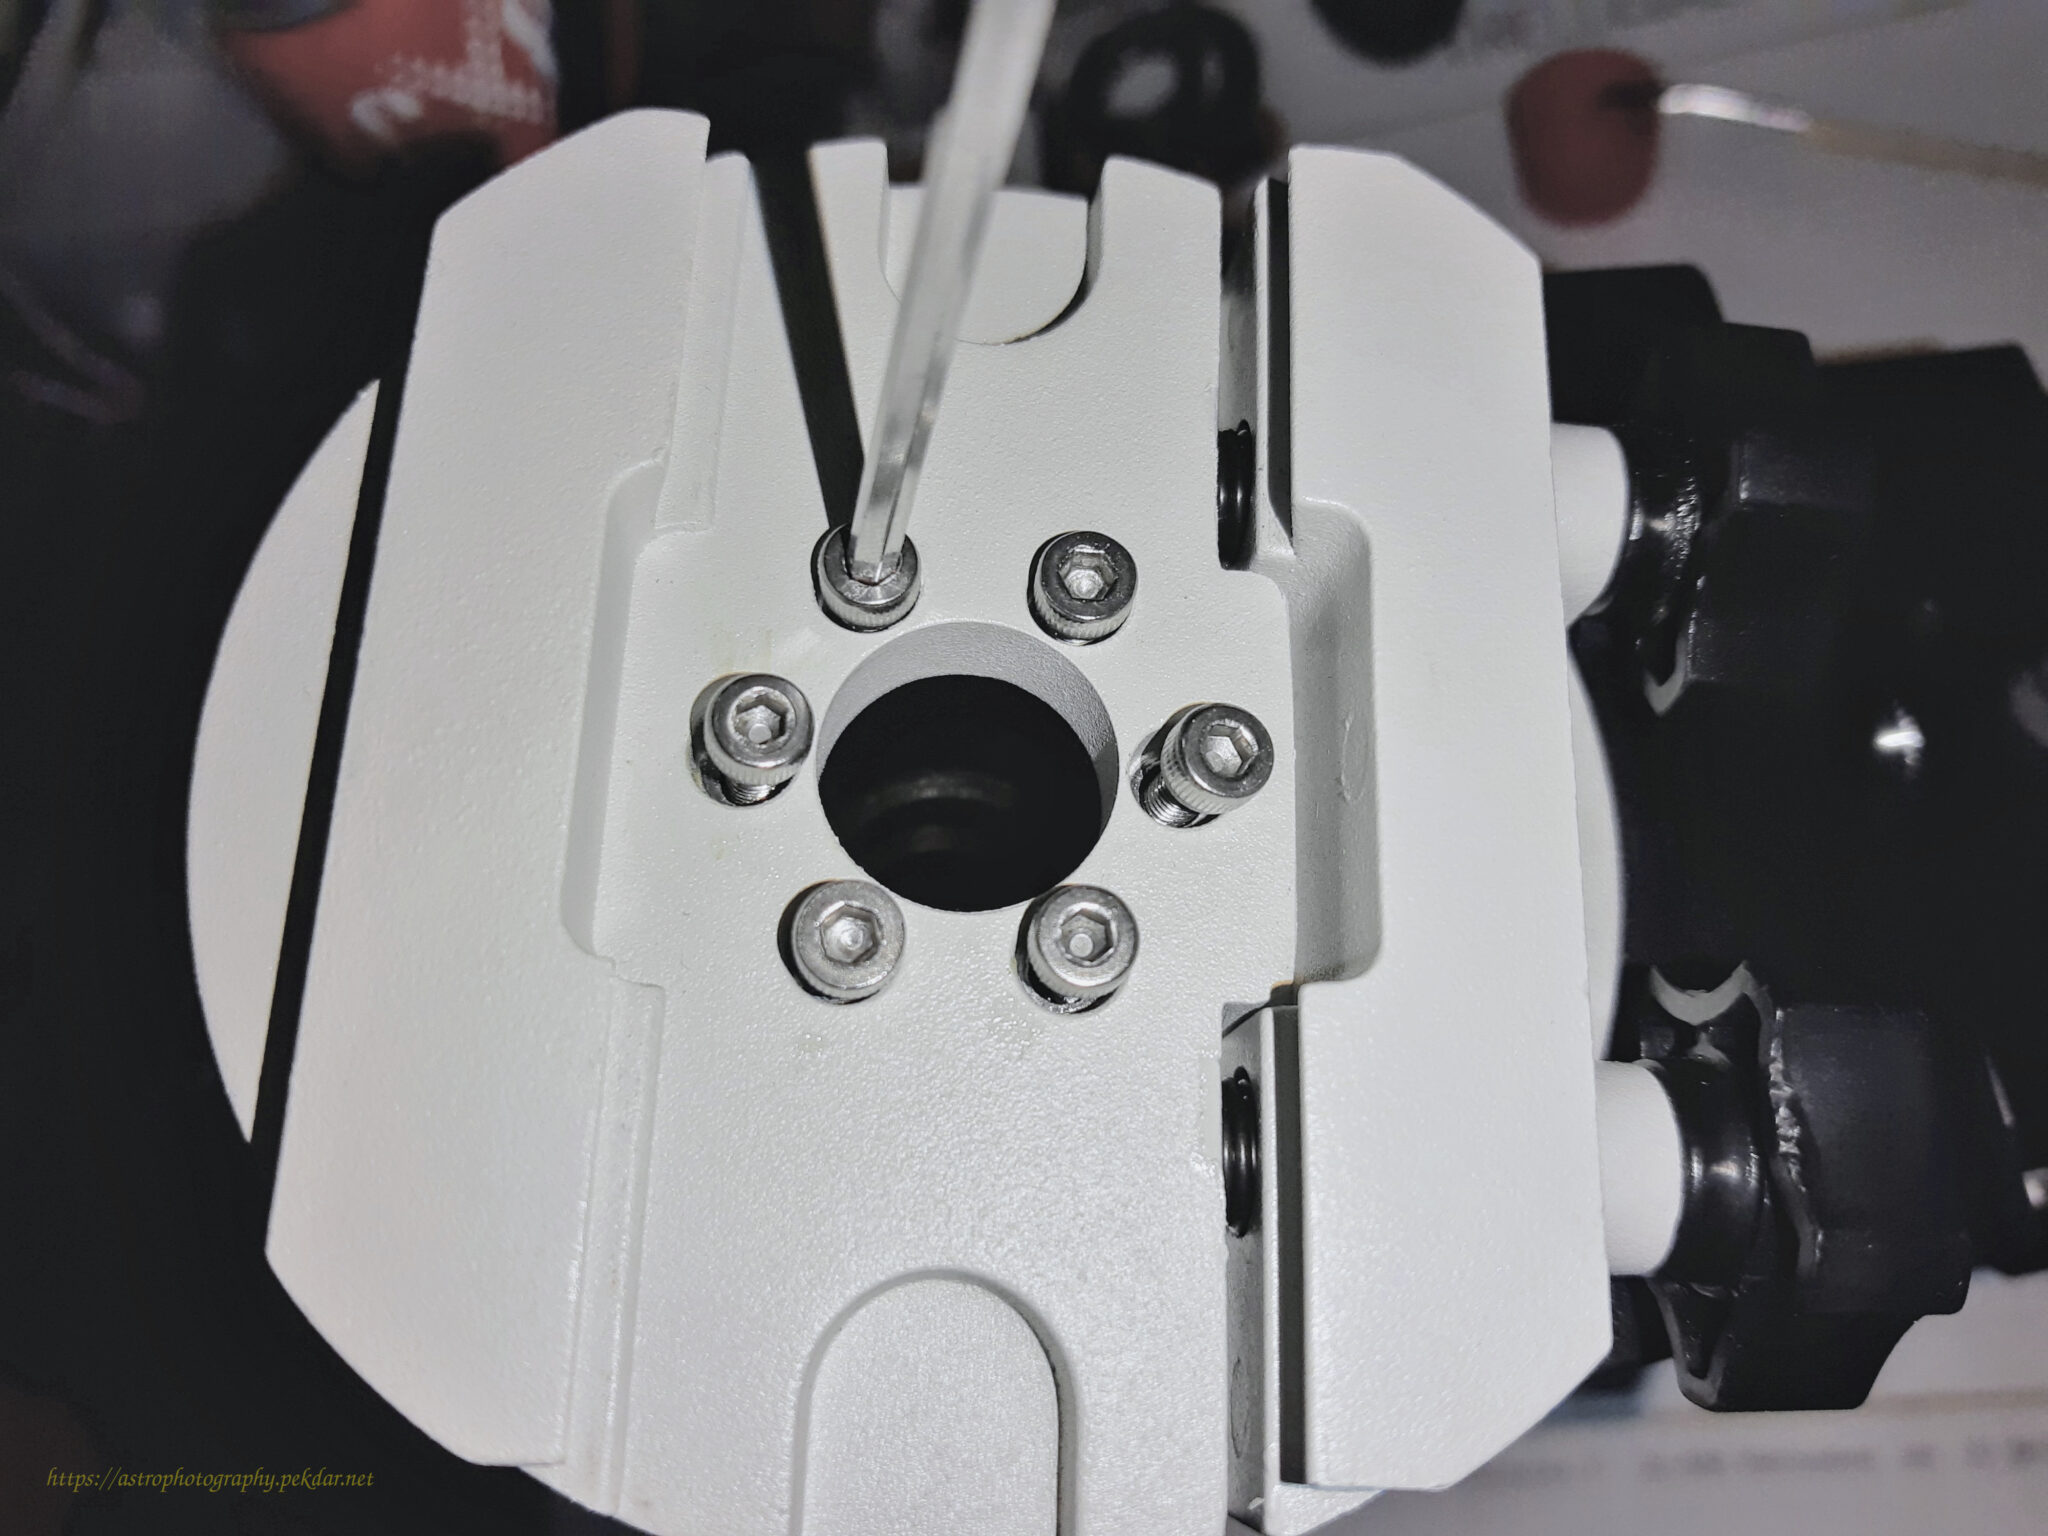
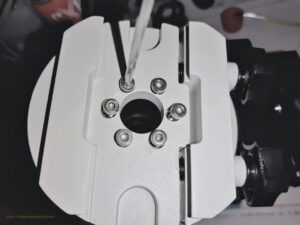
Use the Allen key to unscrew the 6 screws connecting the dovetail handle with the body of the DEC axle. Remove the handle.
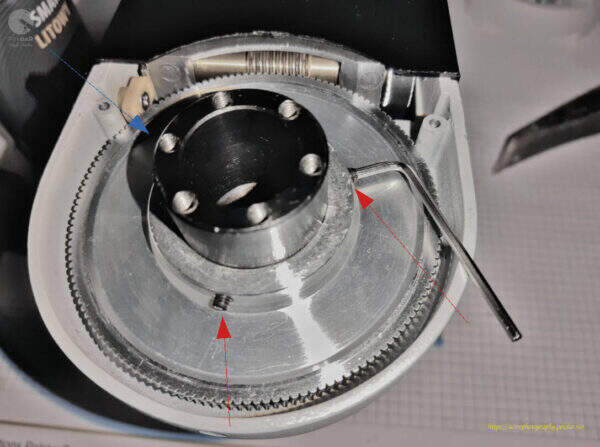
Remove the three bolts, securing the DEC axle gearwheel cover, using the right size of allen key.
Kluczem imbusowym, odkręć trzy śruby blokujące koło zębate na tulei osi DEC.
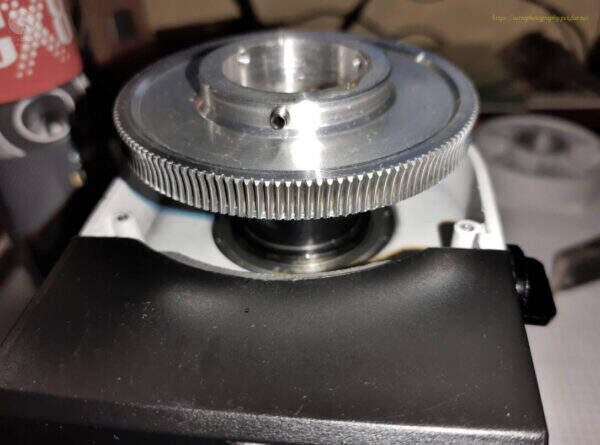
Remove the gear wheel.
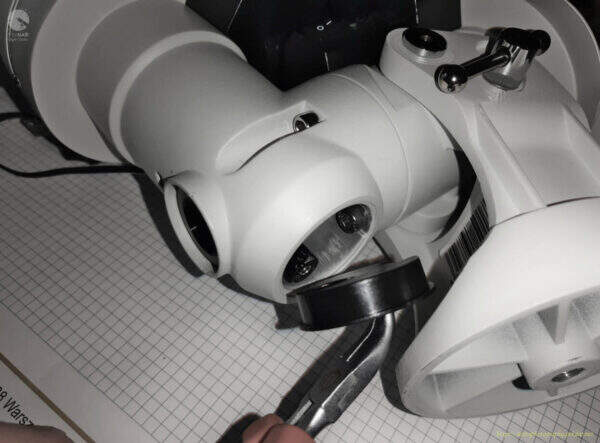
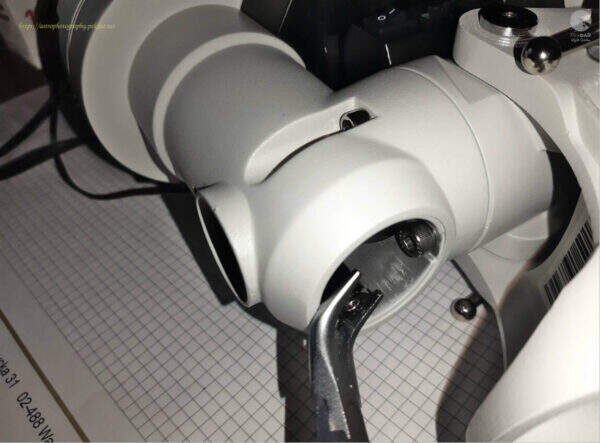
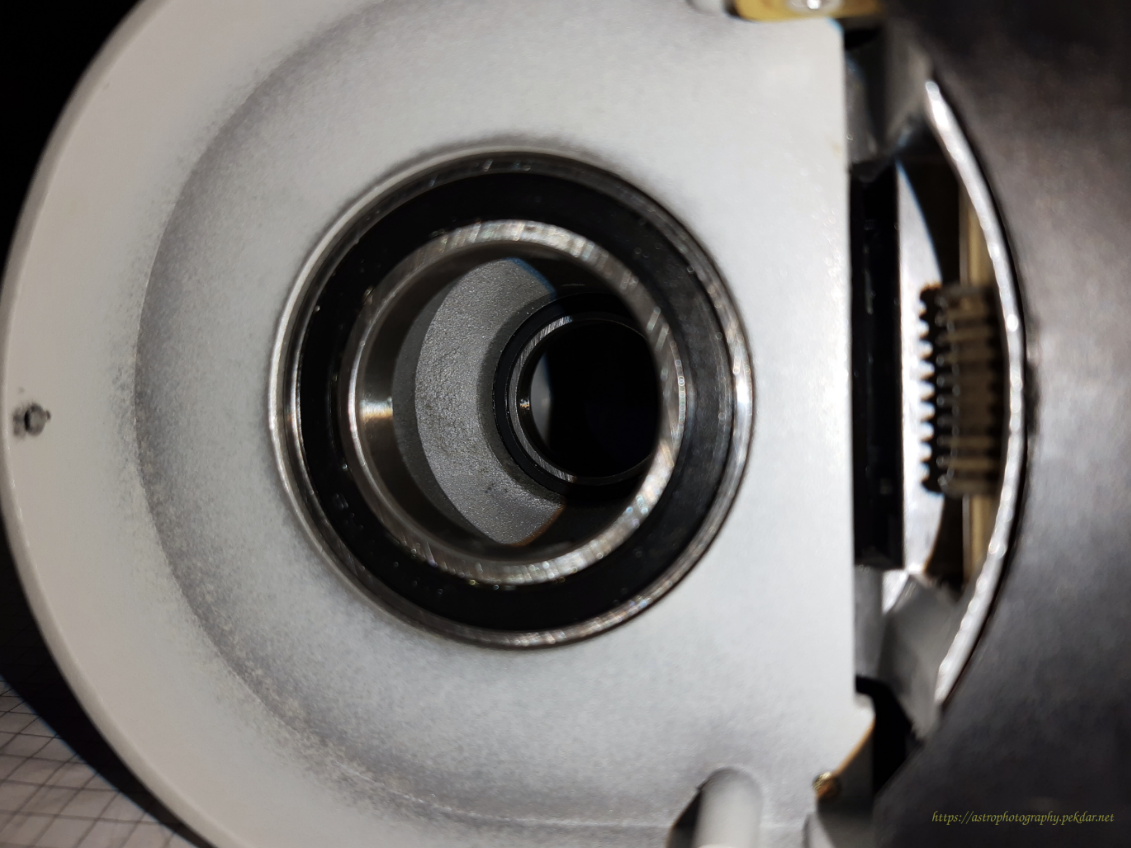
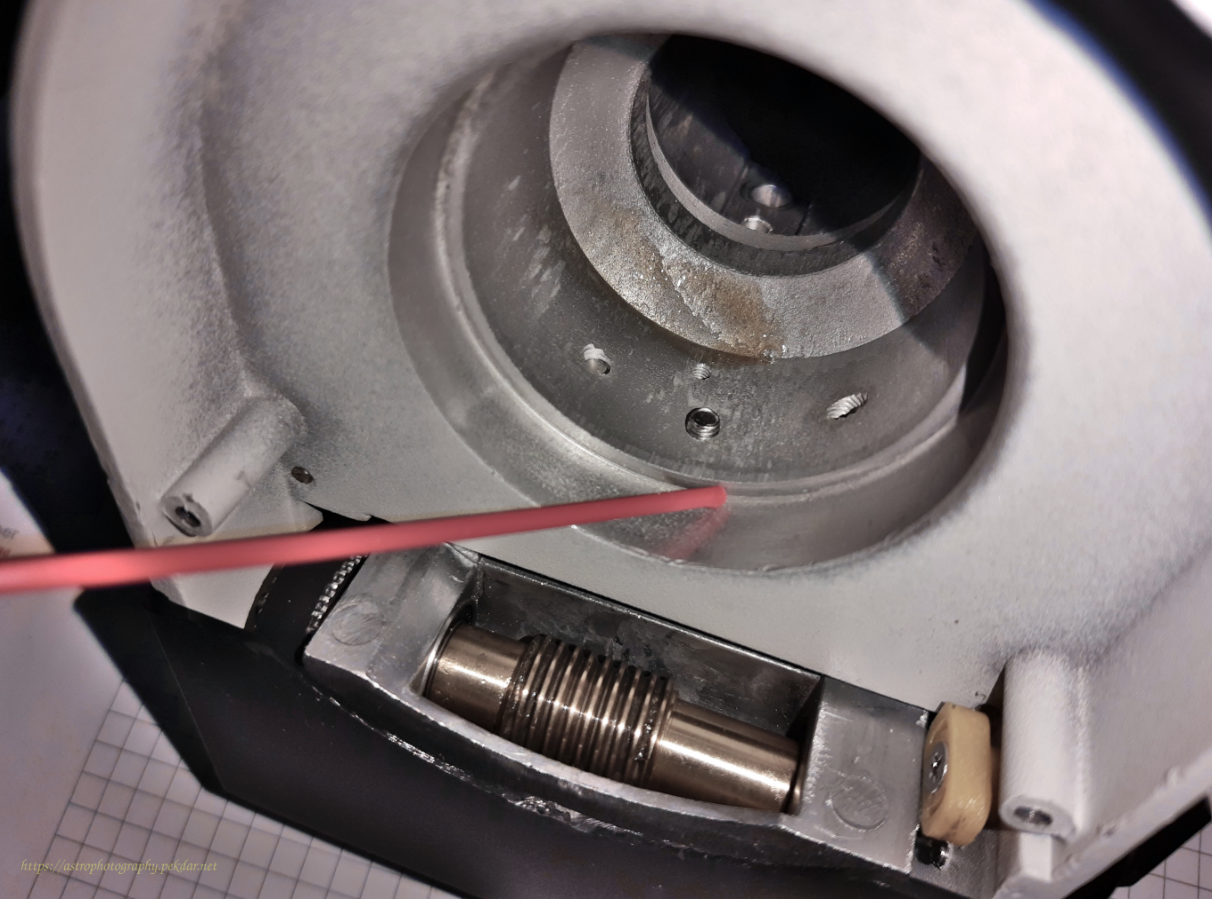
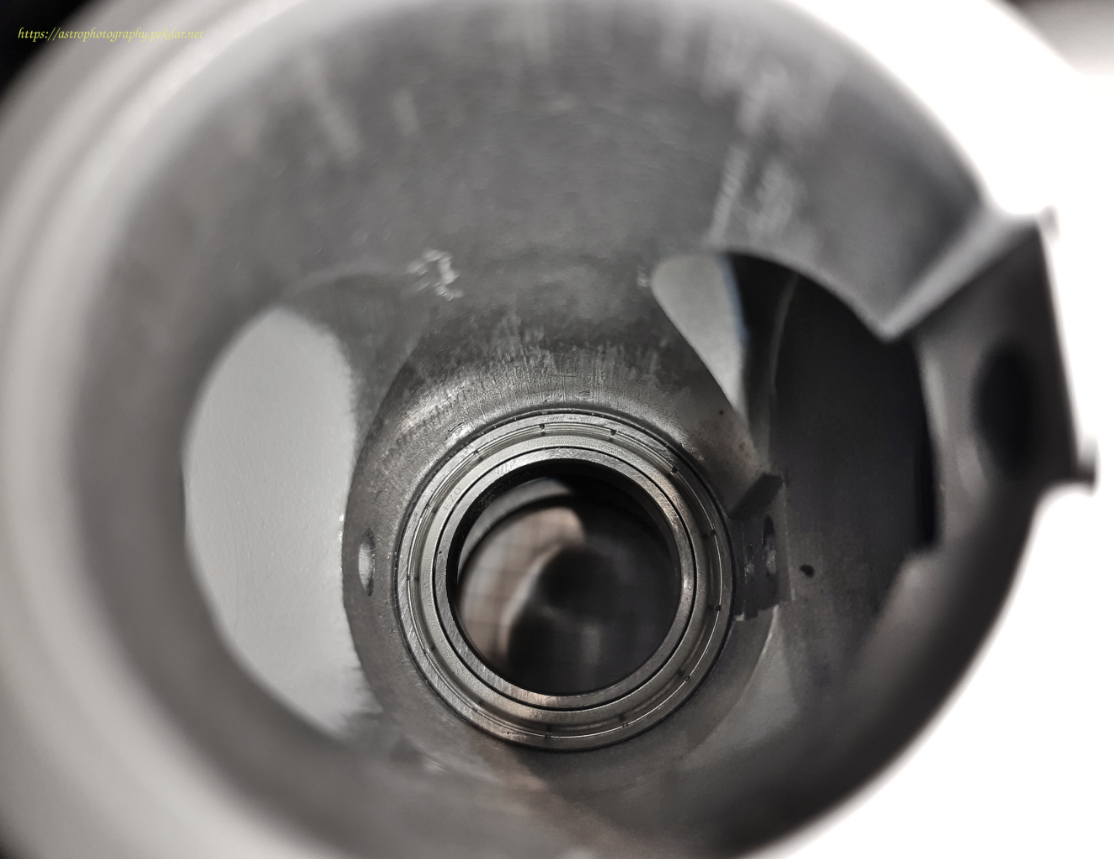
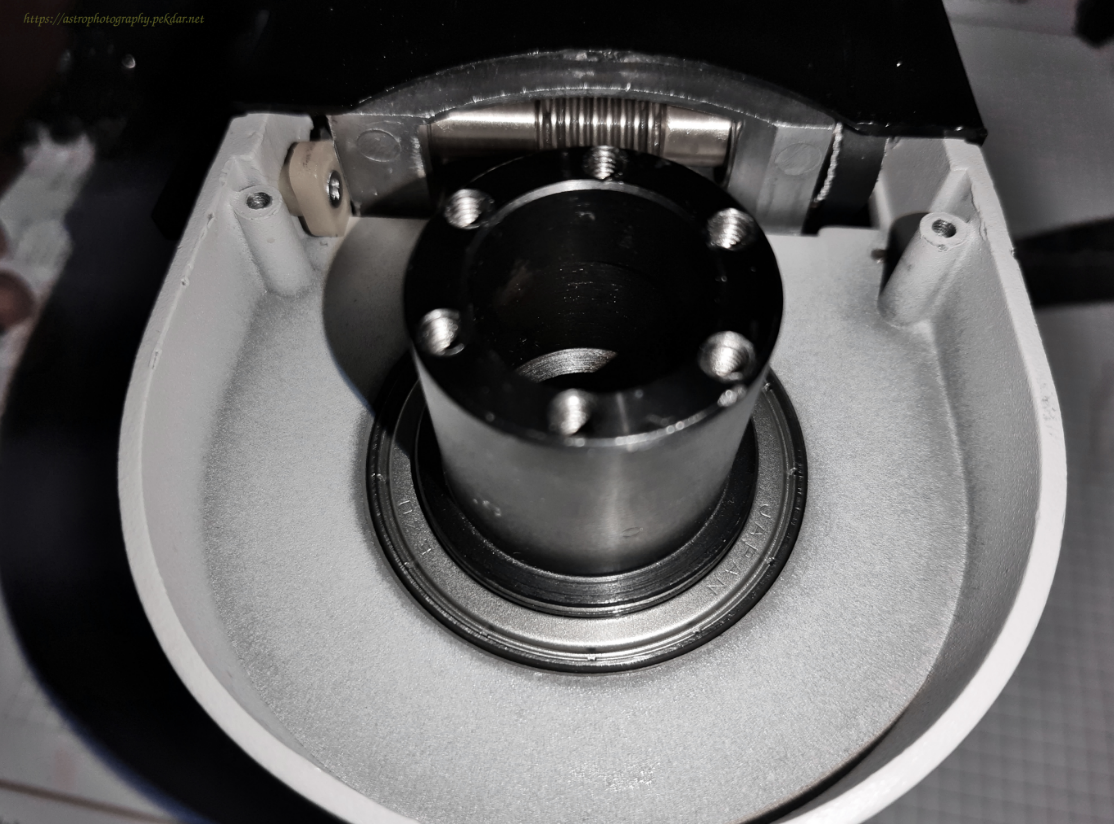
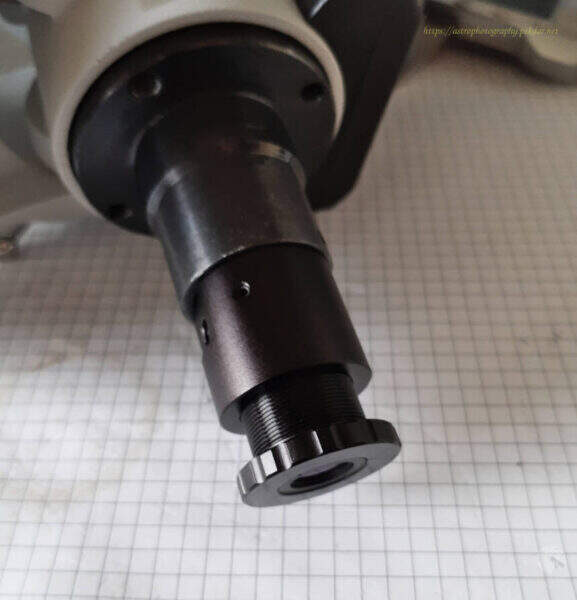
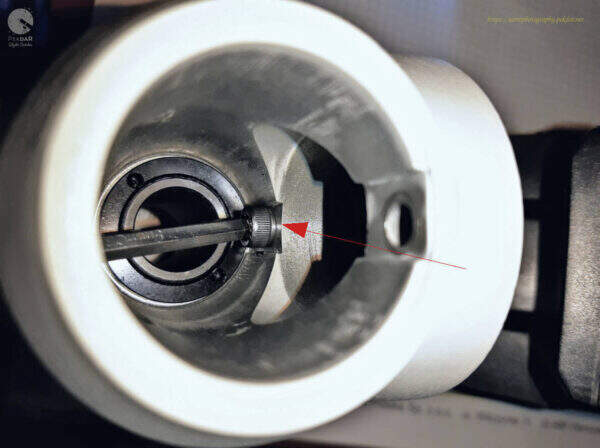
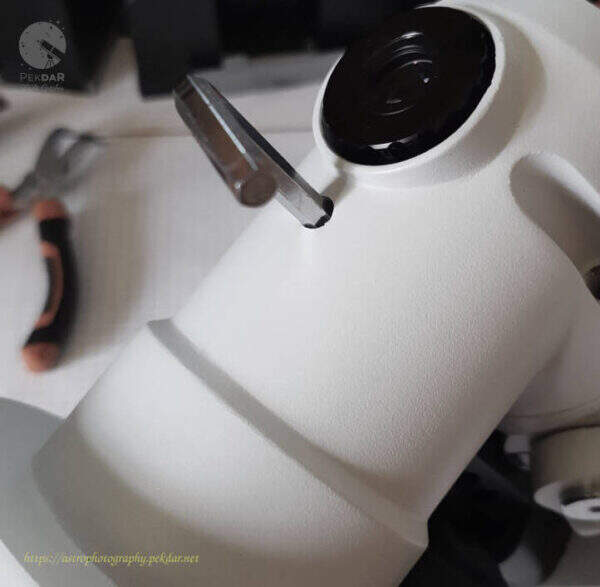
Turn the DEC axle body over and using straight-nose pliers, unscrew the DEC bearing locking nut.
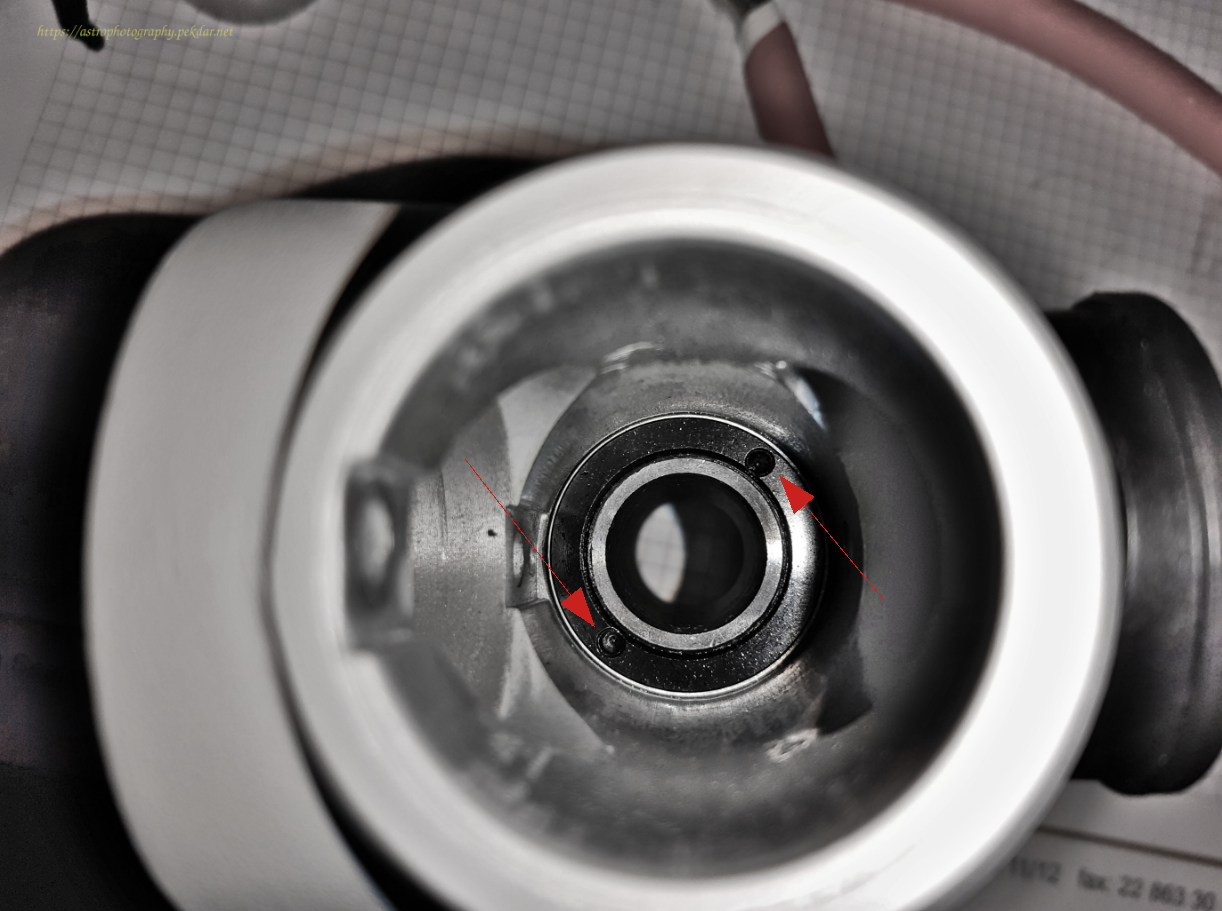
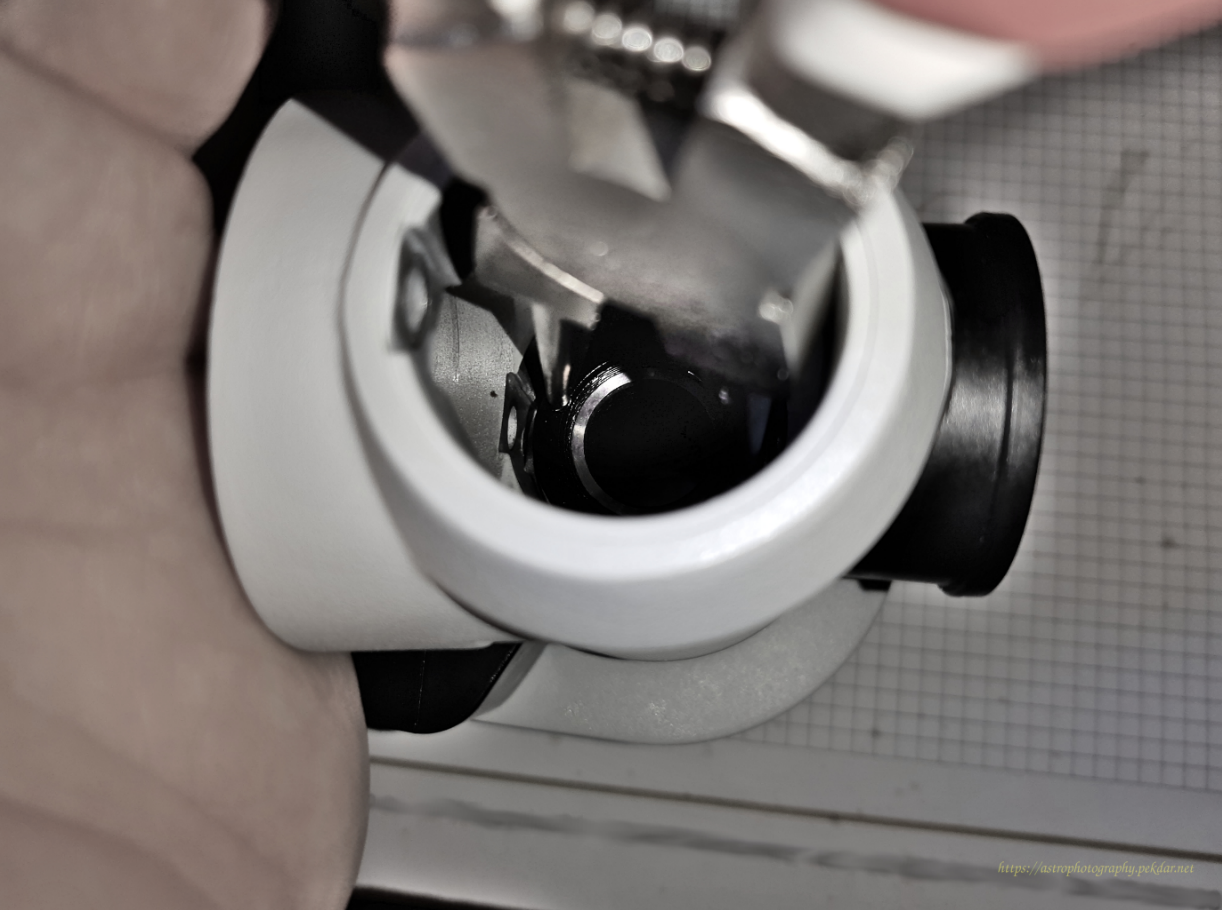
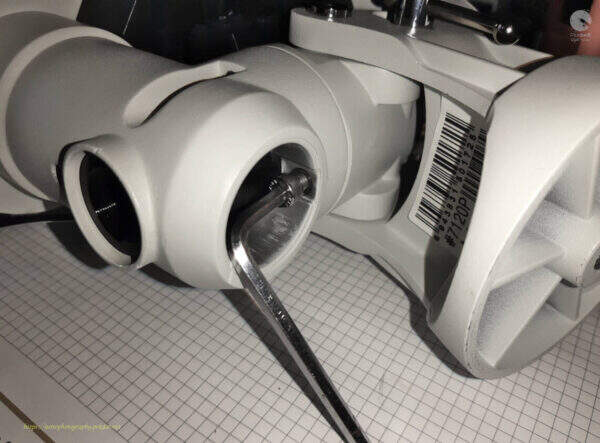
The photo below shows the nut removed,
Slide the sleeve off the body.
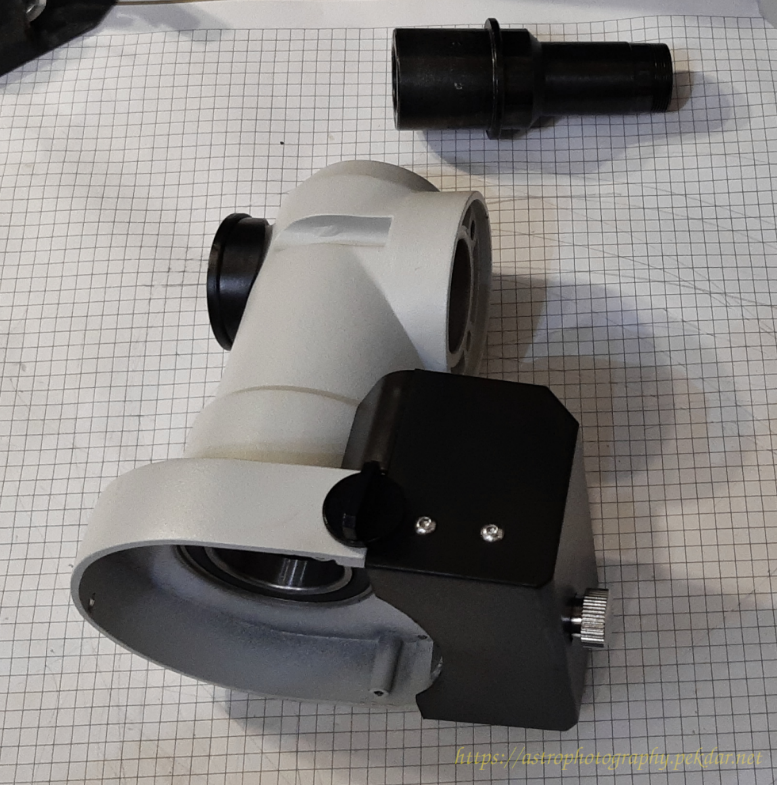
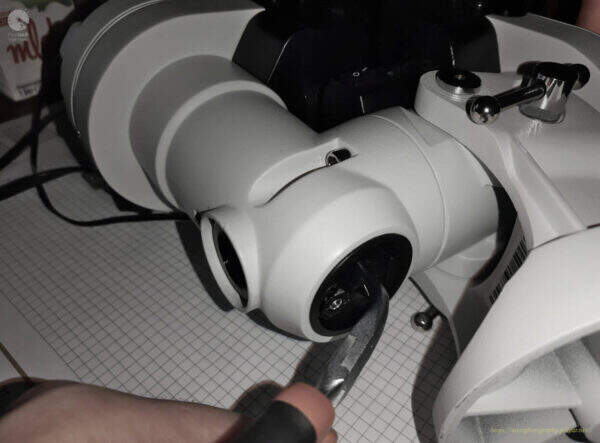
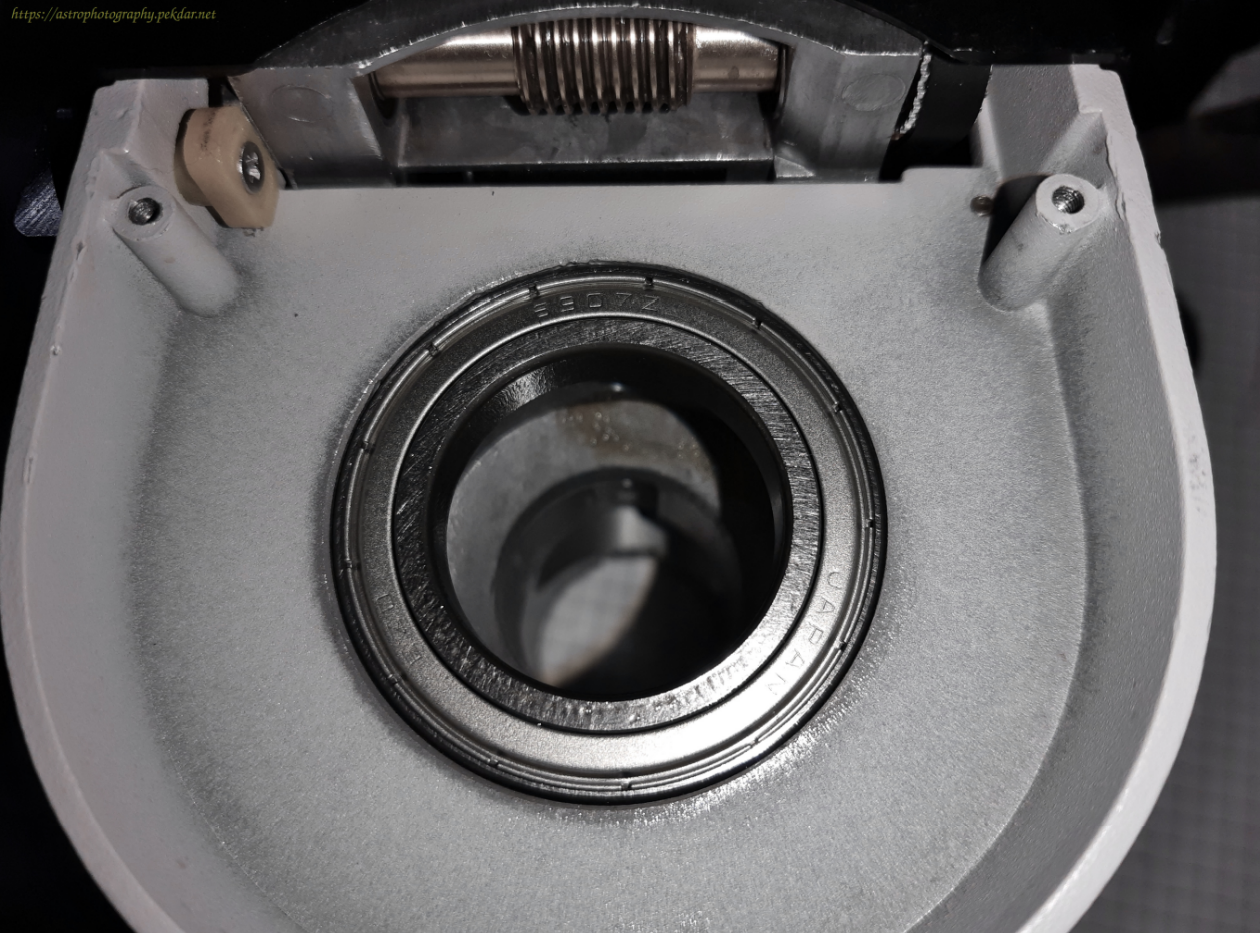
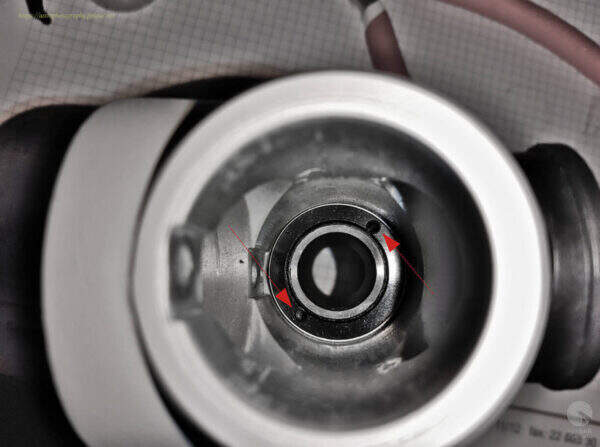
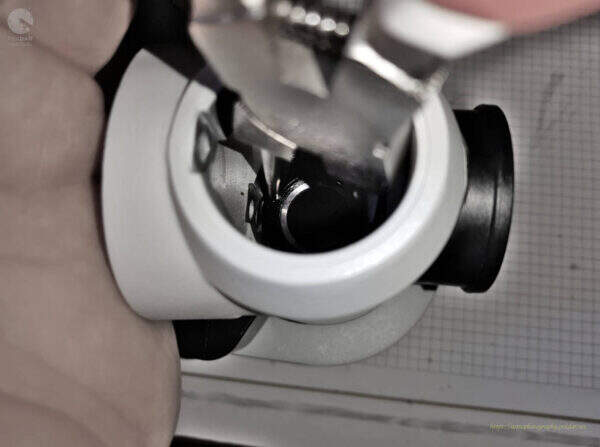
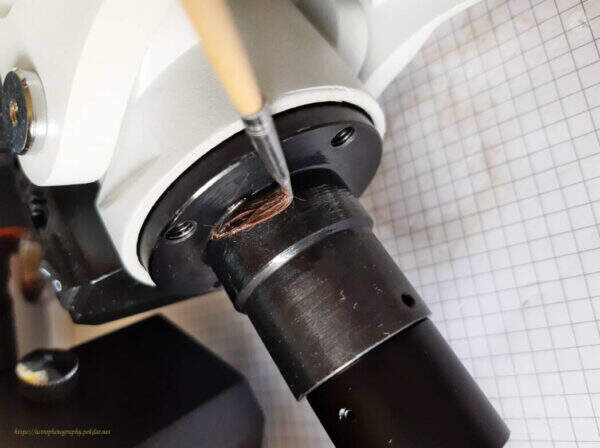
Remove both DEC axle bearings from their seats. It may happen that one of the bearings is factory fitted tight. Then use a hammer and a screwdriver with a wooden handle to very carefully bounce off bearing from the socket.
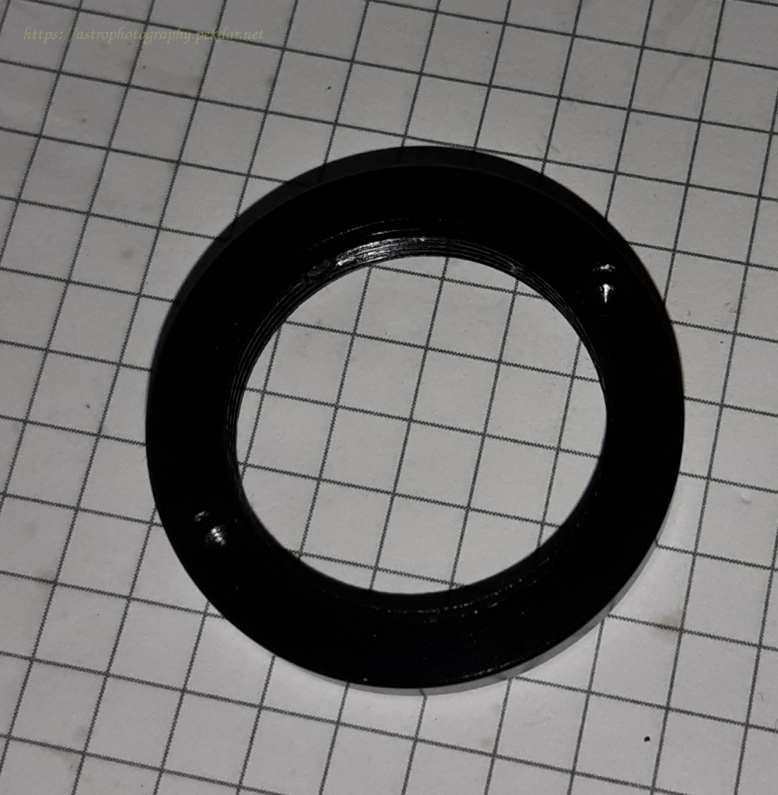
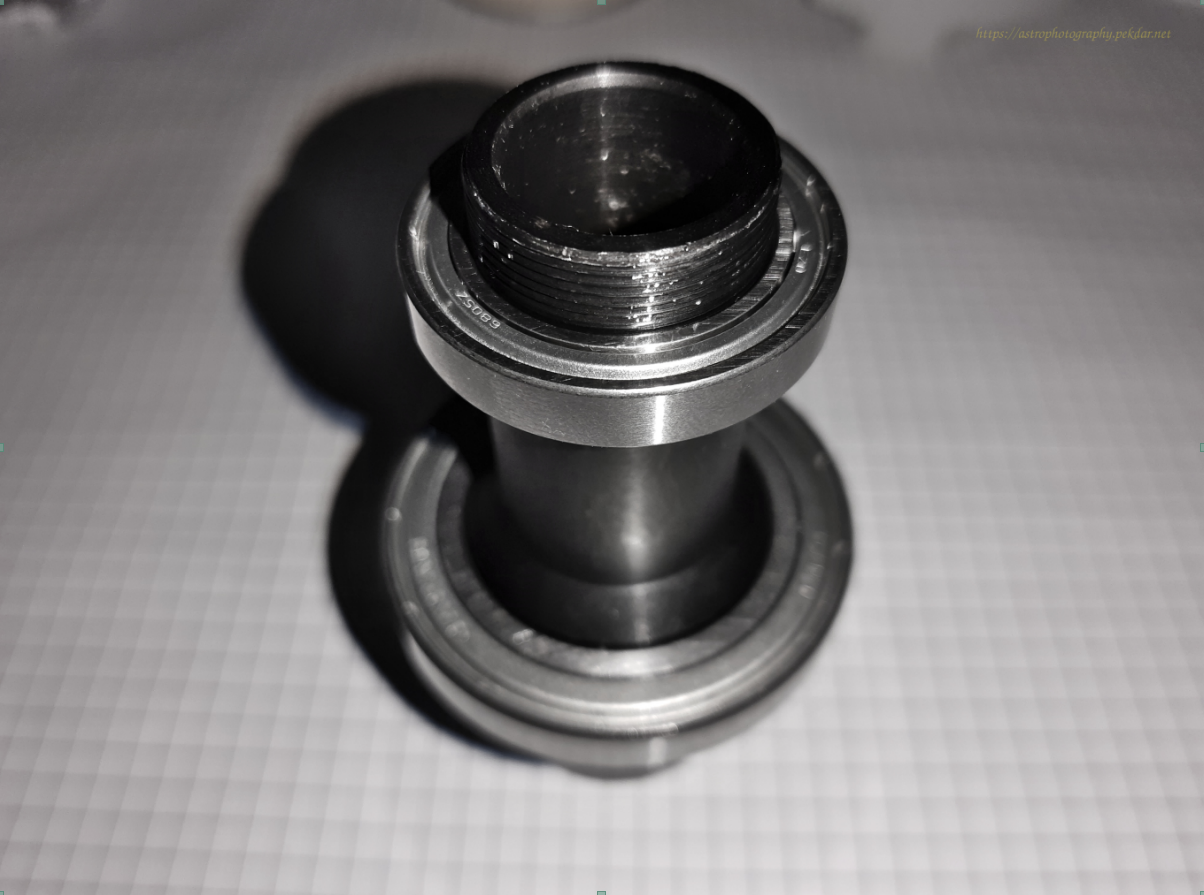
The photo shows both bearings that needs to be replaced.
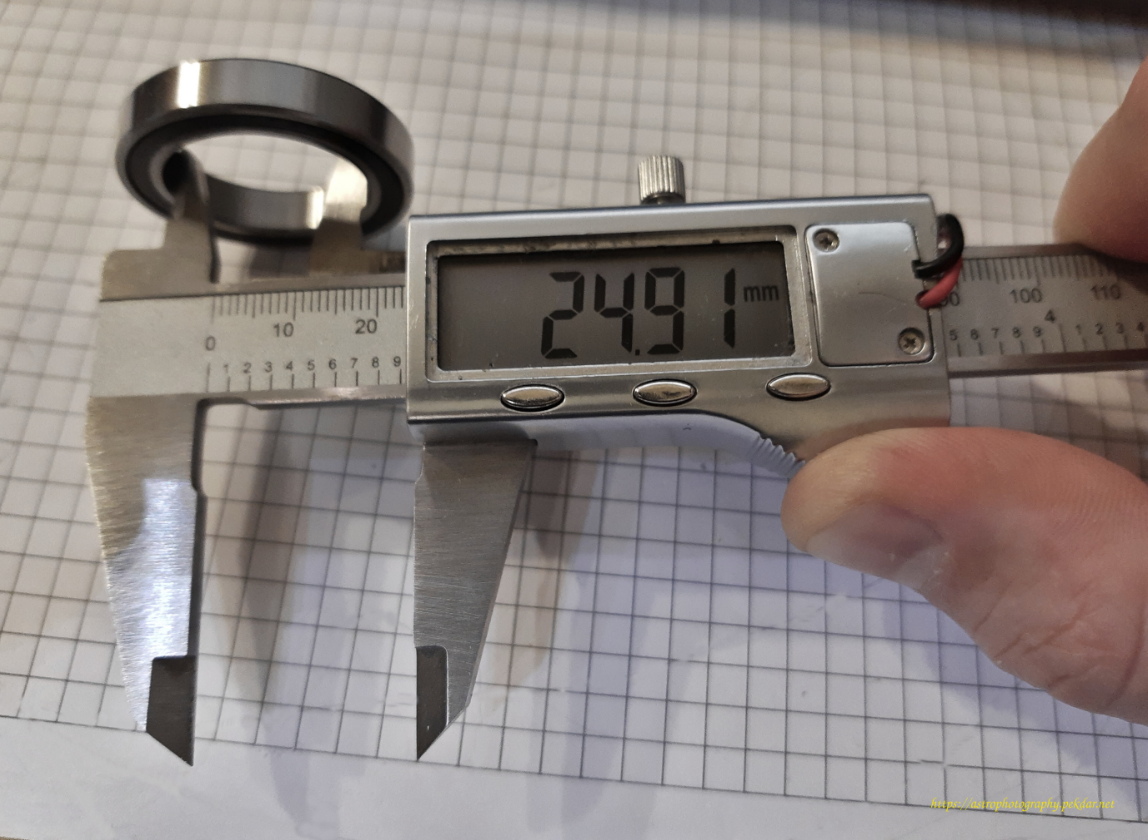
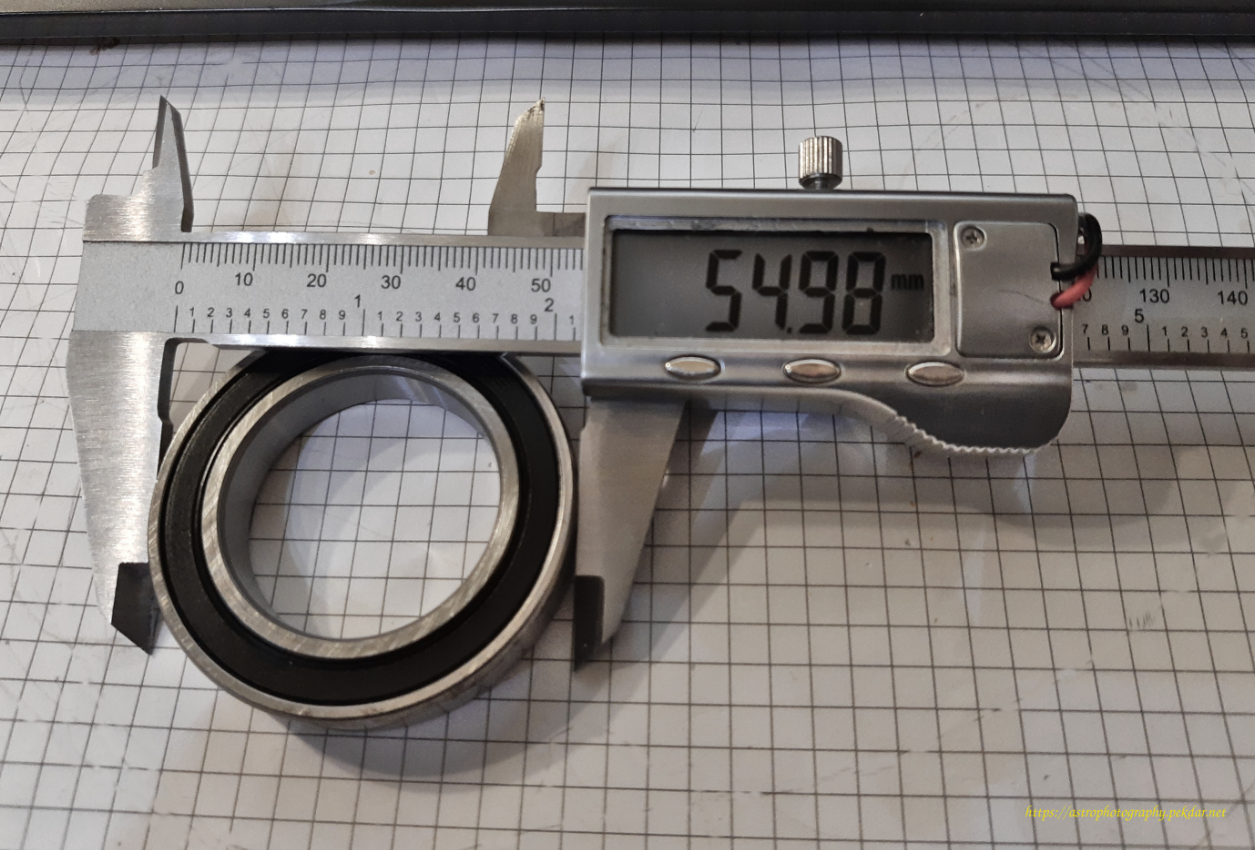
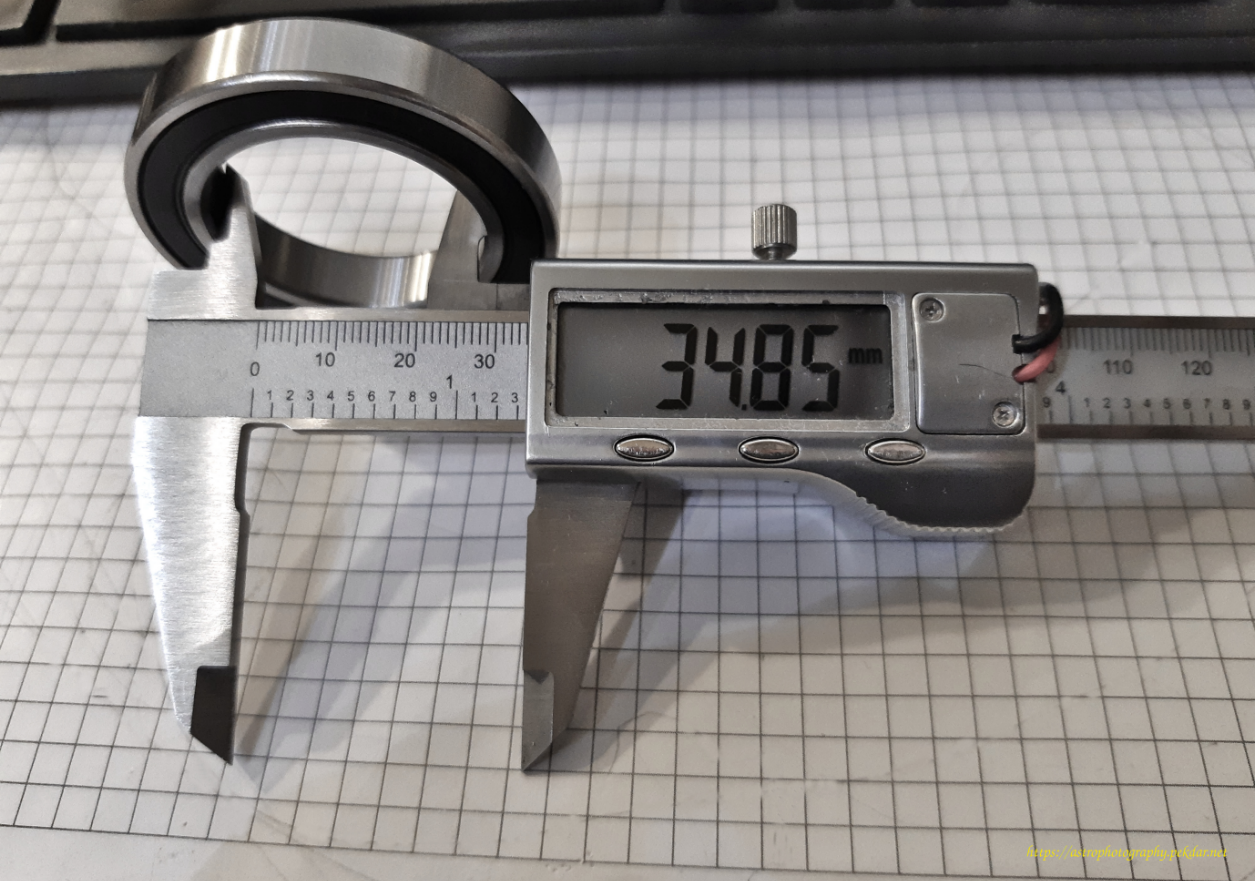
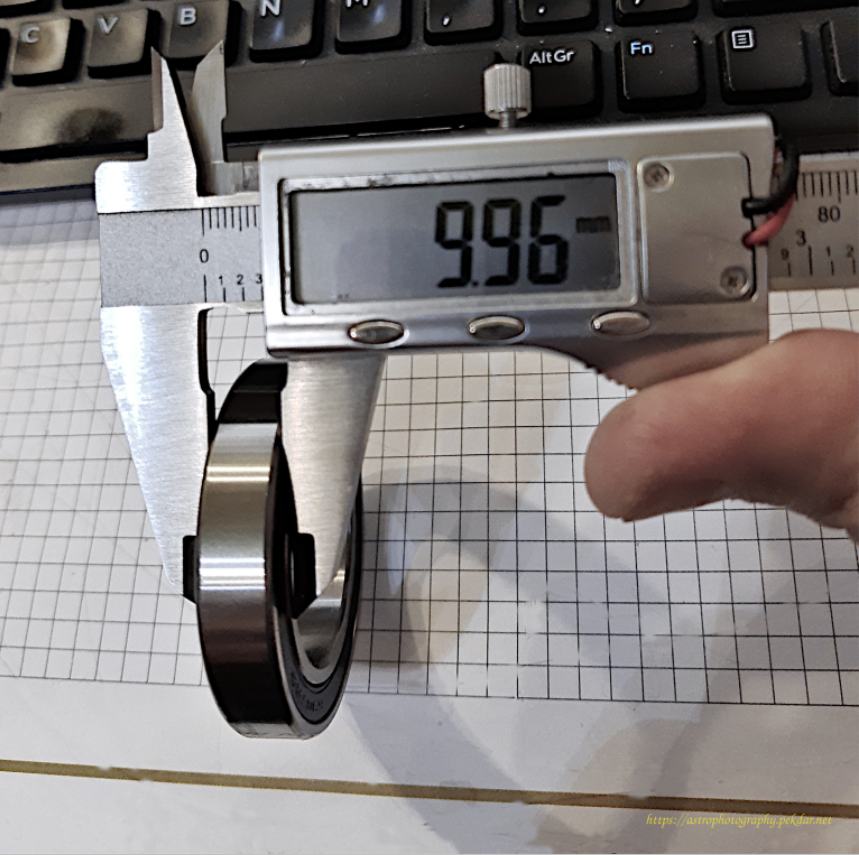
Dimensions in [mm] of the smaller bearing.
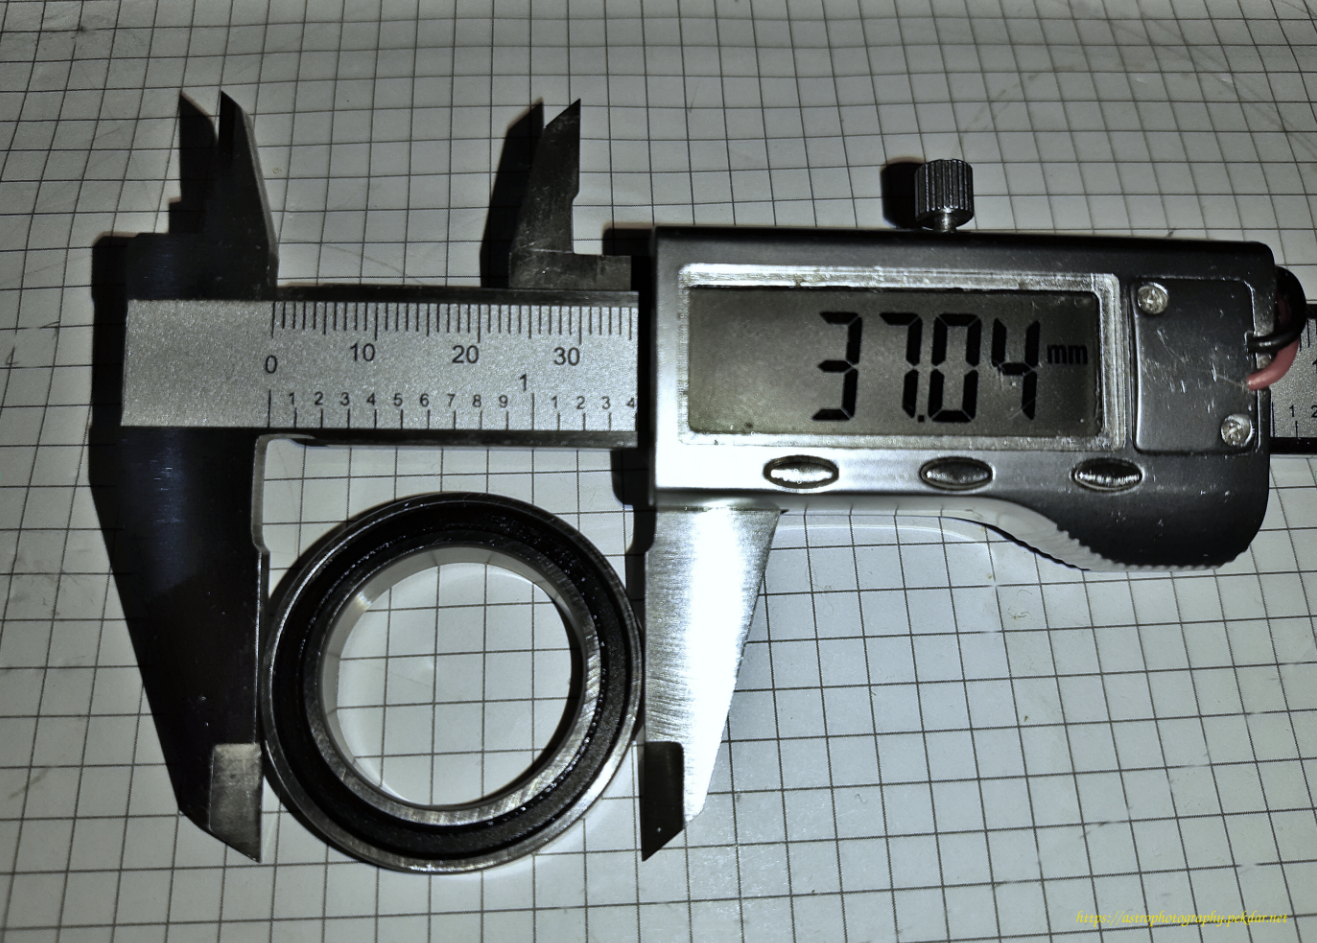
Dimensions in [mm] of the larger bearing.
Assembly of new bearings and DEC axle components
Install new bearings on the sleeve and check that all components fit together.
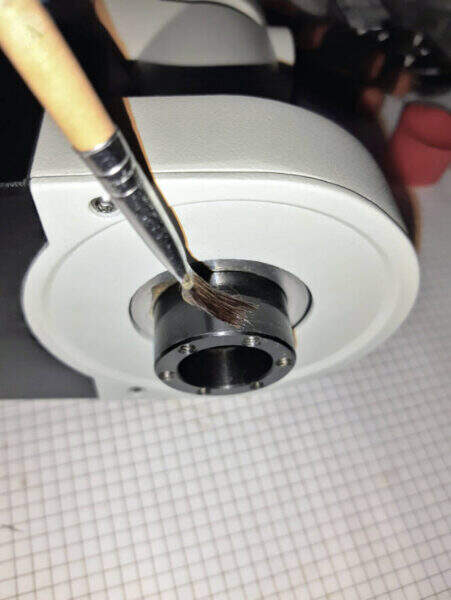
Apply a small amount of grease to the bearing seat. Use a brush to spread it over the entire surface. This will make it easier to seat the bearing.
Slide the larger bearing into the seat. In my case, the dimensions of the bearing and the seat fit tightly. A bit of force was required to fit the bearing exactly into the seat. I put the handle of the tongs against the edge of the bearing and with a hammer tapped the handle with steady force, moving it around the edge of the bearing. This method is not perfect, but it has worked well.

Flip the DEC body over and slide the smaller bearing into the seat. Make sure it is well seated in place, checking visually, whether there are clear gaps between the bearing ring and the seat.
From the worm gear side, slide the DEC shaft sleeve into the bearing.
Screw the nut with the sleeve. It presses down and eliminates excessive play between the sleeve, bearings and the body.
Using long straight pliers, tighten the nut with measured force. Be very careful not to over tighten it, which will occurred with unwanted resistance. Can’t be screwed on too lightly, there may be occurred unwanted play.
Install the DEC axis worm wheel gear.
Screw in the three Allen locks and lock the gear. There may be unexpected resistance when rotating the body about the sleeve axis. IMPORTANT: Tighten the Allen screws until there is no resistance.
Screw in the polar finder lens.
Apply a thin layer of grease to the sleeve of DEC axis.
Assembly the other half of the body.
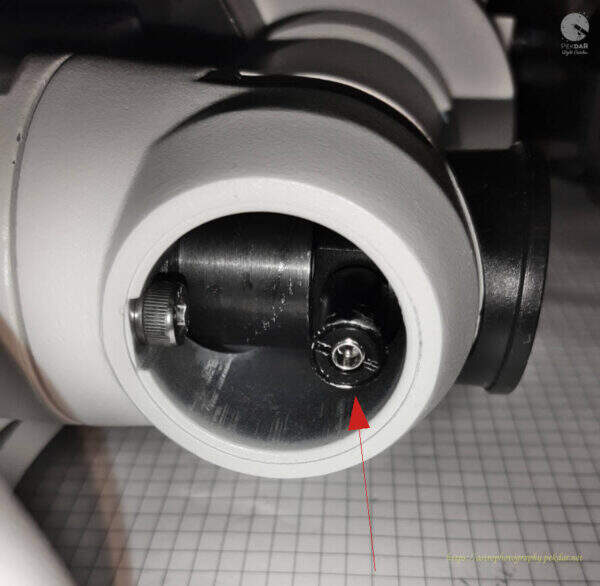
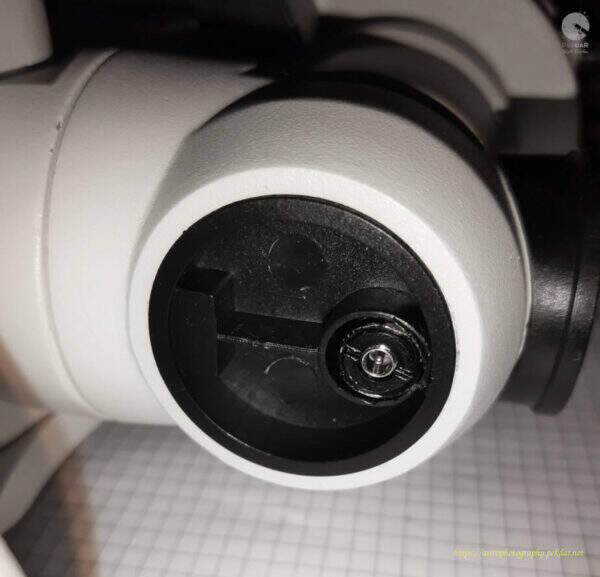
Make sure that the screw inside body, hits the appropriate hole. Grip the bolt with a wrench and lightly screw it into the body.
Use the appropriate size Allen key to screw the other inner screw onto the body.
Screw the body with the two longer screws using the appropriate size Allen key.

Put on the cover of the RA axis worm wheel and screw it on with three Allen screws.
Apply a thin layer of grease to the DEC sleeve.
Use the Allen key to tighten the 6 screws connecting the dovetail handle with the DEC axle body.
Attach the polar finder illuminator by hand or using small pliers.
Attach the bottom DEC cover by hand or with a pair of pliers.
Attach the polar finder cover.
Test to verify the appropriate of the bearings replacement
Attach the mount to the tripod. Grab the body of the DEC axle with your hand, unlock it so that it can rotate freely. With your other hand, turn the dovetail handle. Pay attention to whether you feel any slightest resistance in a specific place when turning the handle. If you have followed all the steps in these instructions correctly, you should have the same freely rotating dovetail handle as in the video below has been shown. If it does then congratulations, great job!
The article describing the replacement of the RA axis bearings can be found here.