Capturing Star Trails in a photo is not to difficult task. There are several schools to do this. The Internet has many descriptions and videos on how to do this. I think I’ll never become a YouTuber, personally I prefer to create a document or simple instruction that describe the whole ho-to process in clear technical language and this was what it guide me during preparation this description.
Remember that each photo is different and the following examples, will not necessarily work for your photo light collection. My best practice is to always look for the optimal settings and processing solutions for each photo separately. It can be also your best practice.
English is not my native language. I wrote this description with my best I can, I will be grateful for any support by e-mail with information, where I made a mistake to correct it.
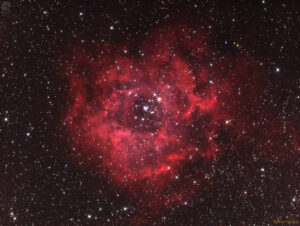
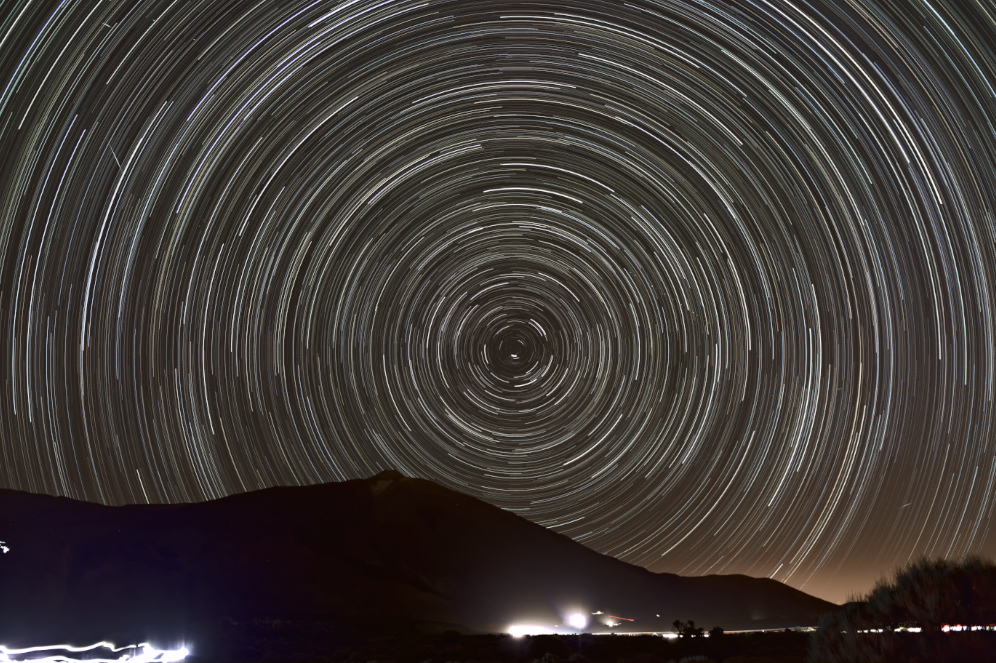
I do not consider myself as an expert with described subject. I think I still have a lot to learn and find a way, to get an better final effect than the one presented in the photo below.
Together we will go through with three main steps.
- Preparation of the source light frames, eg in the RawTherapee program. It can be any other program you like it to use or learn RawTherapee for self-discovery.
- Stacking the light frames together using the StarStax program,
- Complete the photo using the available functions in StarStax.
1. RawTherapee – light frames preparation
StarStax version 0.71 cannot handle .RAW files. Before we join the light frames together, we have to convert the .RAW type of the collected light files, to the .PNG 16bit or TIFF 16bit type. It can’t be a type, e.g. JPG or other type, that generates quality losses. I’ve chosed the .PNG 16bit type. Lets go for actions.
Start the RawTherapee and go to the File Browser tab, to load light frames by clicking on the appropriate file folder.
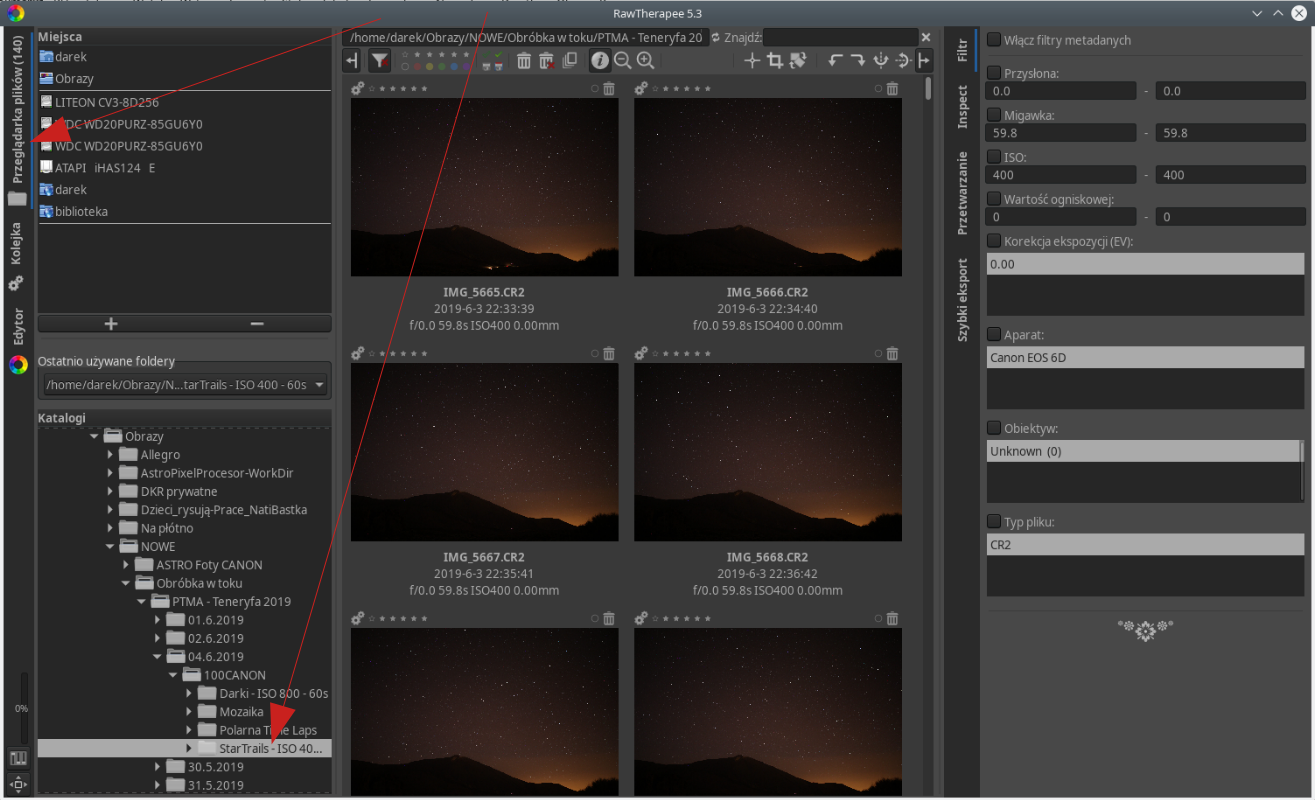
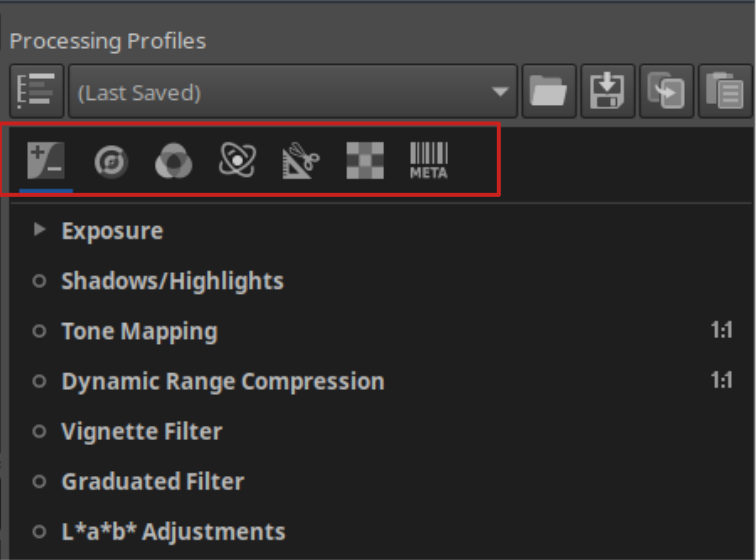
Click on the first light frame and adjust its parameters (brightness, contrast, color saturation, exposure, etc.) to your preferences. The options available on the image processing tabs, are available for this purpose. Experiment to get to know them and learn how to use them.
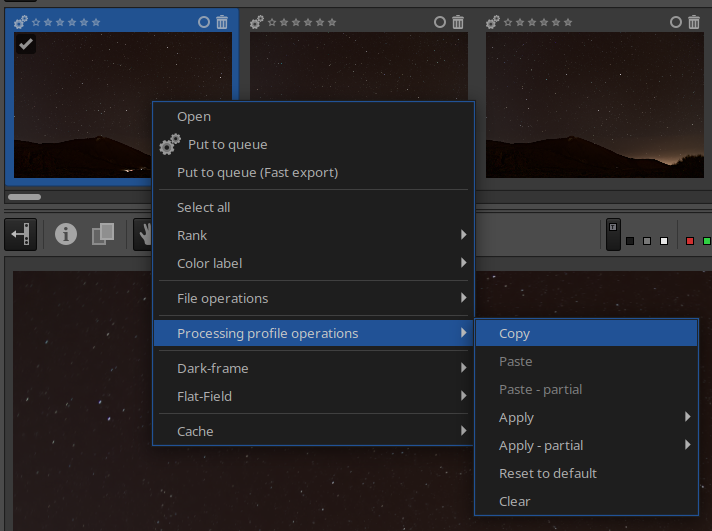
Each processed photo has its own profile of changes. This profile should be copied and placed / pasted on the remaining photos in the queue, so that each photo has the same changes – the nature of the author of the processing. In the top preview bar, the first photo is highlighted with a colored frame – the active photo. Right-click on the active photo and select Processing profile operations → Copy from the context menu to copy the profile.
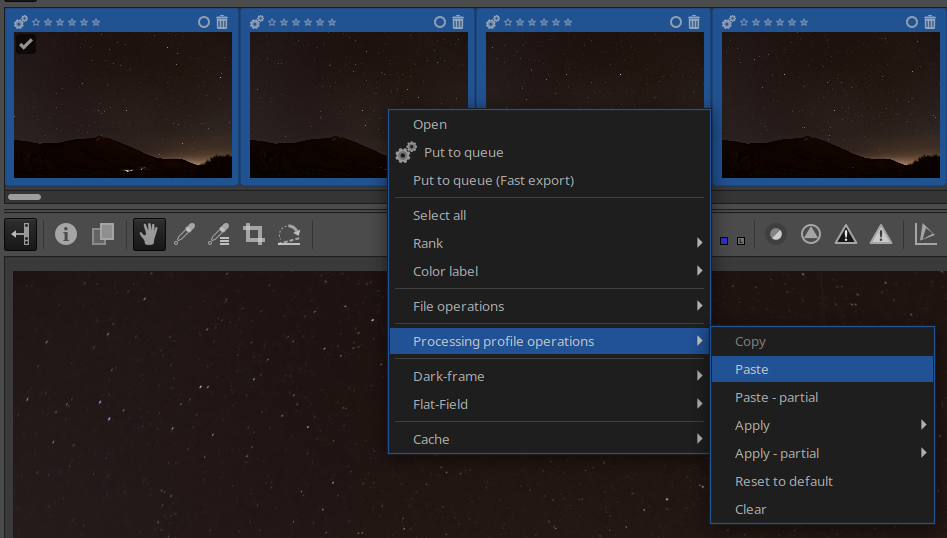
Now, we will apply the copied profile to the remaining photos. On the top photo preview bar, left-click any photo, press CTRL + A to select all photos. Then right-click on any photo and select Processing profile operations → Paste. The profile will be applied to all photos almost at once. Depending on the number of photos and the processing power of your computer, the change process may take a little longer.
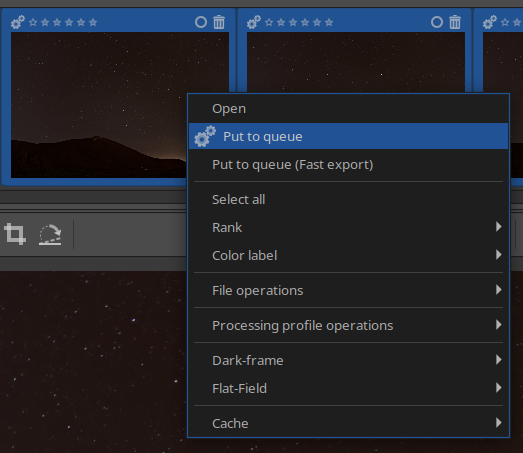
The last step is to export the modified photos to the .PNG 16bit type. Select all photos in the same way as we did in the previous step (CTRL + A). Right-click on any photo and select Put to queue from the context menu.
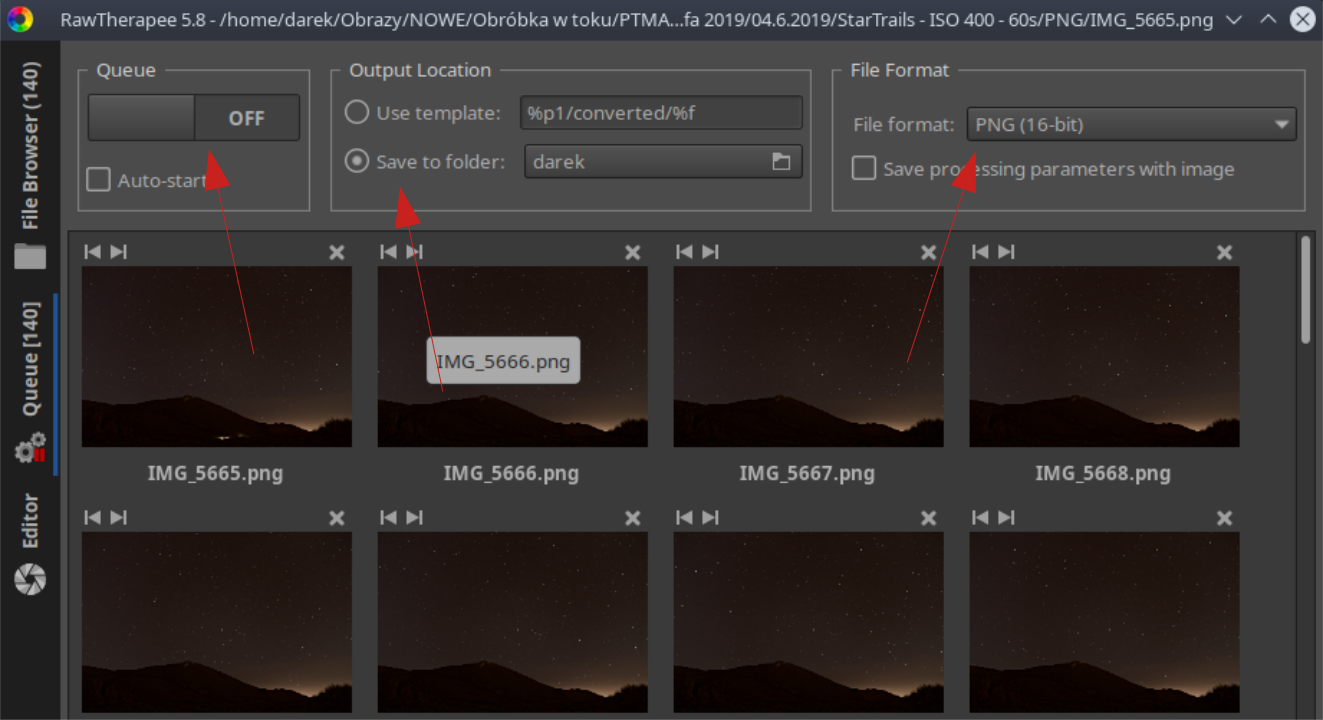
On the left side of the program window, click on the Queue [..] tab to change the view to the export queue. Set Output Location to Save to folder to specify the destination directory where the .PNG output files will be saved. Set File Format to PNG (16-bit). Now click the OFF switch and change it to ON to start the photo export process.
Now is the time for coffee / tea / whatever you prefer. The photo export process will take a while. When it is finished, go to the next chapter → StarStax – photo submission and stacking.
2. StarStax – photo submission and stacking
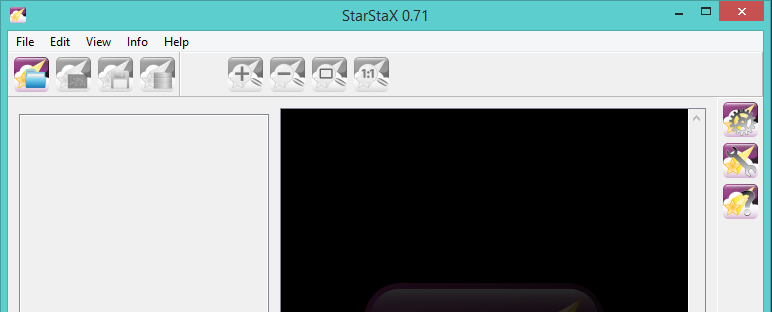
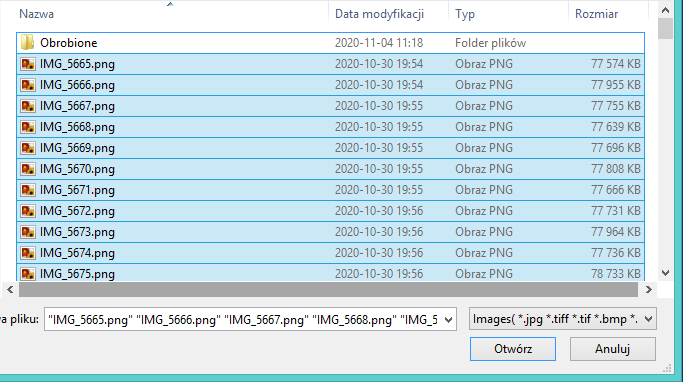
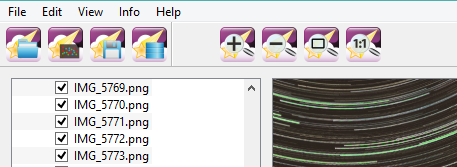
Run the program and load the files, in my case they are .PNG files exported by RawTherapee. Click on the icon under the File menu, a dialog box will appear with the selection of files.
Click on any file and press CTRL + A to select all photos. Click on Open.
On the right side of the screen, click the gear icon (Preferences…). There will be additional options that needs to be configured. On the Blending tab, in the Blending Mode area, click the drop-down list and select Gap Filing. You have to fill in any tiny gaps in the star trail, that may appear between individual photos. We leave the other options at the default settings.
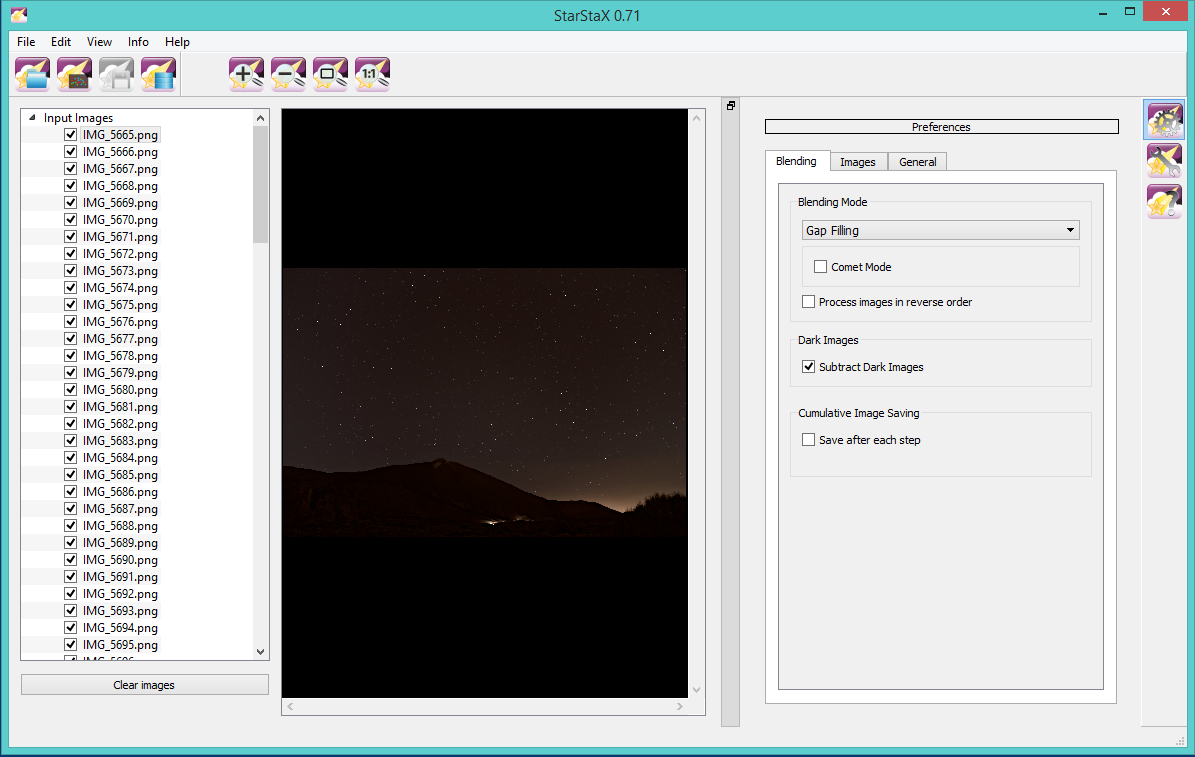
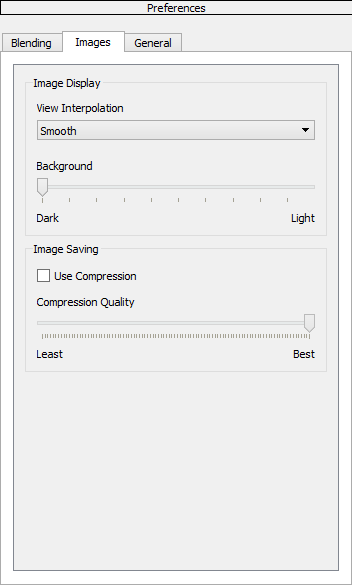
Click on the Images tab, under View Interpolation, click on the drop-down list and set Smooth. Below is the Background slider, move it to the left. The options available on the General tab remain unchanged.
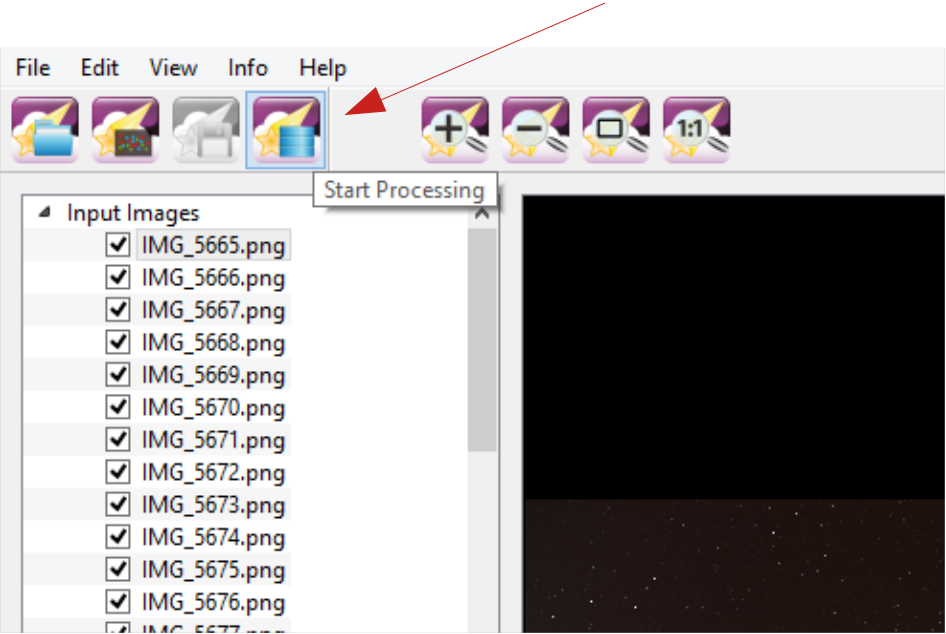
Click on the Start Processing icon.
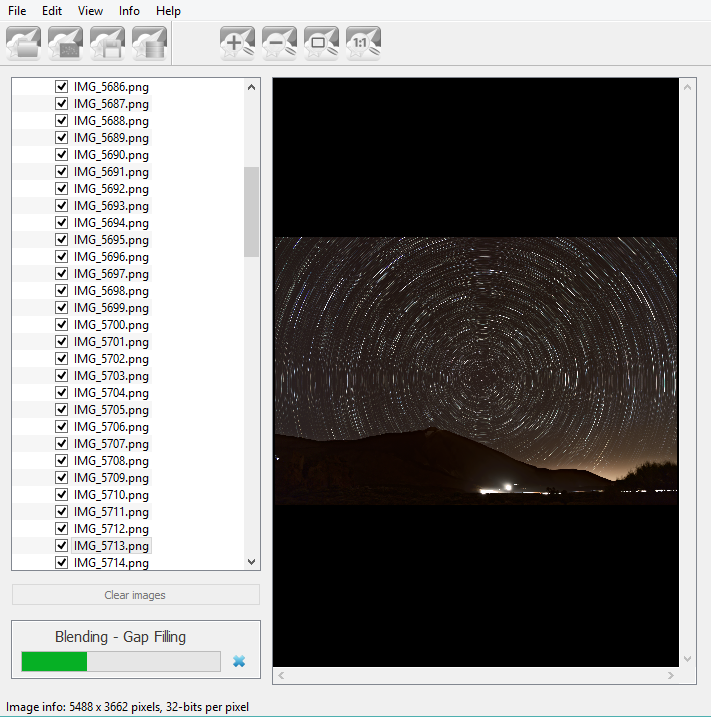
The stacking process will take a while. You should be patient. Processing preview:
3. StarStax – final processing
The result of the photo stacking processing is shown in the preview. Depending on the quality of the collected light frames, it may happen that the star trails are not a continuous line and contain many very short gaps. It is a good idea, to do an activity, to replace the missing light in these gaps. The Gap Filling function is used for this.
Enable the Show Threshold Overlay option. The trail of stars will be colored green. This is the mask that illustrates how the star trail detection algorithm works.
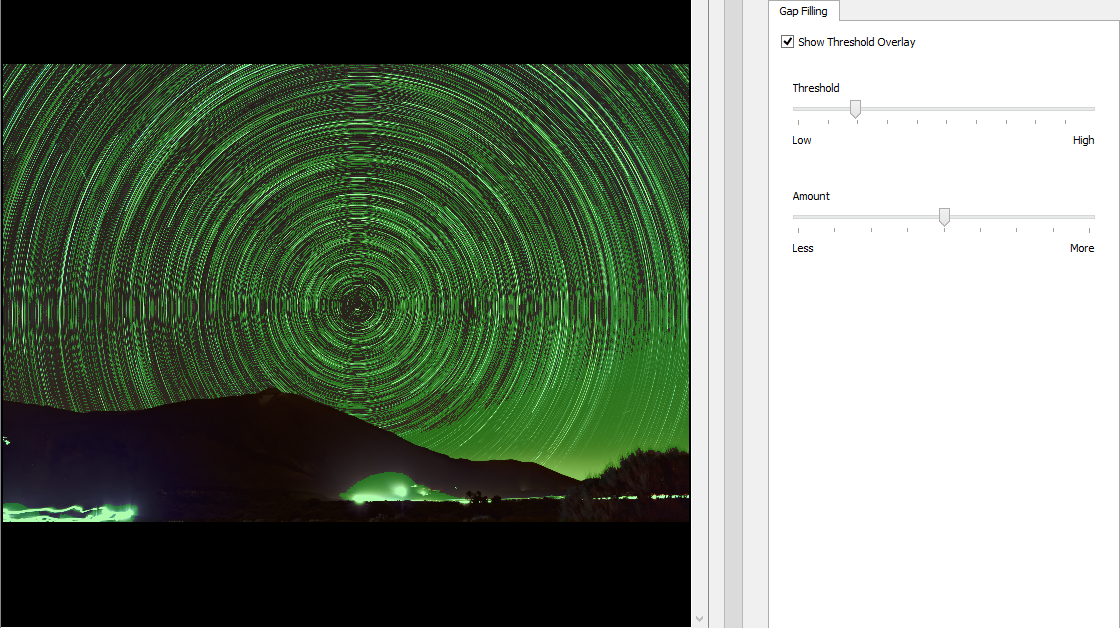
Zoom the photo to a size, where you can recognize the individual star trails. Move the center view to the position, where you can see a solid green color in the photo.
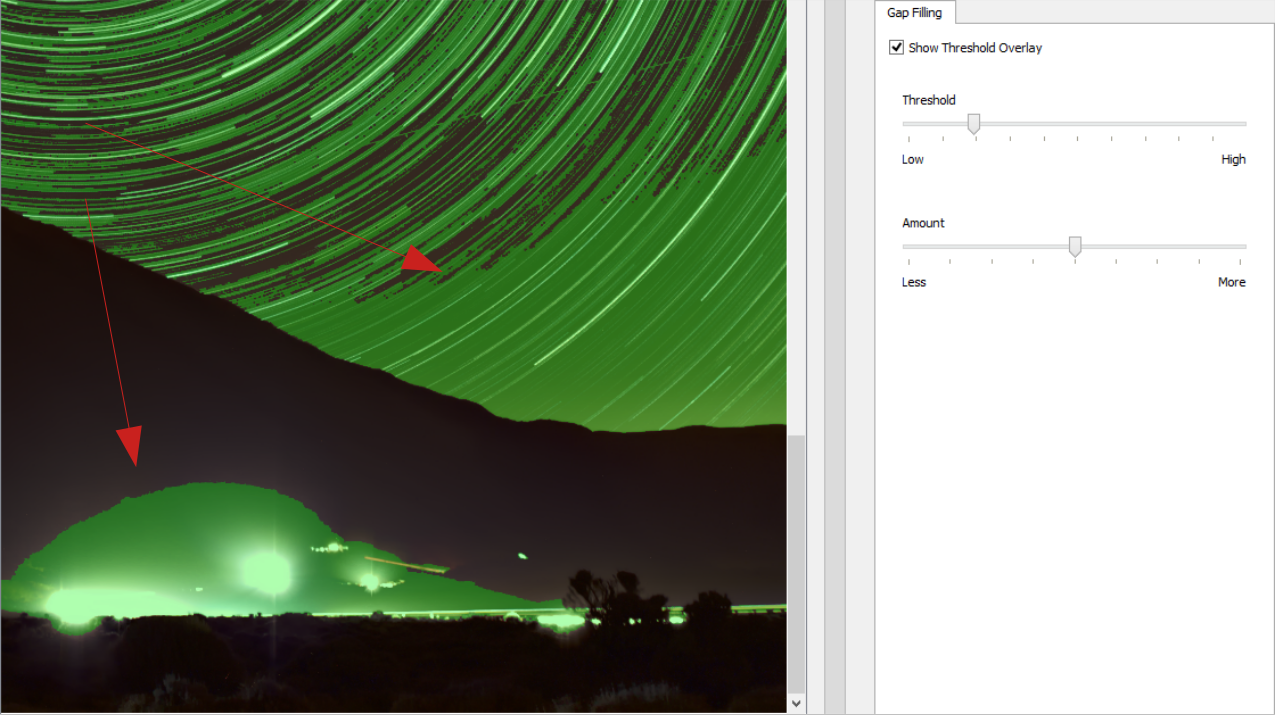
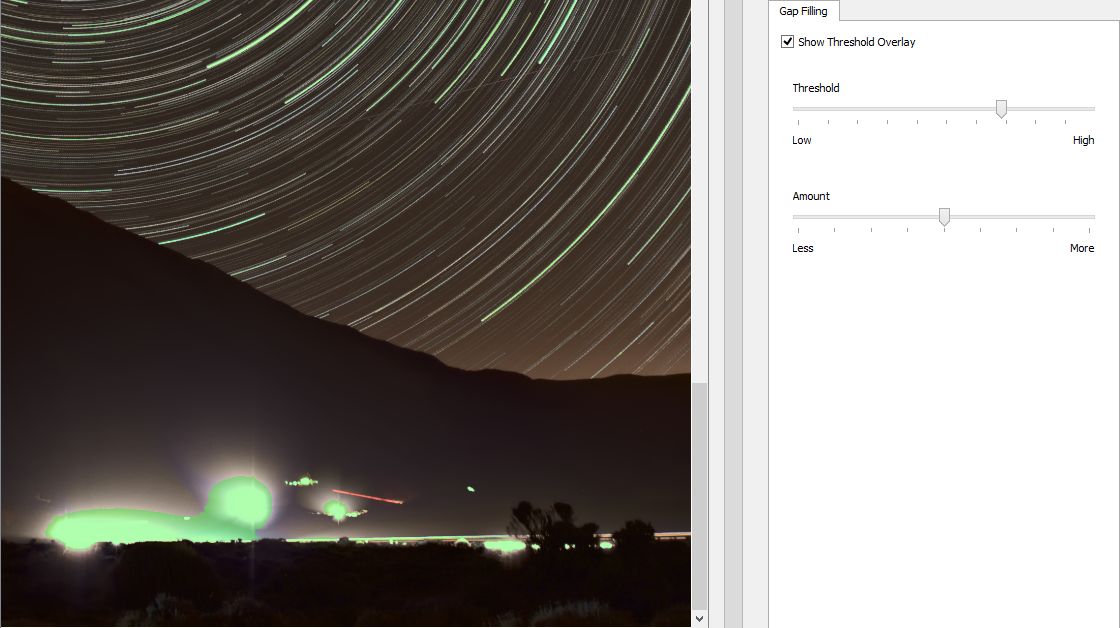
Grab the Threshold slider and move it to the right, until the solid color visible on the horizon disappears and remains only on the trail of stars. Do not pay attention to strong light sources. Their overexposure can be corrected in post-processing with photo processing programs (GIMP, Photoshop etc.).
You can set the fill level for gaps with the Amount slider. In my example, set it in the middle of scale worked. Experiment with the level to find the best match for you.
Now we have to save the final result with our photo. Click on Save As …
A .TIFF file is best for further processing. Click on Save and you’re done.

The final processing should be done with the program, which you like to edit photos. I like GIMP and RawTherapee.
Was description useful? Consider to support author, it prevents to post annoying ads for you. All you just could do is once a year, sponsor for me a coffee. The currency, amount, doesn’t matter to me. Matter to me, that you want! 🙂 PayPal link below.