PIPP Linux
PIPP is the de facto standard in the pre-processing workflow for planetary and lunar imaging. Although it lacks a native Linux version, the Wine (Wine Is Not an Emulator) architecture allows for stable execution with full performance. This guide covers creating an optimal environment using the PlayOnLinux manager.
The Critical Choice: 64-bit Architecture
Unlike older astro tools, PIPP benefits immensely from 64-bit architecture, especially when handling massive .SER files.
-
When configuring in PlayOnLinux, always select “64 bits windows installation”.
-
This allows the software to address more RAM, preventing “Out of Memory” errors during the stabilization of long video sequences.
Shortened Installation Process (Universal Method):
-
Download: Get the PIPP installer (
.exe) from the official website. -
Wine Prefix: Create a new virtual drive in PlayOnLinux. It is recommended to use a stable, modern Wine version (e.g., 6.0+ or 7.0+).
-
Additional Libraries: To correctly render the UI and handle certain video containers, PIPP may require extra components. Using the “Install components” feature in POL, consider adding
vcrun2008orvcrun2010. -
Execution: Once installed, PIPP should be available as a shortcut on your Linux desktop.
Detailed Installation procedure
I assume that if you are already reading this description, for me it means that you are a Linux user and as a regular user, you have the ability to install the necessary programs, using the built-in tools (Muon, apt or other tool) you can install PlayOnLinux (POL) from available repositories used by you distribution.
This installation description is not closely related to the Linux Kubuntu distribution that I use. Certainly, it will be good for almost any Linux distribution available on the Internet.
Make sure you have the “winbind” package installed in your system. It is necessary for the PIPP, to be fully functional. Let’s proceed to the installation of the PIPP using POL.
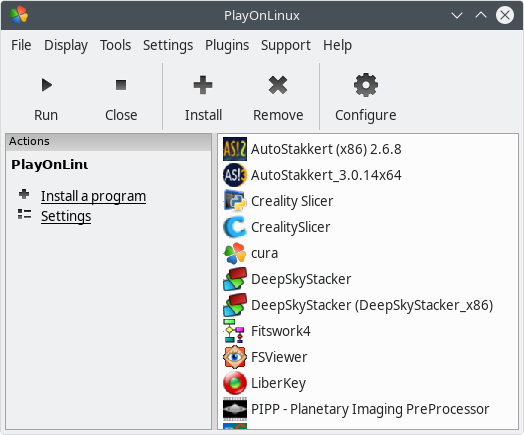
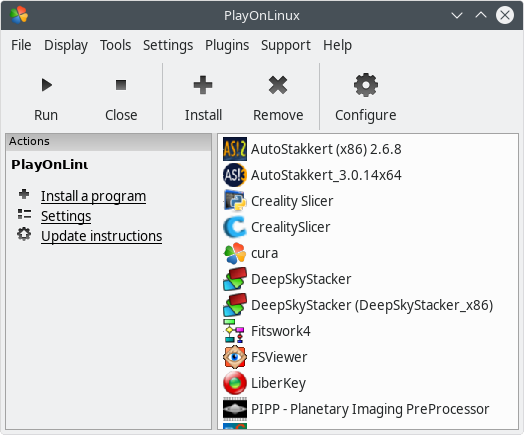
Installation of PIPP by POL (Play On Linux)
Start POL and click on Install a program.
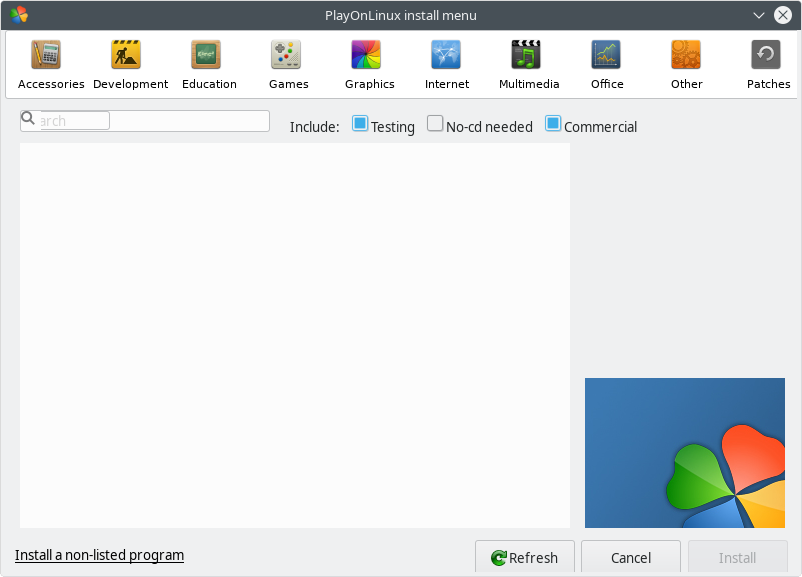
On thePlayOnLinux install menu window, click on Install a non-listed program.
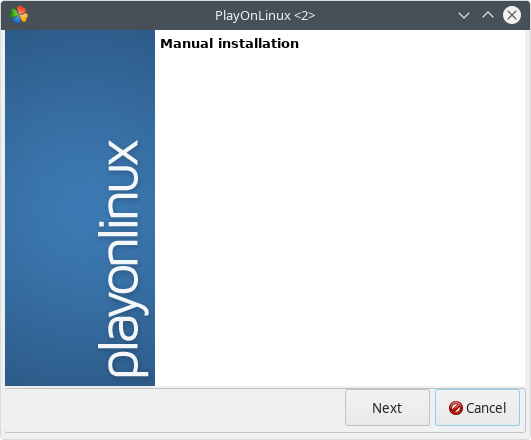
Manual installation – click on Next.
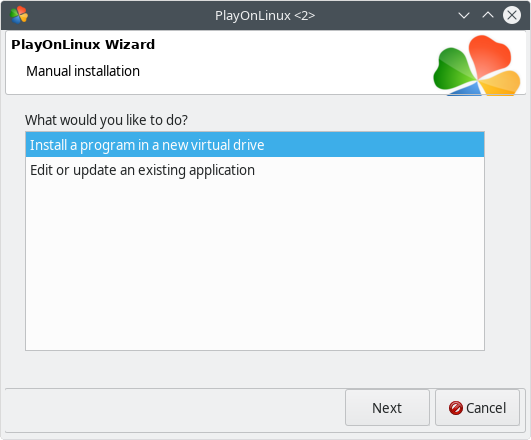
PlayOnLinux Wizard – click on Install a program in a new virtual drive and Next.
Manual installation – In the text field you see, type name for virtual drive that will be created for installation process. I’ve typed „PIPP”. Click on Next.

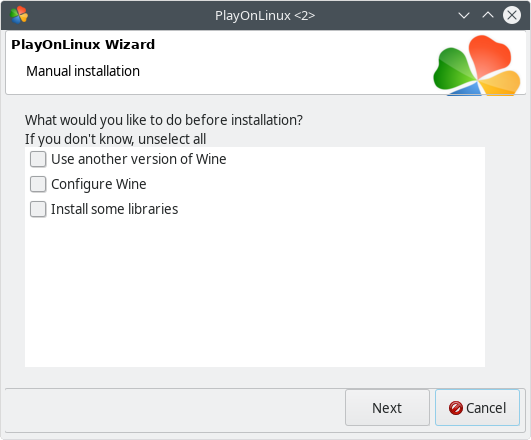
Manual installation – do not change anything, just click on Next button.
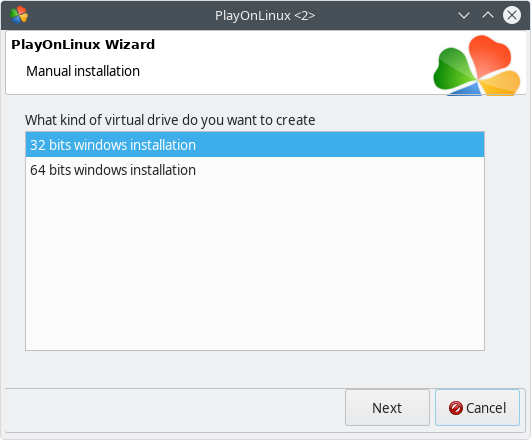
Manual installation – Select 32bit windows installation and click on Next.
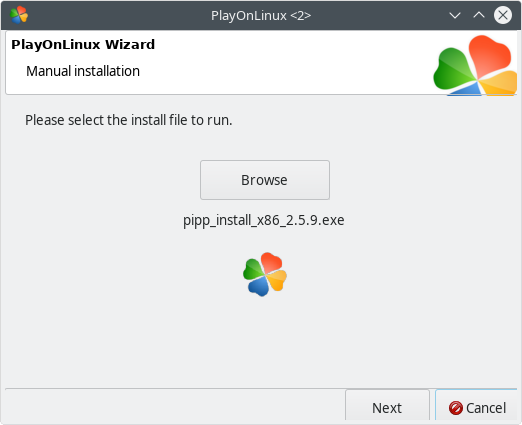
Manual installation – Click on Browse and follow to drive location where you have a .exe file with PIPP 32bit version program. Click on Next.
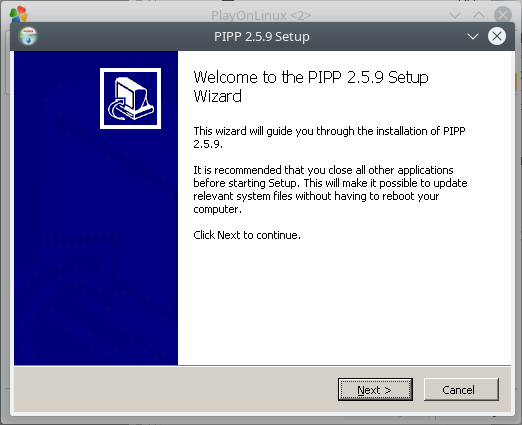
POL will run PIPP Setup Wizard. Click on Next and follow wizard installation.
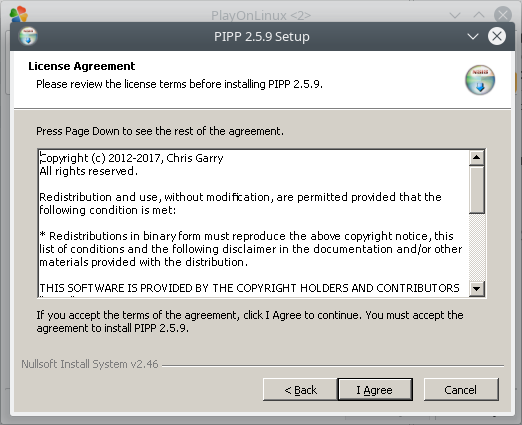
The PIPP program is for free but the License Agreement you must accept. Click on I Agree
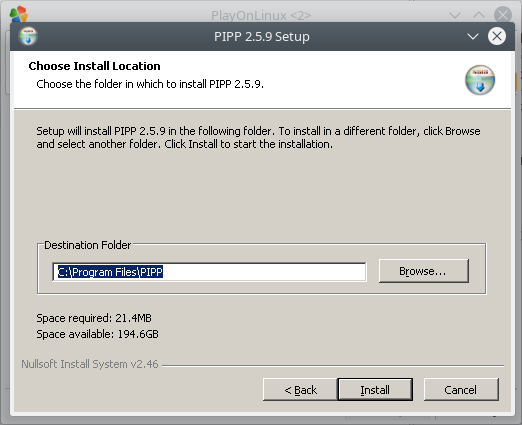
Do not change the default installation path. Click on Install.
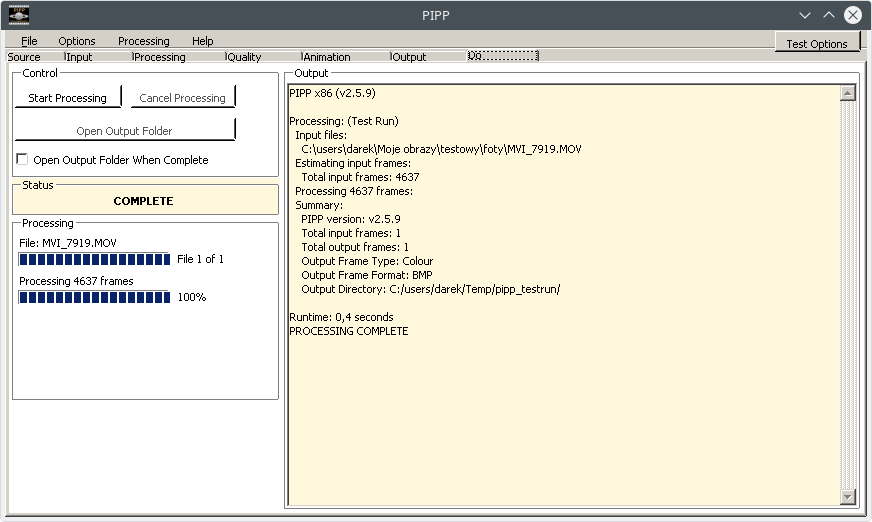
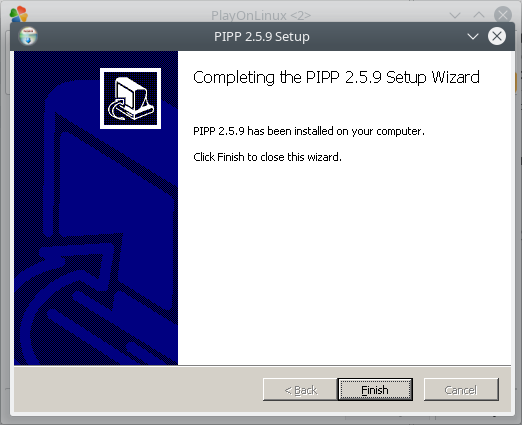
On my computer the installation process was so fast, that I couldn’t catch a picture with installation process itself. Just click on Finish.
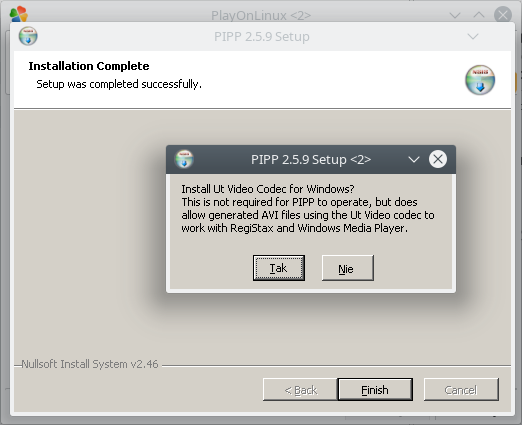
The PIPP was installed but the installation wizard have some additional software to install as option. I suggest you to install this additional software, especially, they have support for AVI files type. It’s compatible with RegiStax software that is used for stacking process of light frames with planets, sun, moon etc. Click on Yes.
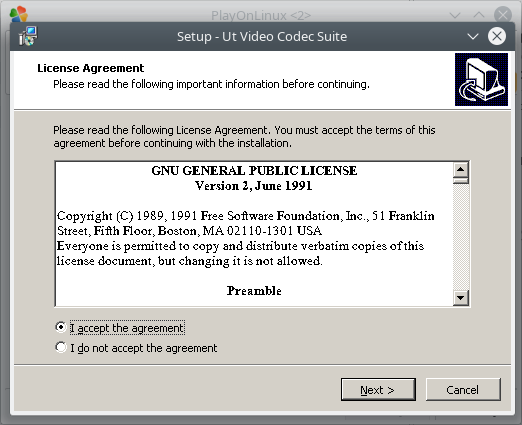
Just accept license agreement and click on Next. Installed software is for free with GNU GPL license.
In our case/example we can skip this information, click on Next.
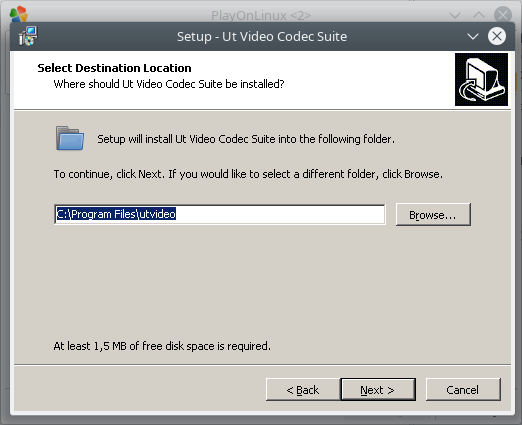
Do not change default installation path. Click on Next.
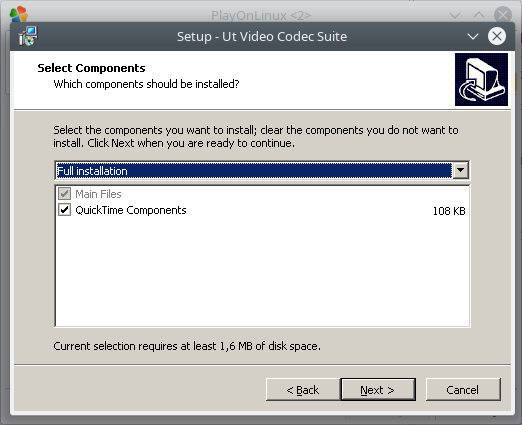
Leave default setup for selected components and click on Next.
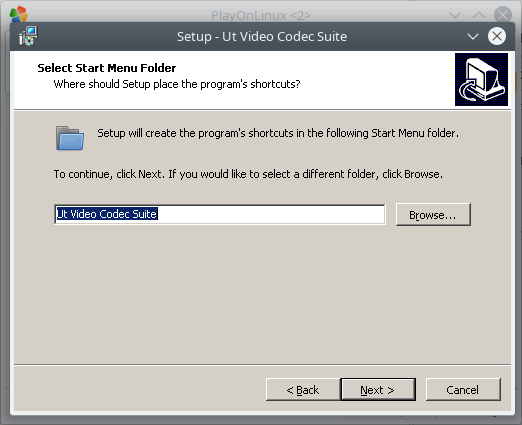
Click on Next.
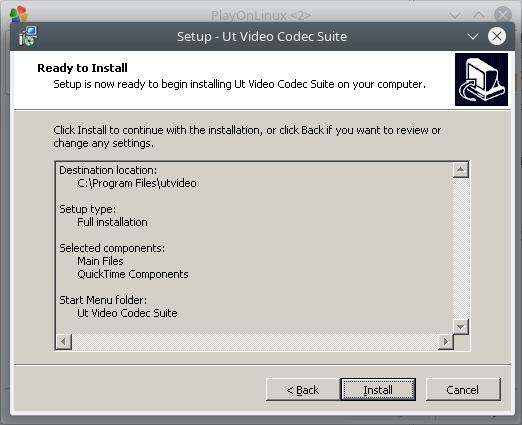
Click on Install
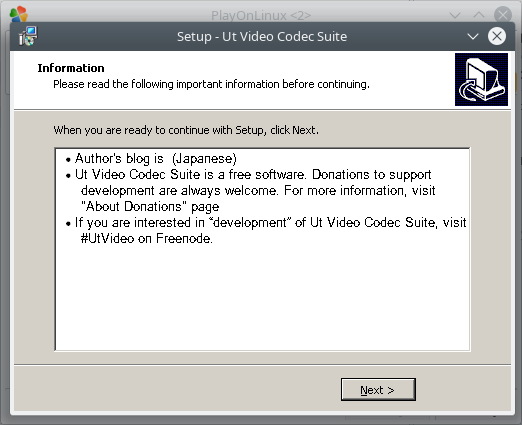
Try to meet with information and click on Next.
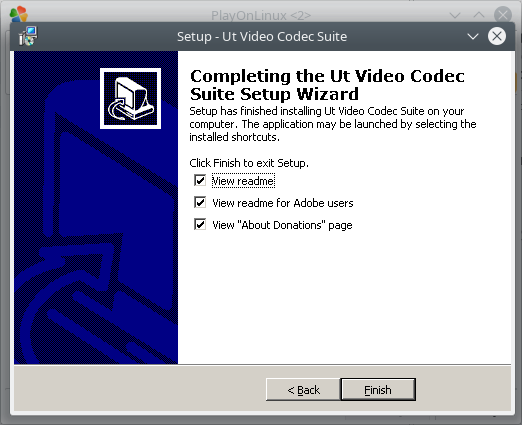
You can read selected information or just skip them and click on Finish.
The installation process with PIPP program has been completed. Everything went fine and correct.
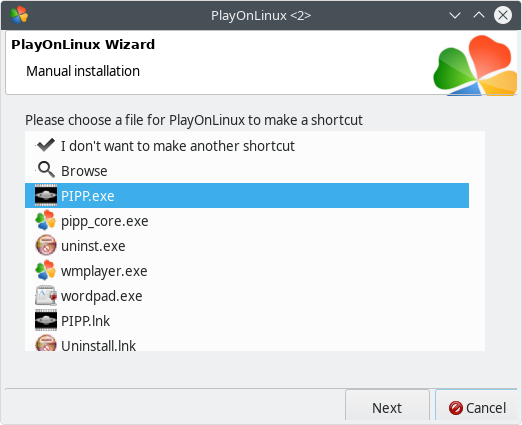
Let’s back to POL Wizard, It’s important to create a shortcut to installed PIPP program. On the visible list of files, select PIPP.exe and click on Next.
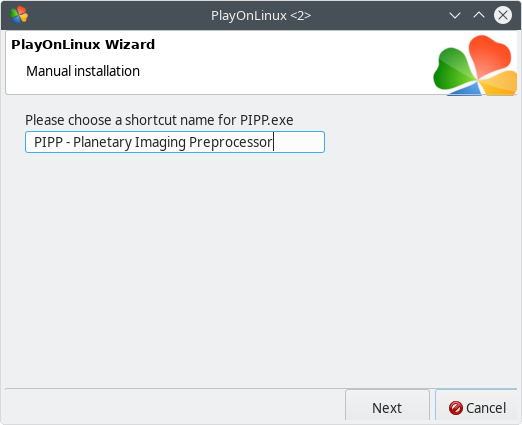
You can change the default shortcut name to something more reasonable. I’ve typed „PIPP – Planetary Imaging PreProcessor” and click on Next.
Installation wizard will back again to list of files. Now select the I don’t want to make another shortcut and click on Next.

After installation has been finished, on the list of installed software you can find our PIPP – Planetary Imaging PreProcessor ready for first run.
Nothing more is needed to configure for first run. Just run PIPP with double click on the PIPP – Planetary Imaging PreProcessor and wait a bit.
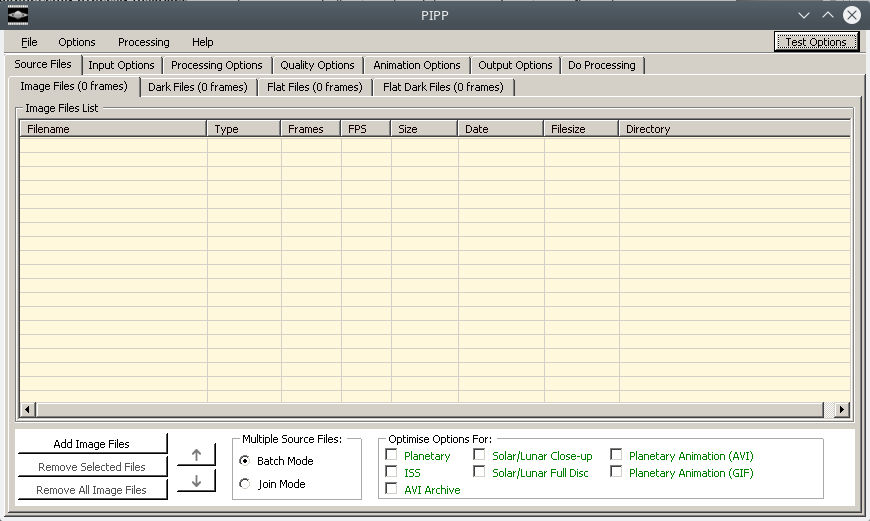
PIPP is ready for work.
Video File Handling on Linux
The most common issue in a Wine environment is a lack of codecs. If the Linux version of PIPP refuses to open your .AVI file, the best practice is to convert it beforehand to the .SER format (which is raw and doesn’t require system codecs) or ensure the ffmpeg.exe binary is present in the PIPP folder.