Zdobienie

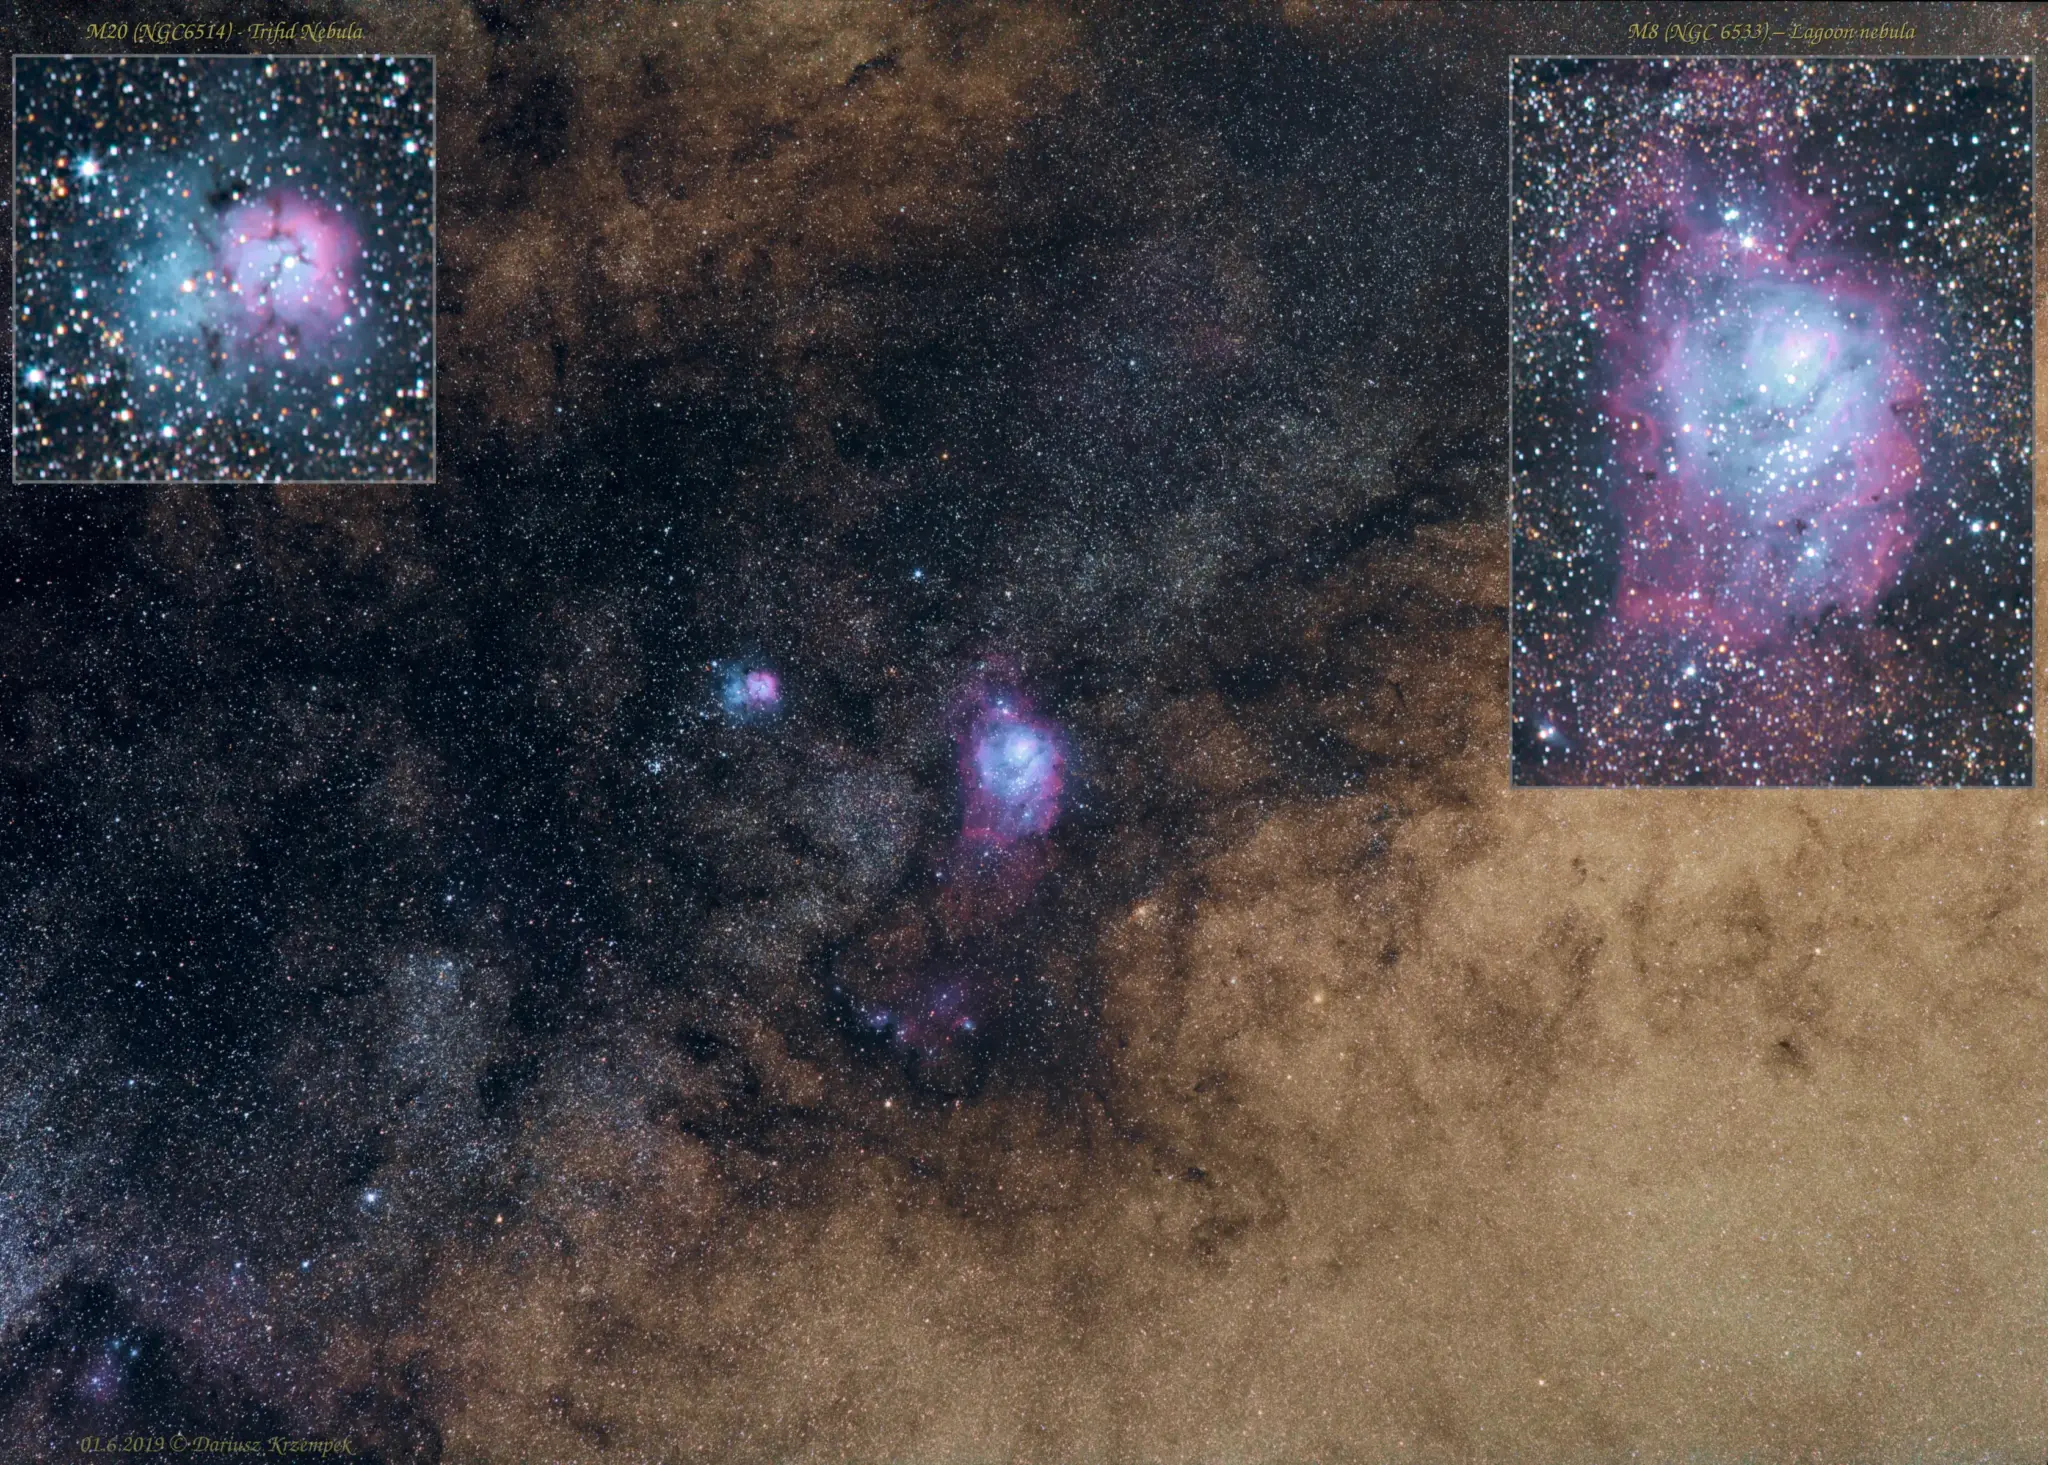
M8 Lagoon and M20 Trifid Nebulae

Zdobienie

M8 Lagoon and M20 Trifid Nebulae

M8 Lagoon Nebulae is a giant interstellar cloud in the constellation Sagittarius. It is classified as an emission nebula and as an H II region. The Lagoon Nebula is estimated to be between 4,000-6,000 light-years away from the Earth.

In the sky of Earth, it spans 90′ by 40′, which translates to an actual dimension of 110 by 50 light years. Like many nebulas, it appears pink in time-exposure color photos but is gray to the eye peering through binoculars or a telescope, human vision having poor color sensitivity at low light levels.

Source: https://en.wikipedia.org/wiki/Lagoon_Nebula

Lagoon and Trifid Nebulae with crops

M20 Trifid Nebula is an H II region located in Sagittarius. It was discovered by Charles Messier on June 5, 1764. Its name means ‘divided into three lobes’. The object is an unusual combination of an open cluster of stars; an emission nebula (the lower, red portion), a reflection nebula (the upper, blue portion) and a dark nebula (the apparent ‘gaps’ within the emission nebula that cause the trifurcated appearance; these are also designated Barnard 85). Viewed through a small telescope, the Trifid Nebula is a bright and peculiar object, and is thus a perennial favorite of amateur astronomers.

The Trifid Nebula is a star-forming region in the Scutum spiral arm of the Milky Way. The most massive star that has formed in this region is HD 164492A, an O7.5III star with a mass more than 20 times the mass of the Sun. This star is surrounded by a cluster of approximately 3100 young stars.

Source: https://en.wikipedia.org/wiki/Trifid_Nebula

Photos (June 2019) taken at Tenerife, exactly in the place next to “God’s finger”.

  • Composition: Astro Pixel Processor,
  • Processing: RT + GIMP v2.10.12 + plug-ins (Linux),
  • Lights: 42 x 89[s] ISO 1000,
  • Flats: 40 ISO-1000,
  • Darks: 17 ISO-1000,
  • Bias: 20 ISO-1000

Support my work on Ko-fi

Did this guide help you?

I create these guides and projects as a hobby. If I helped you save time or money, consider supporting my work with a coffee. It keeps the energy flowing for future projects.

Categories
Newest articles
Support

Was description useful? Consider to support author, it prevents to post annoying ads for you. All you just could do is once a year, sponsor for me a coffee. The currency, amount, doesn’t matter to me. Matter to me, that you want!

Read

Similar Articles

SynScan - PCB - pads

SynScan GOTO controller – trouble with buttons

Even though this article has been around for ages, it still offers valuable insights and practical support for users of the SkyWatcher NEQ6Pro mounts. The content has been refreshed and tailored to match the current website engine, making sure everything looks and runs as smoothly as possible.     At some point while using the controller, I noticed that the ESC button wasn’t always working. I lived with it, but after a while, the left Ra button also started acting up and wouldn’t always connect. A red flag went up in my head – something needed to be done. It’s worth noting that the problems appeared right after the warranty period ended… coincidence? There weren’t many options, just two: either send the controller for service and pay a considerable amount for the repair, or try to fix it myself. My tinkering nature took over (as always), and I set about solving the problem on my own. I assumed that some dirt or substance must have gotten inside, which over time became sticky and was gripping the button. I don’t recall spilling any liquid on the controller, but I also can’t rule out a situation where rain or high humidity (fog) penetrated the controller’s interior. My recent, not-so-great experiences with electronics, especially those manufactured in China, gave me an idea of what I might find inside, so I prepared a few things for the job. Contact spray – quite a nice product for cleaning and degreasing electronics and optical devices, including removing contaminants from glass without damaging optical coatings.Cotton swabs are a must-have. Plastik 70 spray – in my electronics work, I usually reach for Plastik 70 spray (clear lacquer). It creates a thin, transparent, and, most importantly, sealed coating. It excellently protects soldering points from the tin components oxidizing and forming ‘cold solder’ joints, which stop conducting electricity relatively quickly after service work.A small, so-called artistic brush will be necessary to precisely and evenly spread the Plastik 70 over the repaired surfaces. Let’s get to work. We’re unscrewing the controller; it’s held together by 4 Phillips head screws. There are no clips, so slowly and gently, but without excessive force, we remove the housing. On the left side, carefully disconnect the white ribbon cable (signal) with the white plug and the plug with the colored wires (power). Grab the PCB board from the left side and slowly, gently turn it over to the right side. Contamination is visible at the soldering points of the white ribbon cable. Below, you can see dirty pads for the ESC button. Now I know where the problem with the uneven operation came from; it would connect sometimes and sometimes it wouldn’t – irritating. It’s not that visible in the photo, but the direction button pads weren’t exactly clean either. It was quite noticeable under the light. The opposite end of the controller, was also dirty. The soldering points of the disconnected plugs. The button pads were also dirty. I’m at my wit’s end. There’s no choice, the entire PCB will have to be cleaned. How to clean without breaking anything? Spray a little of the substance into the removed cap from the contact cleaner and dip a cotton swab in it. Lightly wipe out the dirty areas. Repeat the process until all the dirt is removed. Once you’ve cleaned all the areas, you need to protect the soldering points. Plastik 70 and a brush will be used for this purpose. The procedure is very similar to cleaning. Spray a little of the substance into the removed cap. Use the brush to apply the Plastik 70 to the soldering points. Wait 10 minutes for the applied Plastik 70 to dry.” View of the controller after cleaning the soldering points of the electronics, pads, and applying a protective plastic coating to the soldering points: I think it turned out quite decently. In my assessment, that’s everything. All that’s left is to reassemble the controller and test its operation. The problems that occurred earlier have disappeared.    

Read more...
EQDIRect for NEQ and EQ mounts

EQDIRect for NEQ and EQ mounts

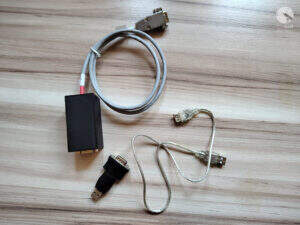
    The GOTO controller is extremely convenient and practical to use, when you want to look at interesting night sky objects, with your own eye through the eyepiece mounted in the telescope’s focuser. The ability to quickly select an object using the GOTO controller, is invaluable. It’s way better using mount with PC and Here it comes the EQDIRect for NEQ and EQ mounts.     In astrophotography, however, the GOTO controller isn’t necessarily as convenient. I admit there were times when it actually got in my way. I decided to remove the controller so it would no longer intermediate the mount control; its role has been taken over by Astroberry combined with an EQDirect solution. My own implementation is based on descriptions for EQDirect available on the Internet. EQDIRect self made    The topic seemed simple, however, when it came to actually building the device myself, things weren’t so obvious anymore. Some important information is missing online. It’s easy to make a mistake that could seriously damage the mount’s electronics, as well as the Astroberry or another computer to which the EQDirect is connected. Repairing these devices can be very expensive! Once I had gathered all the necessary pieces of the “puzzle”, analyzed and double-checked the subject several times, I assembled the whole thing. Then, with a slightly trembling hand, I switched on the power to the mount. EQDIRect home made – set Luckily, nothing exploded 😉 What’s more, everything works – and it works like a charm! The mount responds to and executes all commands issued to it by the KStars+EKOS duo, along with the EQMod with INDI driver, and all of this resides together in Astroberry. EQDIRect for NEQ and EQ mounts – Astroberry configuration EQDIRect – EKOS – EQMod mount driver with setup Of course, EQDIRect will also work with ASCOM and other software that requires such a technical solution to control the Sky-Watcher EQ6, NEQ6Pro mounts. EQDIRect – EKOS – EQMod mount driver connection setup EQDirect with testing setup It works really well, even in slightly freezing conditions – tested – see the attached photos 🙂 To protect the expensive mount from damage, my EQDIRect unit is equipped with several additional electrical protections. Mount performs excellently in the field together with EQDirect when used together with PERUN II power bank. If you are interested in acquiring EQDIRect made by me, please don’t hesitate to reach out me by filling out the contact form.

Read more...
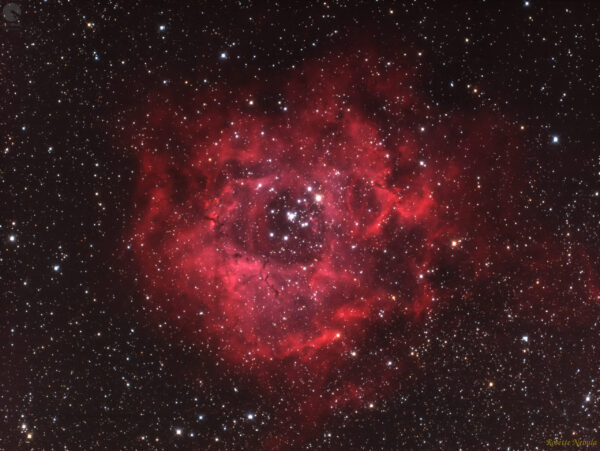
Rosette Nebula - NGC 2237 - Caldwell 49

Rosette Nebula NGC 2237 – Caldwell 49

Rosette Nebula NGC 2237.
In this article, I have gathered in one place the most interesting information about the entire nebula and its selected regions. The information contained in this content is my own compilation based on collected data.

Read more...