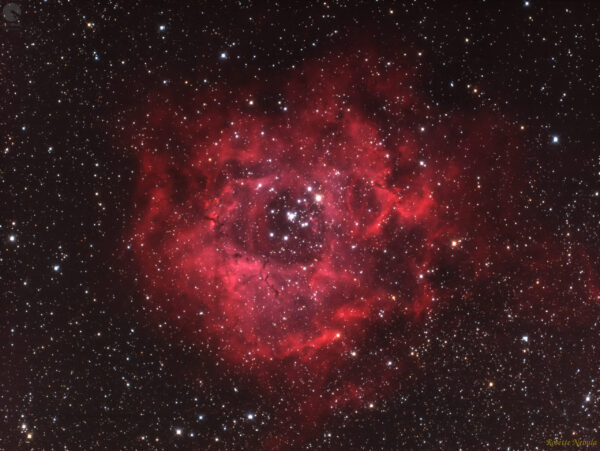
SynScan User Object – The Database is Not Enough
Step 1: Obtaining Ephemerides (J2000)
Before touching the controller, you must know the object’s current position. Comets move relative to the background stars. Yesterday’s coordinates might be useless today.
-
Source: Use TheSkyLive or Minor Planet Center.
-
Format: You need Right Ascension (RA) and Declination (Dec).
-
Important: Ensure the coordinates are for the J2000.0 epoch (standard for SynScan), not “JNow” (Topocentric), although for wide fields the difference might be negligible, in astrophotography it matters.
Step 2: Shortened SynScan Procedure
-
Power up the mount and perform the standard alignment (1, 2, or 3-Star Alignment).
-
In the main menu, select:
Object List->User Object. -
Select
New Object(or edit an existing one). -
Enter the coordinates:
-
RA (Right Ascension): In
HH:MM:SSformat. -
Dec (Declination): In
DD:MM:SSformat. Remember to toggle the+/-sign depending on the celestial hemisphere.
-
-
Confirm and select
View Object->Slew. The mount will point to the defined position.
Technical Limitation: Tracking
By entering an object this way, the mount treats it like a fixed star. It will track it at the sidereal rate. However, comets have their own proper motion. During long exposures (over 60-120 seconds) or with comets very close to Earth, the comet’s nucleus might appear trailed on the image, even if the stars are pinpoint sharp.
-
Solution: This is a “point-in-time” method. If the comet is fast, you must update the coordinates in the controller every 30-60 minutes using fresh ephemeris data.
NEQ6Pro GOTO – user object configuration step by step
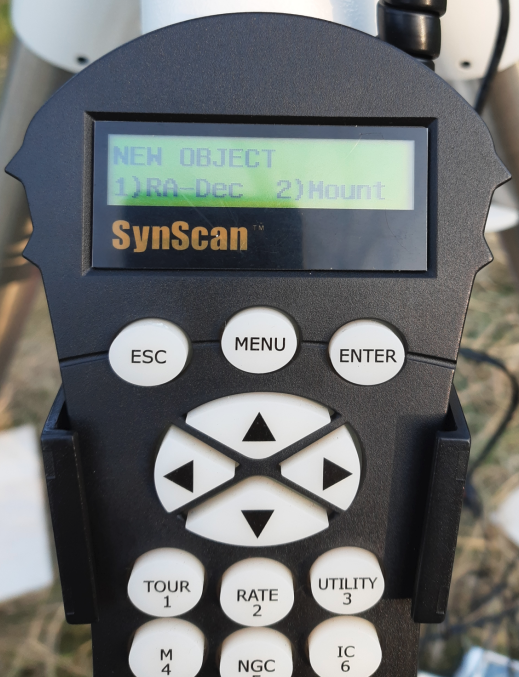
Now we need to add, a new user object on the GOTO system controller. Go to the Object List → User Objects → New Object menu and press Enter on the controller keyboard.

The controller will display information asking for the type of coordinates. Enter Coordi .: 1) RA-Dec 2) AzAlt. We are interested in the first position 1) RA-Dec, press the 1 key on the controller.
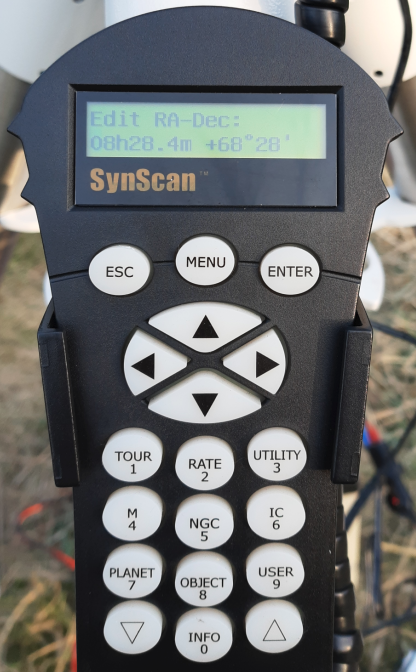
Using the available controller keyboard, enter the comet’s coordinates: 8h28.4m +68°28
After entering the coordinates, press the Enter key to confirm.
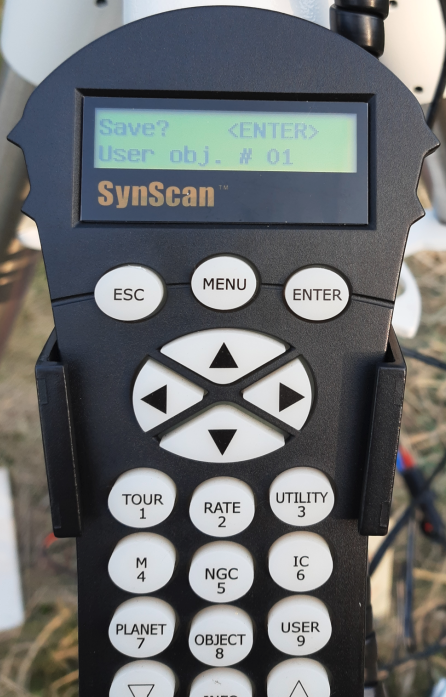
The controller will ask whether to save the entered data, press Enter again
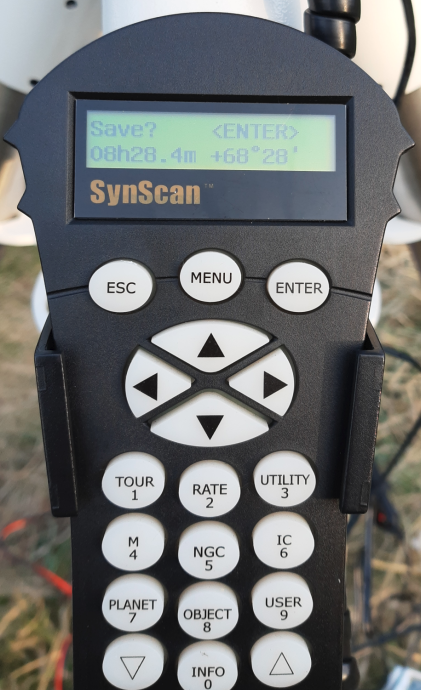
Select the number under the object will to be saved, in this example it is the first item # 01 on the list of user objects. Press Enter to confirm your selection.
After saving the data in the GOTO system, you can now set up the telescope mount on our comet C/2019 Y4 (ATLAS). Go to the controller menu and select Object List → User Objects → User vol. # 01 → Recall Object and confirm with Enter.
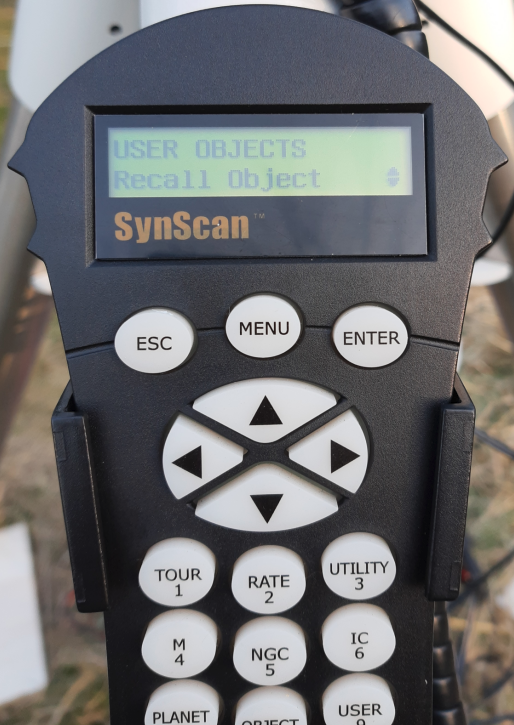
The mount has positioned itself on the comet. Ready!
A description of how to add a new object, to the Stellarium database can be found here.