AutoStakkert 2
Learn the best settings and a step-by-step process to stack your Lunar light frames in AutoStakkert and achieve sharper, high-resolution Moon images.
The Seeing Problem
Why is a single DSLR photo of the Moon rarely perfectly sharp? The culprit is Earth’s atmosphere. Air masses of different temperatures mix, creating turbulence that acts like lenses with varying focal lengths. This phenomenon is called seeing. In classical photography (long exposures), seeing blurs details. The engineering solution is the Lucky Imaging technique.
Mechanism: Statistics and Video
Instead of a single photo, we record thousands of video frames with very short exposure times (milliseconds). Statistically, within a second, there are moments when the atmosphere “freezes” for a fraction of a time and becomes perfectly transparent. The role of AutoStakkert! is to analyze each of the thousands of frames, grade their quality (sharpness), and select only the “lucky” ones (e.g., the best 10-20%).
At first impression, the AutoStakkert user interface does not seem easy to use. However, after getting to know the key options and understanding how the program works, its interface not more to be a secret. We will go through the stacking procedure, processing sample of Moon light frames, which I collected in the early spring of this year.
The AutoStakkert version that I use in this description, cannot support .CR2 (Canon) RAW files, so I had to convert all .CR2 files to the .TIFF (16-bit) type before that AutoStakkert could “see” them. I will mention that AutoStakkert cannot handle 32-bit float files of any type. You must convert files to at most 16-bit.
Below you can see the EXIF parameters of the light frames has been taken.
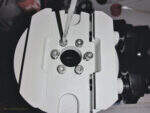
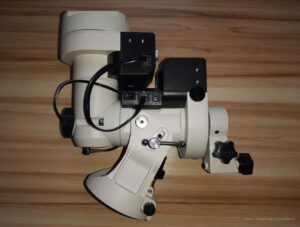
Photo of the camera in the given optical configuration.
Light frames:
- Lights: 114 x ISO 12.800, 0,00025[s]
- Files of .CR2 RAW converted to .TIFF (16-bit) type, 5488×3662 [px]
I will focus only on those options that I need to use. Description of the other options you can find in the manual, which is available on the AutoStakkert page.
Lets start processing the collected light frames.
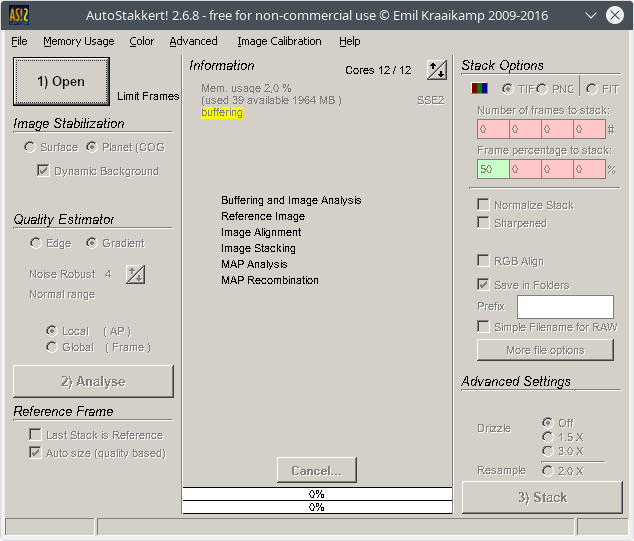
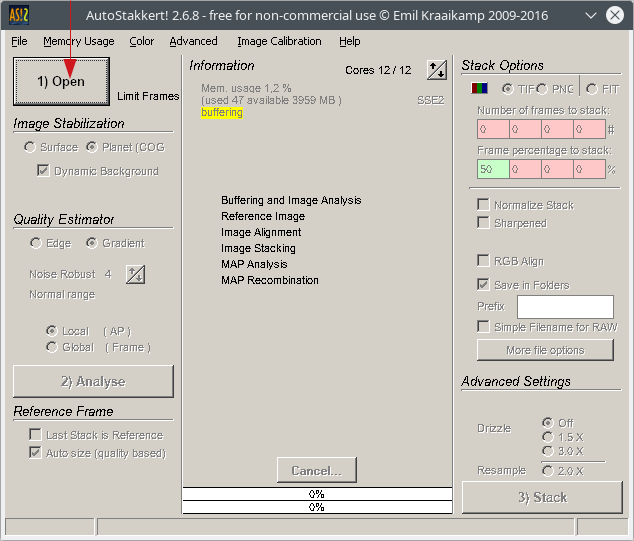
Loading files and determining the brightness level
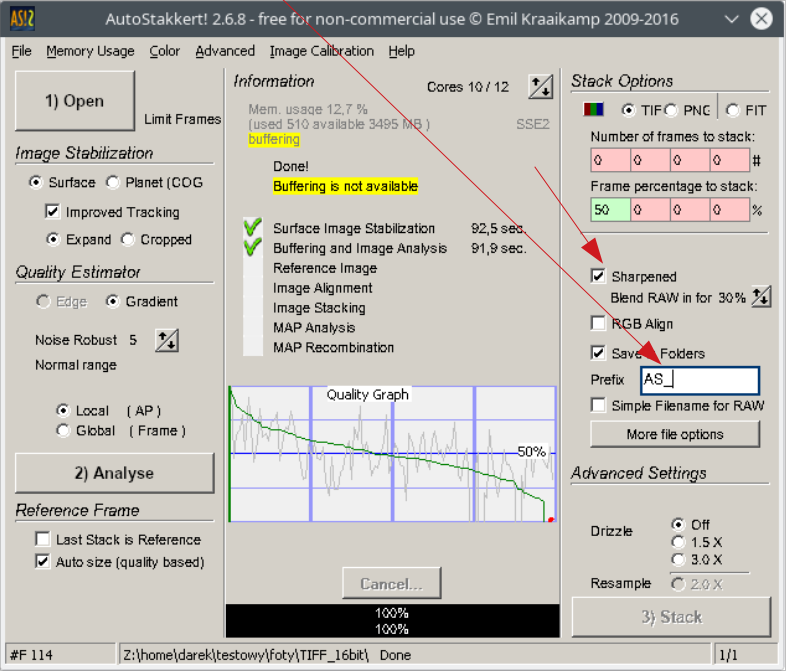
Click to 1) Open
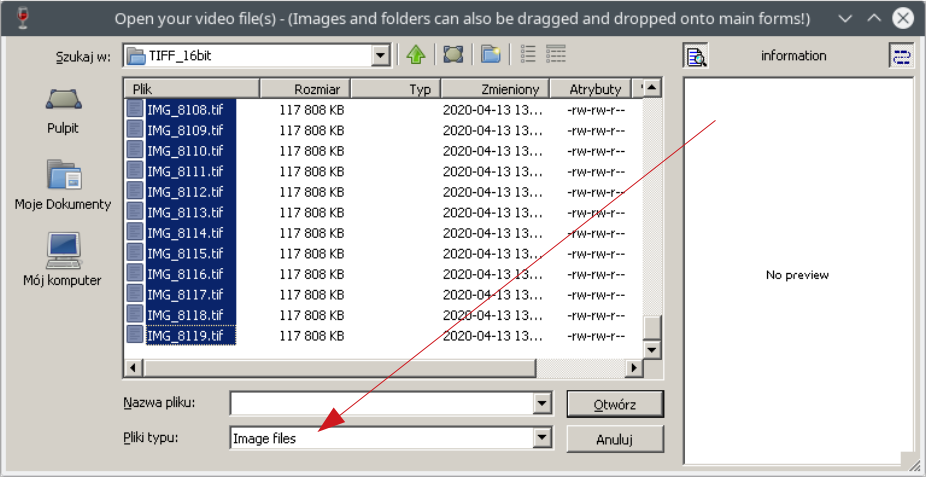
In the file selection window, set Files of type to Image files and select the files that you want to load and stack. To select all files, select the first file, scroll to the bottom of the list, hold down the Shift key and click on the last file. Confirm by clicking the Open button.
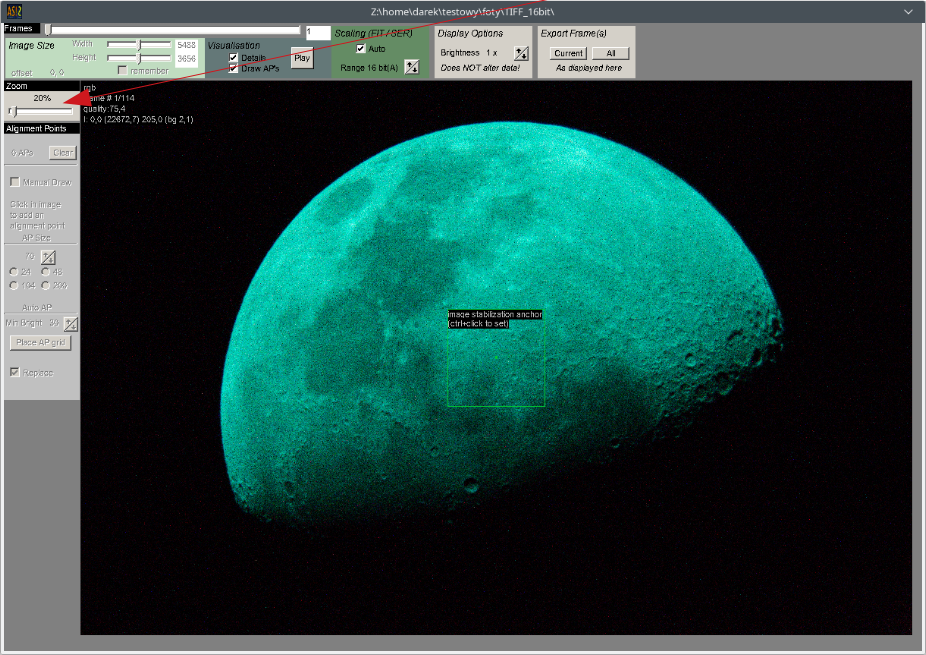
The preview window will be resized itself too much. We need to use the Zoom slider and set the right size, to have a visible whole picture on screen.
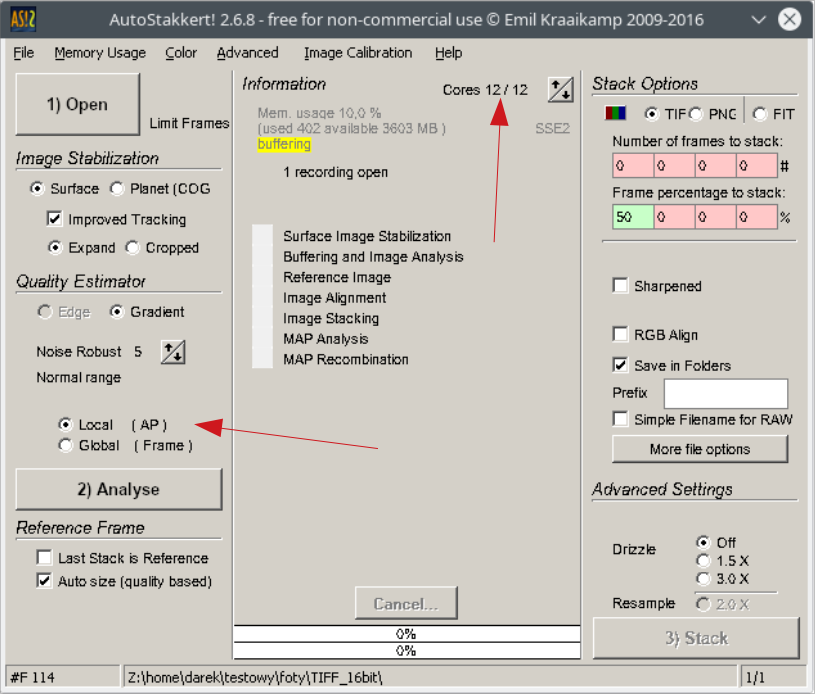
Let’s set the amount of Core available to the AutoStakkert program. It is a good practice to leave something for the operating system, so that during tedious and very demanding data counting, the system can maintain its responsiveness to user. From the total number of available Cores, it is good to subtract 2 or ultimately 1. This should be enough.
Image Stabilization
In the case of the moon, it is recommended to use the Surface option. Additional options will appear, turn on Improve Tracking and select Expand.
Quality Estimator
AutoStakkert Noise Robust setting for Moon
Noise Robust – here you have to rely on your own rate of the collected light frames. The criterion is the noise level and visibility. If the collected material is heavily noisy or the visibility of the object is poor, set the value between 4 and 8 rated how poor the quality of the light frames are. If the image material is of good quality, set it between 2 and 4. I’ve set 5. The image material is of medium quality in my own rate.
Multi-Point Alignment (MAP) and Isoplanatic Patches This is the software’s most critical feature. The atmosphere does not distort the image uniformly. The left edge of a crater might be sharp while the right side is “swimming.” Areas with uniform distortion are called isoplanatic patches. AutoStakkert! applies a grid of Alignment Points (AP) over the image. Each of these points (squares) is analyzed and aligned independently of the others. Effectively, the software cuts the image into hundreds of pieces, aligns each one individually, and then stitches them back into a perfect mosaic. This is something no simple graphic software can achieve.
Local (AP) – quality is determined based on each Alignment Point, each AP uses a different set of light frames.
Global (Frame) – quality is determined by the entire light frame, each AP uses the same set of light frames to stack.
Let’s get to the analysis.
2) Analyse
Reference Frame
This is our first stack, so choose Auto size (quality based). Explained both options are below and when to use them.
Last Stack is Reference – the program will use the last file of the ready stack, that was created if a given set of photo files had already been used.
Auto size (quality based) – The reference frame is created automatically from the best set of light frames, that the first time you work with a set of images. If you want a little more control, you can uncheck this box and manually choose the number of light frames to use, for the reference frame. Using more frames will slightly better represent the true form of the stacking target, but will also blur the reference frame, which is more difficult to align.
Click on 2) Analyse button
Stack Options – Fighting Noise (SNR)
The second goal of stacking is sensor noise reduction. Selecting the best frames is only half the battle. Stacking (averaging) them allows for an increase in the Signal-to-Noise Ratio (SNR). The gain in SNR is proportional to the square root of the number of frames (). Stacking 100 frames improves image quality 10 times compared to a single frame, allowing for aggressive sharpening (e.g., wavelets in RegiStax) without degrading the image with grain.
It is a good idea, to save the result of stack in a file with non-lossy type. We need to choose the .TIFF or .PNG or .FIT type. I’ve chosed .TIFF
AutoStakkert is suggesting a default setting with 50% of the best quality light frames that will be used, for the stacking process. We do not change this value. Of course you can experiment if you want.
Sharpened – turn on and set Blend RAW in for with 30%, with this option we will get two stacks. Both will be sharpened, but the second will additionaly have a 30% of blend intensity.
Save in Folders – enabled, enter Prefix which will be added, to the beginning of the directory name and output files. I’ve entered AS_
Drizzle: When to Use?
The Drizzle (1.5x / 3.0x) option, famous from the Hubble Telescope, makes sense in only one case: when our optical system is undersampled—meaning the telescope’s resolution is higher than the camera sensor’s resolution. Enabling Drizzle allows for the recovery of sub-pixel details. In most amateur cases, the 1.5x option is the sweet spot; 3.0x often generates only empty magnification and artifacts.
Preview window
We need to specify and apply alignment points. With arrows help (Size of alignment point to add) set the value to 400. Click the Place AP grid button.
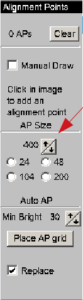
In the preview window, a number of squares will appear on the moon photo. These are our alignment points. WARNING! A large number of alignment points, consumes a lot of RAM, which may run out during the stacking process. In my experience, the number of alignment points should not exceed 40 for my amount of light frames. Remember that the limit number of alignment points may be different, for your amount of light frames. You have to try and experiment, to find the limit with quantity. NOTE: in most cases of collected light frames, the more alignment points the better.
The AutoStakkert generated 116 of AP. We need to reduce the number of AP by right clicking on the squares. We need to try, to reduce the squares in such a way, that their quantity has a fairly even distribution throughout the entire object (moon) in the picture. It is good, when the squares slightly overlap. I left 38 AP, should be enough.
Lets move to stacking process.
Advanced Settings
We don’t change anything here this time. Drizzle is recommended for very small objects, e.g. Mars, Pluto, Neptune and other small objects.
3) Stack
The only thing left to do is to click on 3) Stack button and going for coffee / beer / orangeade / tea …. not needed to delete. Depending on the amount and type of photographic material, as well as the computing power of the computer at the program’s disposal, it will take longer or less of time.
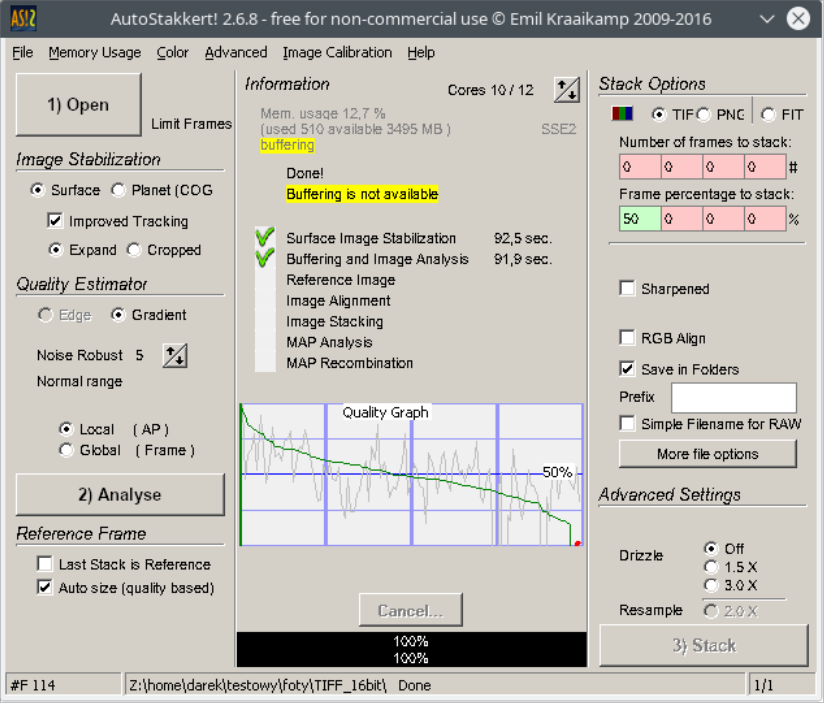
The stacking result can be followed in the main program window. Each completed process, change its status to a green “V” in turn. If everything went correctly, the program will announce it with Done! status. As in the example image below.
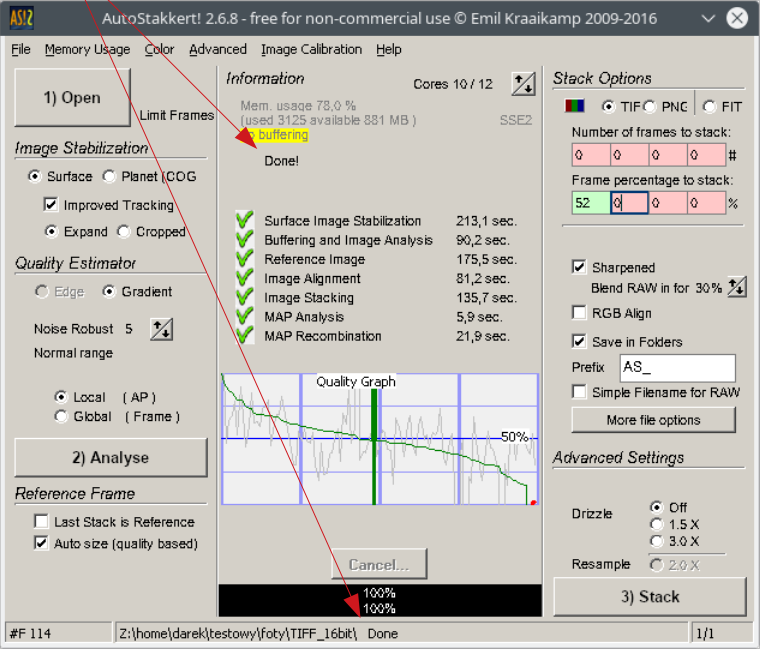
The directory with source files, will contain two stack of files created. Note that the directory name contains the prefix, that was entered in the main program window and a number describing the percentage of how many frames the stack was made from. This is quite useful information, if you do, for example, 20 different stacks, the catalog descriptions help you figure out how many frames (in percent) of a given stack file. File names contain similar information. The file that contains the word “conv” in the name is a file without “blend”.

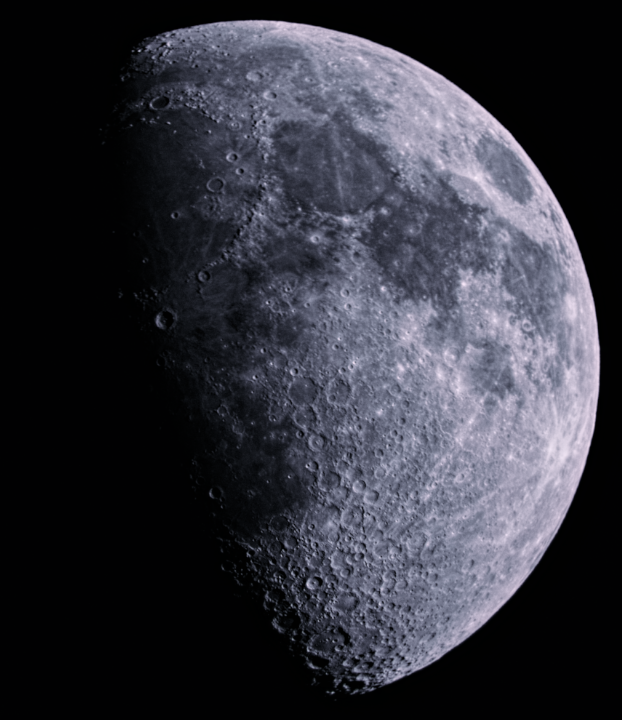
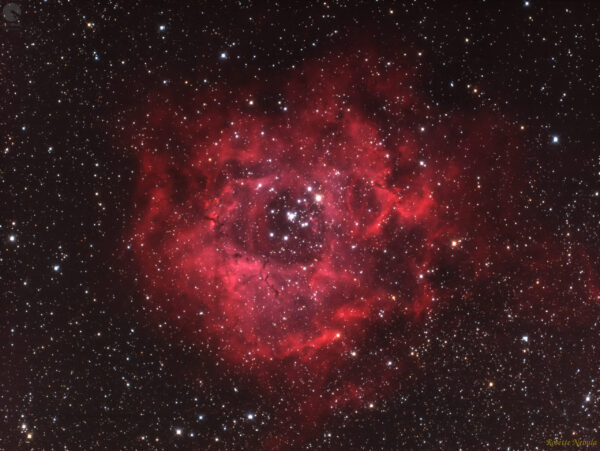
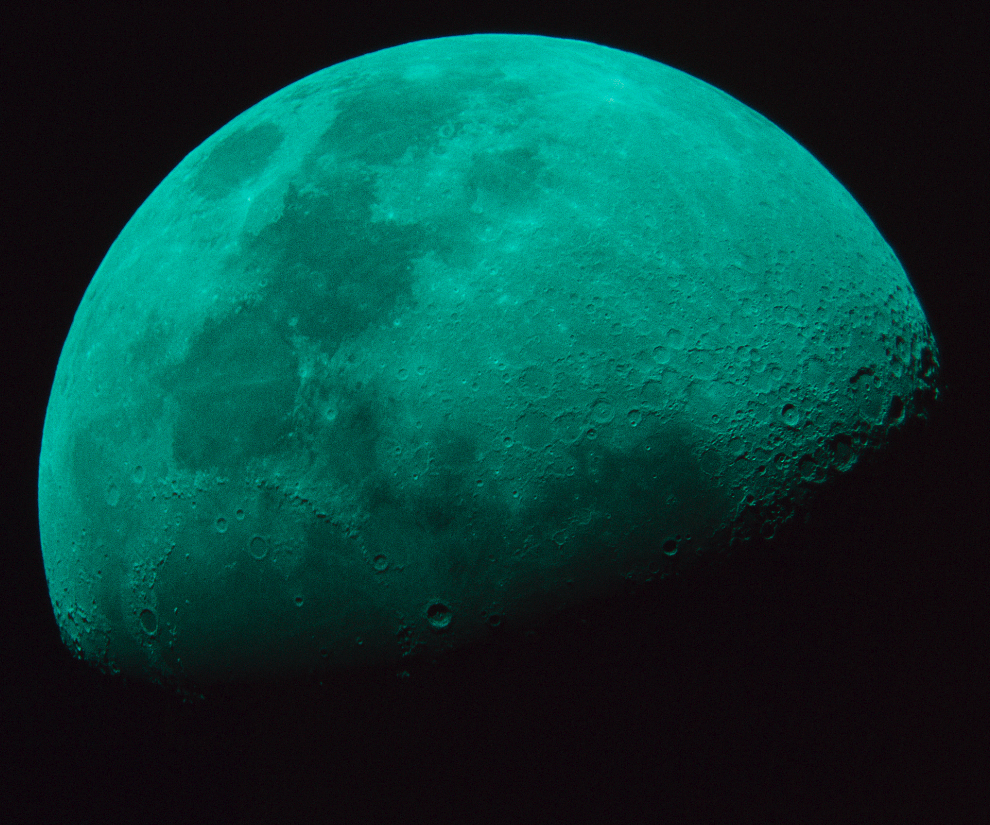
An example of the result of the stack
Result image after processing in RawTherapee + Gimp software.