AutoStakkert Linux installation
Windows is Not Required Many astrophotographers keep a Windows partition strictly for one piece of software: AutoStakkert!. This is an unjustified waste of resources. The stacking engine of this software runs perfectly in a Linux environment, often offering better RAM management than Microsoft’s native system due to the lightweight nature of the Linux kernel.
How It Works: Wine Is Not an Emulator
The key to success is Wine (acronym: Wine Is Not an Emulator). It is a compatibility layer that translates Windows API calls into POSIX (Linux) instructions on the fly. This allows the application to run with near-native performance, without the overhead of emulating an entire operating system. The PlayOnLinux (POL) tool described in this guide is used to easily manage so-called Wine “prefixes”—isolated containers with specific configurations.
Why this works?
- AutoStakkert! is a portable app — no classic MSI installer.
- Wine supports most API calls required by AS!3/AS!4.
- Linux filesystems (ext4, btrfs) handle large SER/AVI files better than NTFS.
Shortened deployment Guide (Universal Method)
Since AutoStakkert! does not have a classic installer (it is a “portable” application), the process in PlayOnLinux differs slightly from the norm:
-
Download: Get the latest stable version (AS!3 or AS!4) as a ZIP archive.
-
POL Configuration: Select “Install a program,” then “Install a non-listed program.”
-
Virtual Drive Creation: Choose “Create a new virtual drive” (preferably 64-bit architecture to handle large SER/AVI video files).
-
No Installer: When POL asks for the installation file, point it to the AutoStakkert
.exe. The program won’t “install” into the system registry but will be executed within the Wine directory structure. -
Shortcut: Finally, create a shortcut directly to
AutoStakkert.exe.
Performance and Memory
When working with massive files from planetary cameras (often 50-100 GB), Linux file systems (ext4 or btrfs) handle I/O operations significantly better than NTFS. Stacking proceeds smoothly, provided that the Wine configuration has been allocated sufficient video memory access.
Warnings
- Use Wine ≥ 6.x — older versions may cause errors.
- Don’t copy files into system directories — keep them inside the Wine prefix.
- Test with a small SER file before processing large sessions.
I assume that if you are already reading this description, for me it means that you are a Linux user and as a regular user, you have the ability to install the necessary programs, using the built-in tools (Muon, apt or other tool) you can install PlayOnLinux (POL) from available repositories used by you distribution.
This installation description is not closely related to the Linux Kubuntu v.18.04 LTS distribution that I use. Certainly, it will be good for almost any Linux distribution available on the Internet.
Make sure you have the “winbind” package installed in your system. It is necessary for the AutoStakkert, to be fully functional. Let’s proceed to the installation of the AutoStakkert using POL.
Detailed Installation of AutoStakkert with POL in use
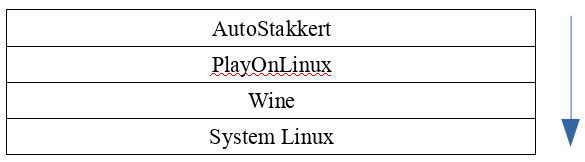
Download the program from the project website, be sure to use the 32bit version and unpack the program, I’ve placed it in the ~/test/AutoStakkert/ current directory. AutoStakkert does not have an installer, it is running from the directory in which it is located. To conveniently use the program with POL, you still need to complete the installation process, so that POL creates the necessary configuration of the working environment for Wine. It’s a bit of a sandwich of different configurations, where one lie on the other and is dependent each other as shown in the table below.
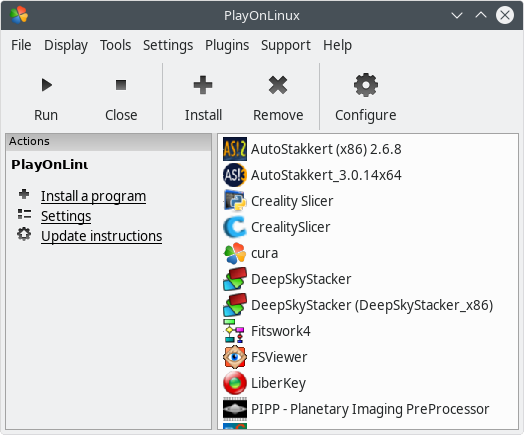
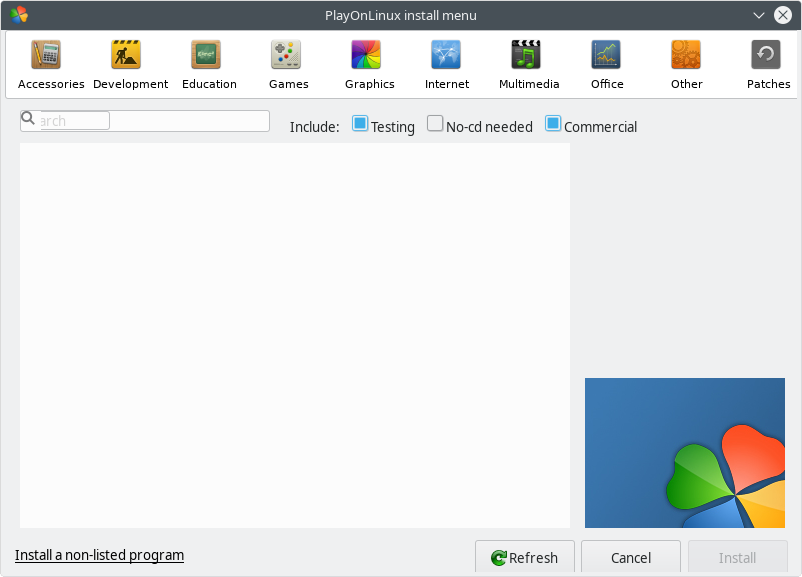
Start POL and click on Install a program.
On the PlayOnLinux install menu window, click on Install a non-listed program.
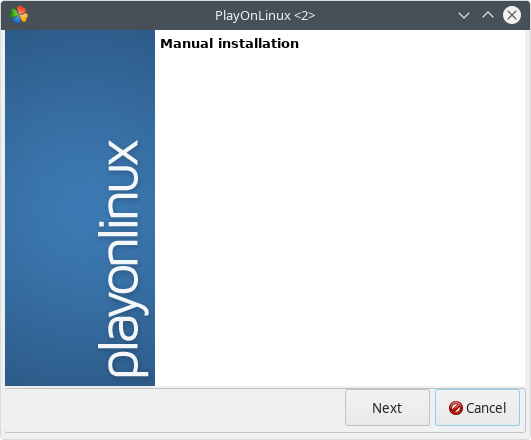
Manual installation – click on Next.
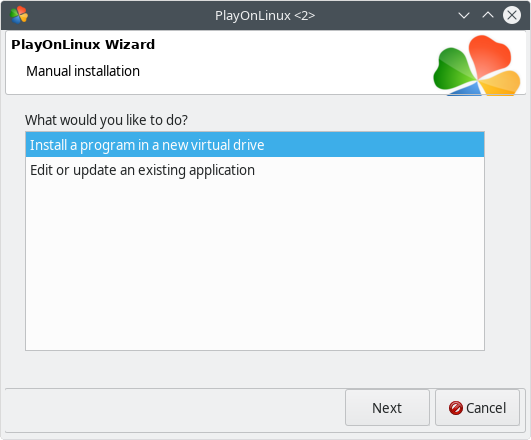
PlayOnLinux Wizard – click on Install a program in a new virtual drive and Next.
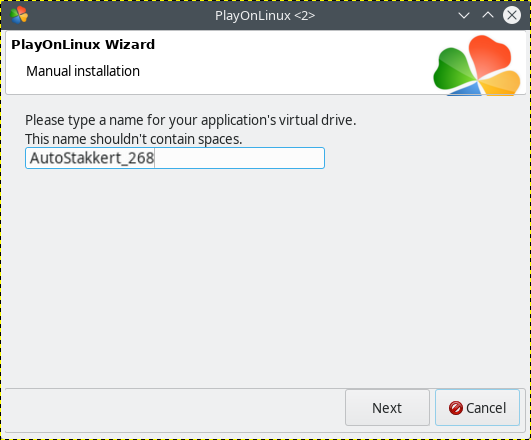
Manual installation – In the text field you see, type name for virtual drive that will be created for installation process. I’ve typed „AutoStakkert_268”. Click on Next.
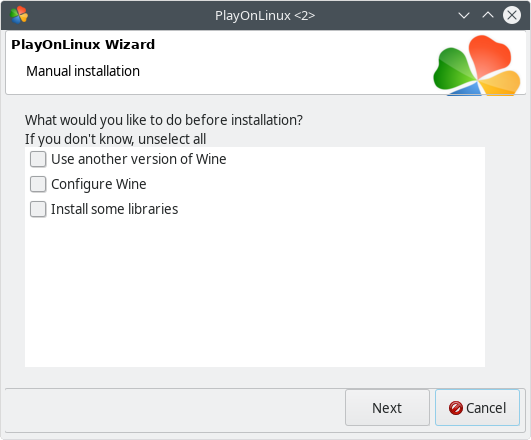
Manual installation – do not change anything, just click on Next button.
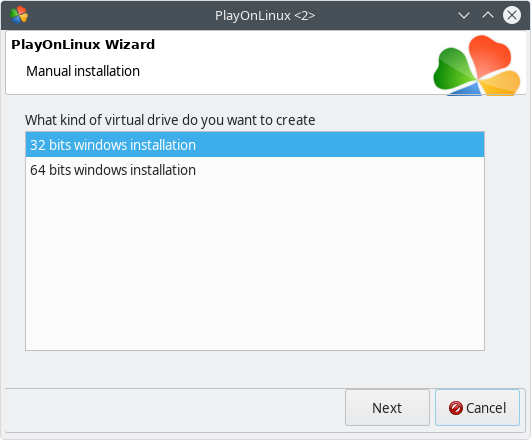
Manual installation – Attention! You should choose the 64bit windows installation version, even the program has 32-bit. This is justified by the way it handles the amount of memory available for AutoStakkert. For 32-bit, just over 3GB of RAM will be available, even your computer has more available RAM. When you choose 64-bit, we will get an additional 1 GB of RAM available to the program, which during stacking it has a very important role. During my tests, when I installed AutoStakkert on POL 32-bit while stacking a large number of images, I often saw a message from the program that there was not enough RAM. So choose 64-bit windows installation and click Next.
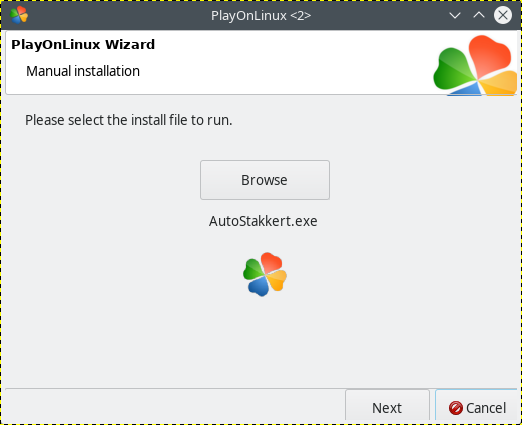
Manual installation – Click on Browse and follow to drive location where you have a .exe file with AutoStakkert x86 (32bit) version program. Click on Next.
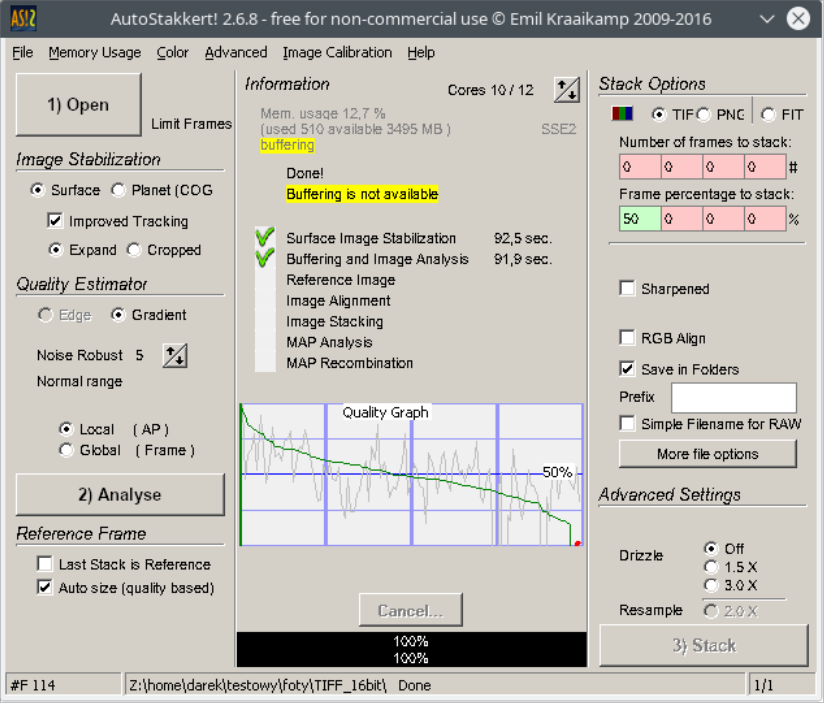
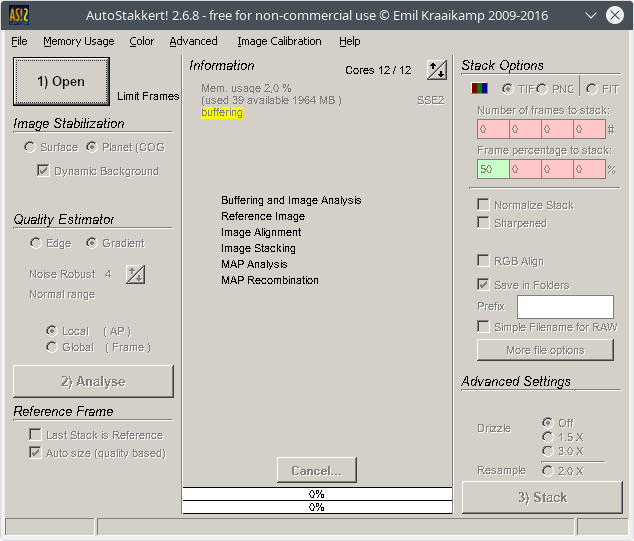
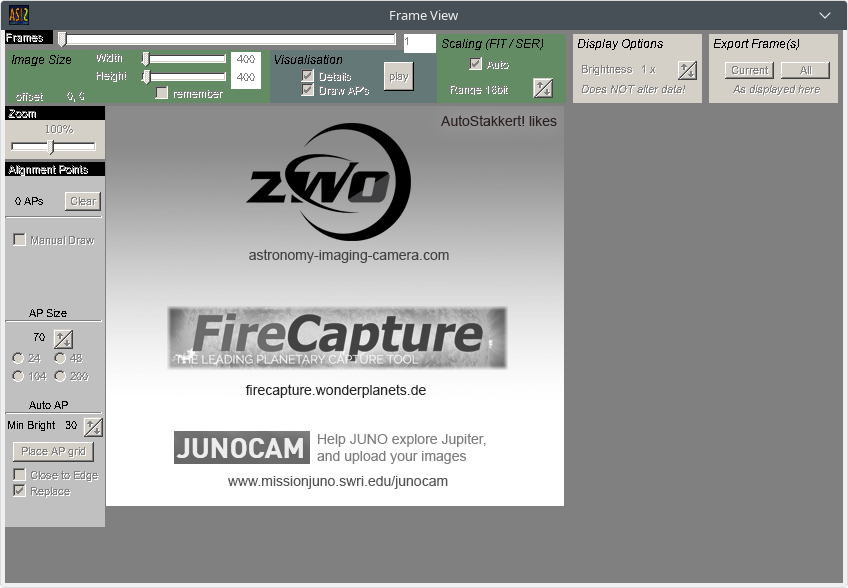
AutoStakkert has been run as we expected. Close the program.
POL has completed the installation and created the configuration, of the work environment we need of AutoStakkert for Wine. Do not close the Manual installation window, we will need it again.
Using the file manager or console, move the AutoStakkert directory to the ~/.PlayOnLinux/wineprefix/AutoStakkert/drive_c/Program Files/ directory. I will do it in the console using the command:
#> mv -v -i ./testowy/AutoStakkert_2.6.8 ~/.PlayOnLinux/wineprefix/AutoStakkert/drive_c/Program\ Files/
renamed ‘./testowy/AutoStakkert_2.6.8’ -> ‘/home/darek/.PlayOnLinux/wineprefix/AutoStakkert/drive_c/Program Files/AutoStakkert_2.6.8’
#>
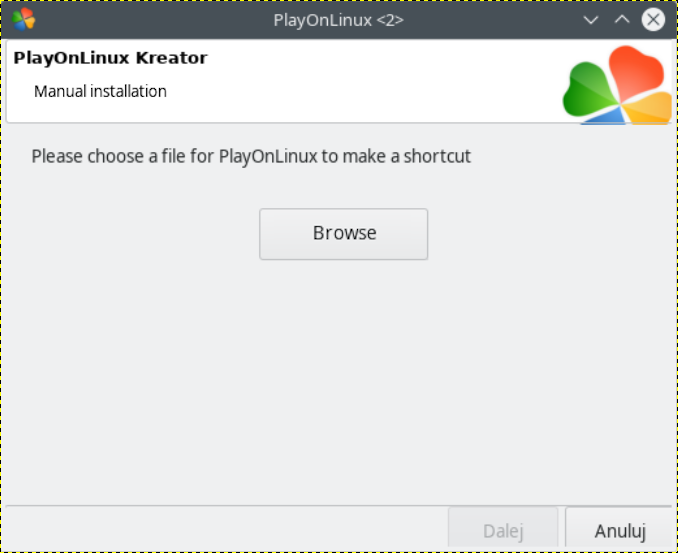
Now we return to the POL installation wizard and our opened window. Select Browse from the list of available files and click Next.
Click on Browse.
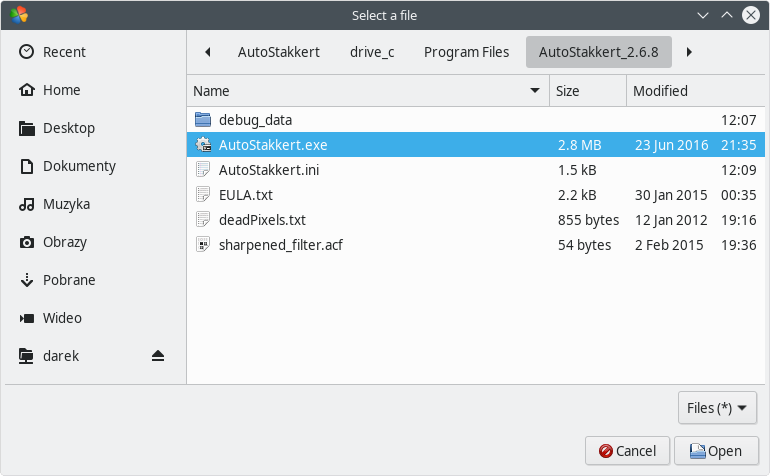
Go to the directory where the AutoStakkert program is now placed (./PlayOnLinux/wineprefix/AutoStakkert/drive_c/Program\Files/AutoStakkert_2.6.8/), select the file AutoStakkert.exe and click Open.
Click on Next.
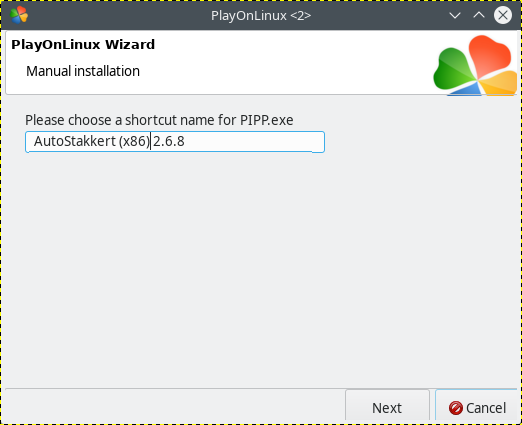
You can change the default shortcut name to something more reasonable. I’ve typed „AutoStakkert (x86) 2.6.8” and click on Next.
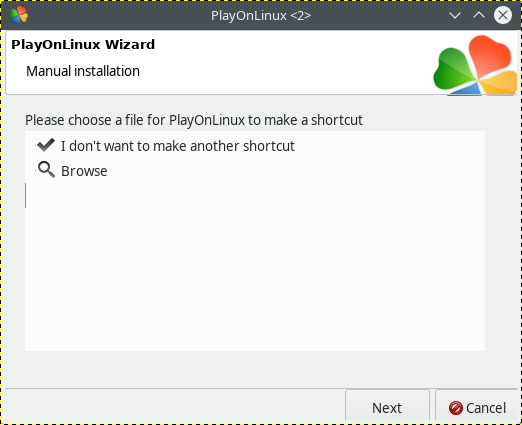
Installation wizard will back again to list of files. Now select the I don’t want to make another shortcut and click on Next.
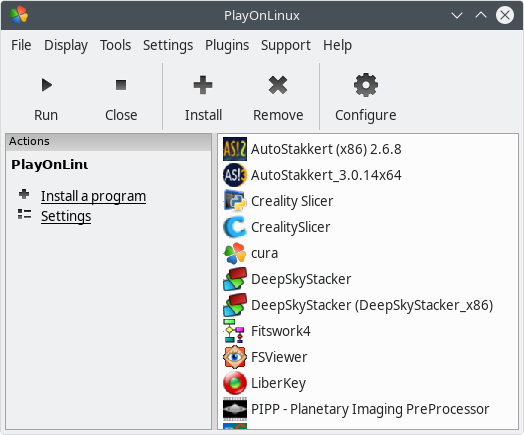
The program has been installed but is not ready yet. Select AutoStakkert (x86) 2.6.8 and click the Configure button.
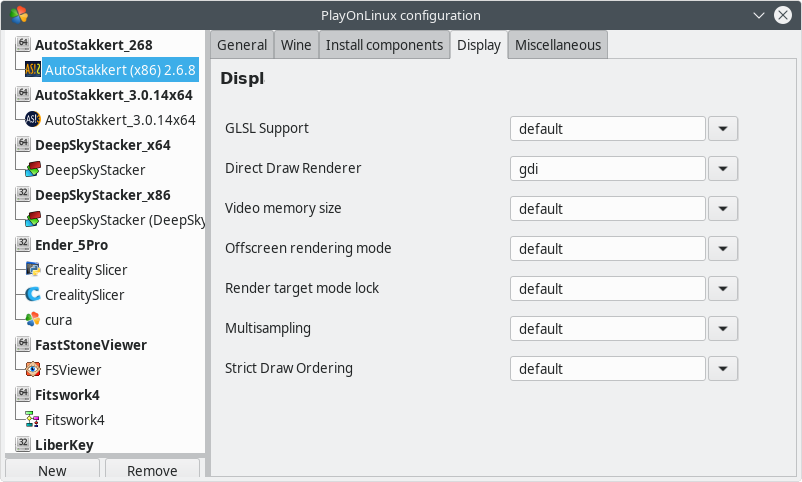
Go to the Display tab and set gdi for Renderer Direct Draw. Close the window.
Now we can run the program.
Enjoy 🙂